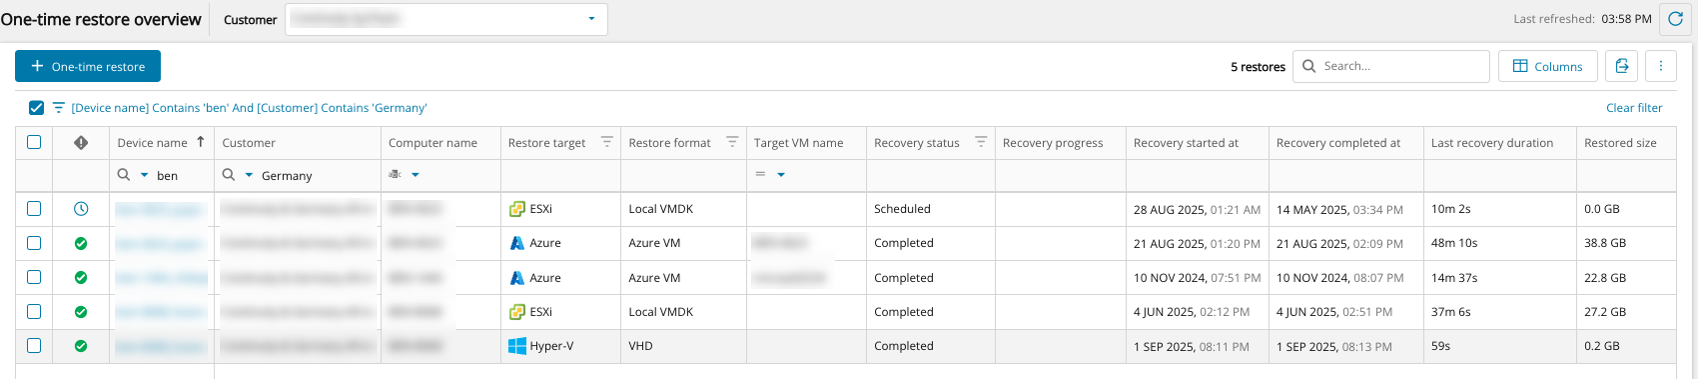
From the Management Console, you can view the dedicated One-Time Restore overview by selecting Continuity > One-time Restore from the vertical menu on the left hand side.
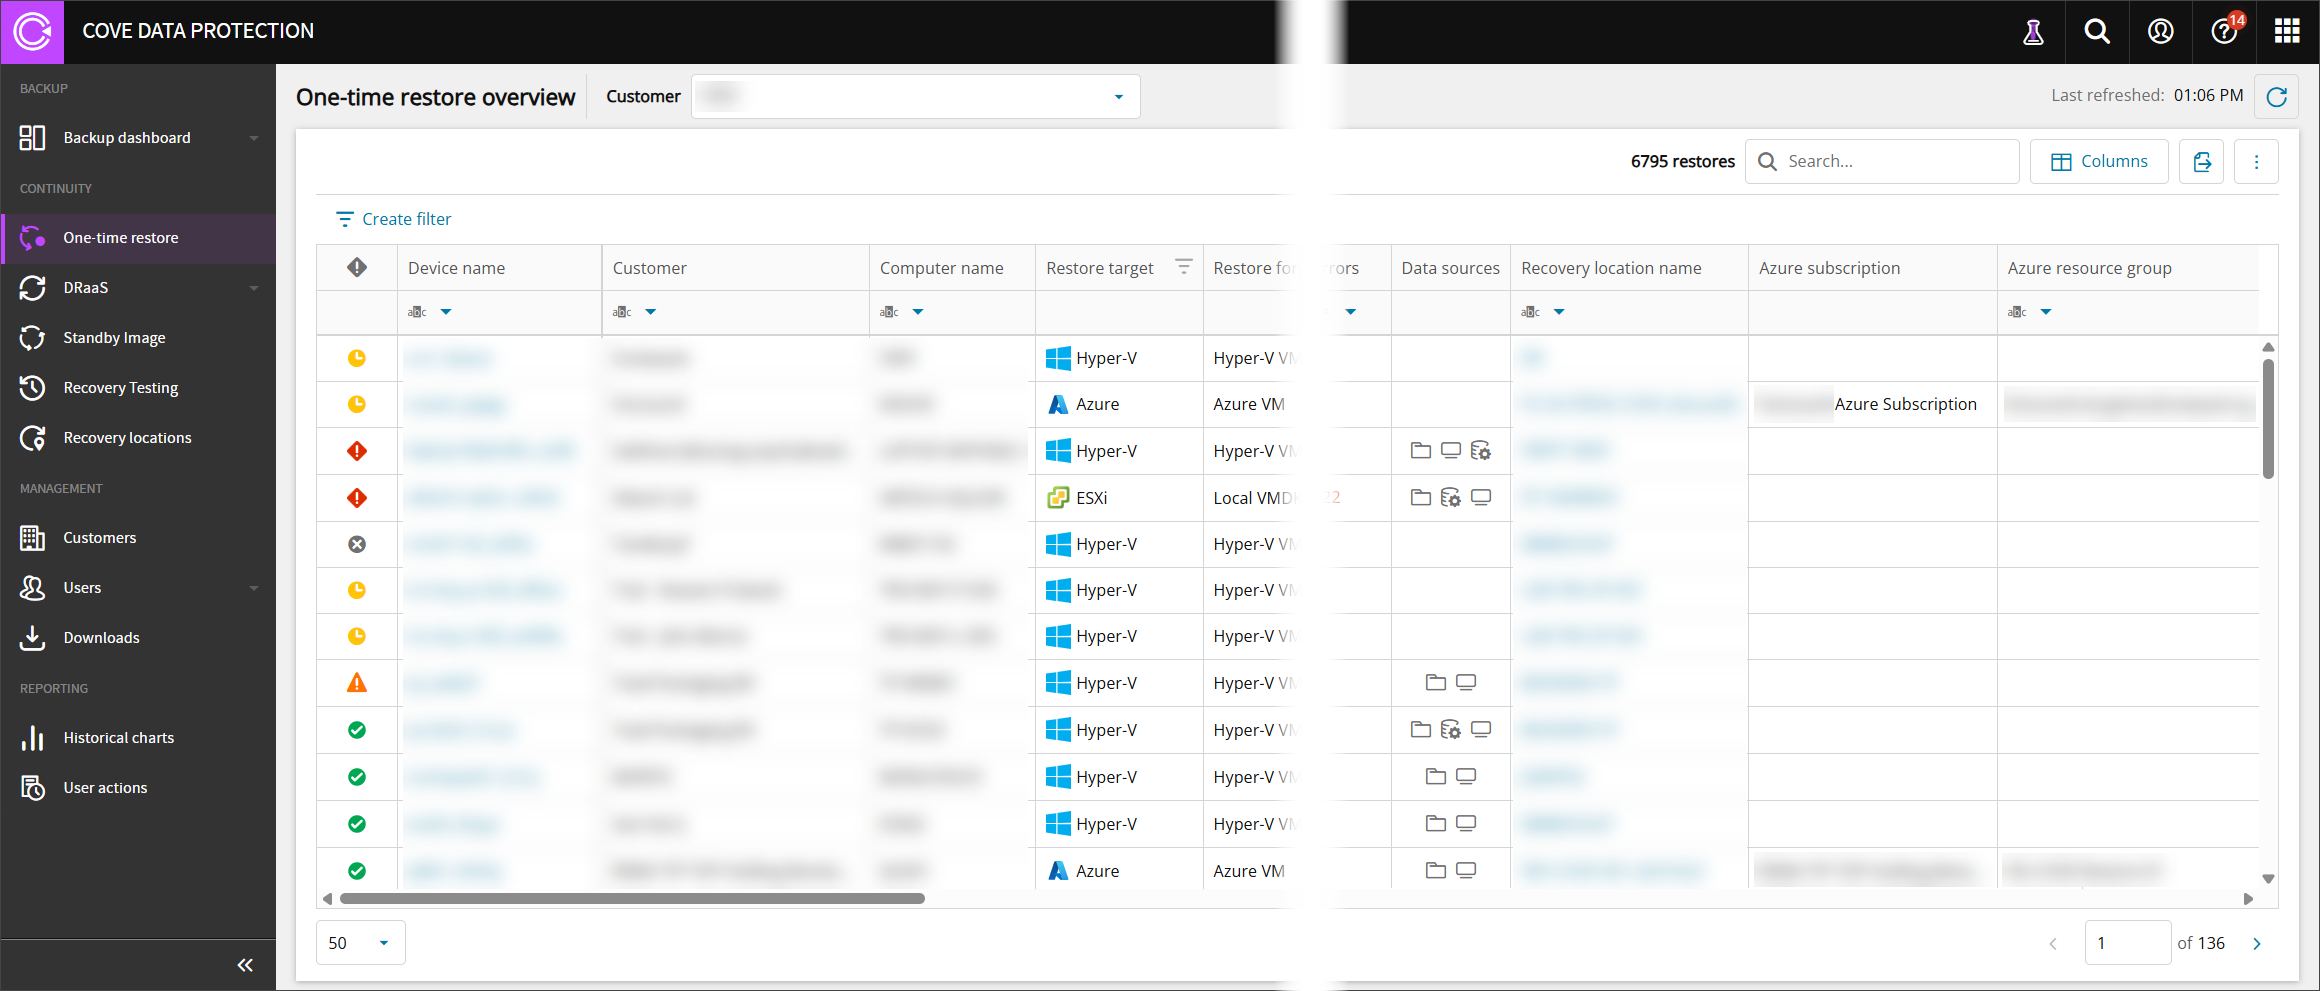
From this dashboard, you will see a specified set of columns detailing information relevant to devices using One-Time Restore, including the status, restore format and data sources, along with other information relating to Hyper-V, Azure and VMWare ESXi.
If no devices are active, the dashboard will display a message to advise.
Cancel Restore
From the One-Time Restore overview, it is possible to cancel any recovery currently in progress:
- Search for or use the filters to find the device in question where the recovery is currently running
- Select the device
- Click Cancel restore from the top bar

- Confirm cancellation

The device will now show in the list with a status of Cancelled
Searching
Searching within the One-Time Restore overview can be done by using the search box over to the right hand side of the page, just above the devices list. The search can be performed against any text field.
Column Search
-
The top row of the One-Time Restore list is the search bar, click into the cell with a magnifying glass or range icon to search the data in that column

-
Enter the search term: the list of devices will update automatically to display results
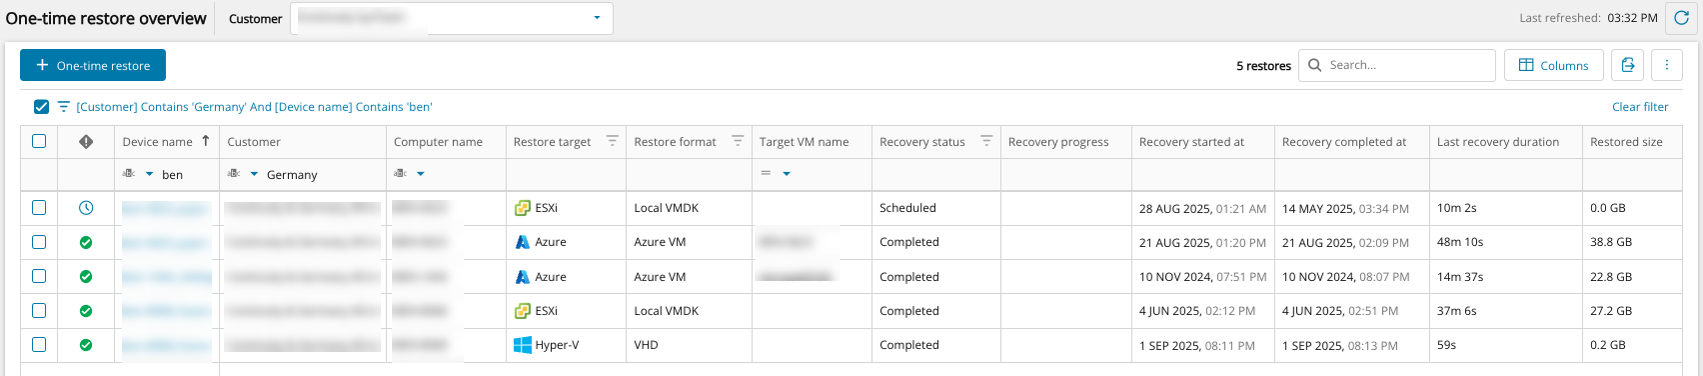
Searches can be layered, e.g. Device name contains 'ben' and Customer contains 'Germany'
Any search you place will be displayed above the One-Time Restore list as a filter:
Filtering
The One-Time Restore overview also includes functionality to filter devices using the filter menu to the left of the device list and can be displayed or hidden by clicking the double arrows.
Column Filtering
It is possible to filter the list of One-Time Restore overview using filterable columns. Any column which is filterable is identified by the filter icon.

To filter by individual column:
- Click into the top row of the One-Time Restore list as with the Column Search
- Make your selections for the columns as required. The following columns can be filtered:
- Restore Target
- Select All
- Hyper-v
- Azure
- ESXI
- Restore Format
- Select All
- Hyper-V VM
- VHDX
- VHD
- Azure VM
- ESXi VM
- Local VMDK
- Recovery Status
- Select All
- Failed
- Invalidated
- Unresponsive
- Completed with errors
- Completed
- In process
- Scheduled
- Cancelling
- Cancelled
- Restore Target
Custom Filtering
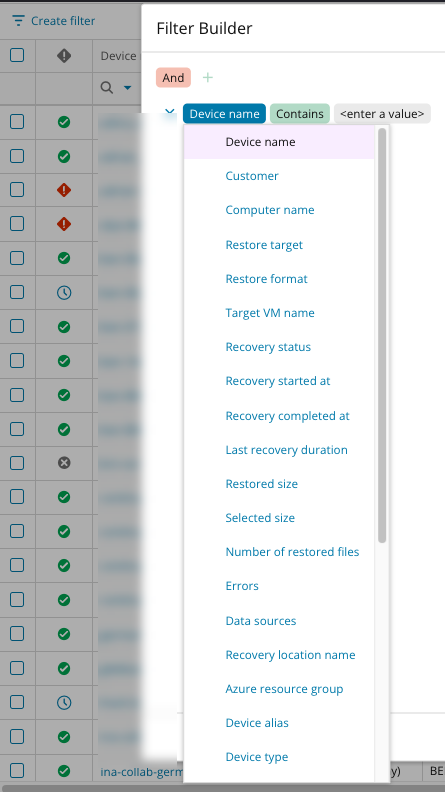
It is possible to create custom filters using the Filter Builder to find specific device from the list.
- To create a custom filter, click Create Filter above the One-Time Restore dashboard to open the Filter Builder

- In the Filter Builder window, create the filter using the following selections:
- And
- Device name to which the following may be applied:
- Contains - Text box to enter the filter text
- Equals - Text box to enter the filter text
- Customer to which the following may be applied:
- Contains - Text box to enter the filter text
- Equals - Text box to enter the filter text
- Computer name to which the following may be applied:
- Contains - Text box to enter the filter text
- Equals - Text box to enter the filter text
- Restore Target to which the following may be applied:
- Is any of - Select from the list of values
- Hyper-v
- Azure
- ESXi
- Is none of - Select from the list of value
- Hyper-v
- Azure
- ESXi
- Is any of - Select from the list of values
- Restore format to which the following may be applied:
- Is any of - Select from the list of values
- Hyper-V VM
- VHDX
- VHD
- Azure VM
- ESXi VM
- Local VMDK
- Is none of - Select from the list of values
- Hyper-V VM
- VHDX
- VHD
- Azure VM
- ESXi VM
- Local VMDK
- Is any of - Select from the list of values
- Target VM name to which the following may be applied:
- Contains - Text box to enter the filter text
- Equals - Text box to enter the filter text
- Recovery status to which the following may be applied:
- Is any of - Select from the list of values
- Failed
- Invalidated
- Unresponsive
- Completed with errors
- Completed
- In process
- Scheduled
- Cancelling
- Cancelled
- Is none of - Select from the list of values
- Failed
- Invalidated
- Unresponsive
- Completed with errors
- Completed
- In process
- Scheduled
- Cancelling
- Cancelled
- Is any of - Select from the list of values
- Recovery Started at to which the following may be applied:
- Is - use the date and time selectors to select when the restore started
- Recovery Completed at to which the following may be applied:
- Is - use the date and time selectors to select when the restore started
- Last recovery duration to which the following may be applied:
- Is - use the time selectors to select recovery duration
- Restore size to which the following may be applied:
- Is - range picker from 0KB to unlimited
- Is empty
- Selected size to which the following may be applied:
- Is - range picker from 0KB to unlimited
- Is empty
- Number of restore files to which the following may be applied:
- Equals - Text box to enter the filter text
- Is less than - Text box to enter the filter text
- Is greater than - Text box to enter the filter text
- Is less than or equal to - Text box to enter the filter text
- Is greater than or equal to - Text box to enter the filter text
- Number of errors to which the following may be applied:
- Equals - Text box to enter the filter text
- Is greater than or equal to - Text box to enter the filter text
- Is empty
- Data sources to which the following may be applied:
- Include
- Files and folders
- System State
- MS SQL
- Exchange
- Share point
- Include
- Recovery location name to which the following may be applied:
- Contains - Text box to enter the filter text
- Equals - Text box to enter the filter text
- Azure resource group to which the following may be applied:
- Contains - Text box to enter the filter text
- Equals - Text box to enter the filter text
- Device alias to which the following may be applied:
- Contains - Text box to enter the filter text
- Equals - Text box to enter the filter text
- Device type to which the following may be applied:
- Is any of - Select from the list of values
- Servers
- Workstations
- Is none of - Select from the list of values
- Servers
- Workstations
- Is any of - Select from the list of values
- FRS & DFSR services to which the following may be applied:
- Is any of - Select from the list of values
- On
- Off
- Is none of - Select from the list of values
- On
- Off
- Is any of - Select from the list of values
- LSV path to which the following may be applied:
- Contains - Text box to enter the filter text
- Equals - Text box to enter the filter text
- LSV state to which the following may be applied:
- Is any of - Select from the list of values
- On
- Off
- Is none of - Select from the list of values
- On
- Off
- Is any of - Select from the list of values
- Number of selected files to which the following may be applied:
- Equals - Text box to enter the filter text
- Is less than - Text box to enter the filter text
- Is greater than - Text box to enter the filter text
- Is less than or equal to - Text box to enter the filter text
- Is greater than or equal to - Text box to enter the filter text
- Is empty
- Storage location to which the following may be applied:
- Contains - Text box to enter the filter text
- Equals - Text box to enter the filter text
- Virtual switch to which the following may be applied:
- Contains - Text box to enter the filter text
- Equals - Text box to enter the filter text
- VM DNS server to which the following may be applied:
- Contains - Text box to enter the filter text
- Equals - Text box to enter the filter text
- VM gateway to which the following may be applied:
- Contains - Text box to enter the filter text
- Equals - Text box to enter the filter text
- VM IP address to which the following may be applied:
- Contains - Text box to enter the filter text
- Equals - Text box to enter the filter text
- VM subnet mask to which the following may be applied:
- Contains - Text box to enter the filter text
- Equals - Text box to enter the filter text
- Azure VM size to which the following may be applied:
- Contains - Text box to enter the filter text
- Equals - Text box to enter the filter text
- Device name to which the following may be applied:
- And
-
Searches can be layered, e.g. Device name contains 'ben' and Customer contains 'Germany'

-
Click OK.
Exporting
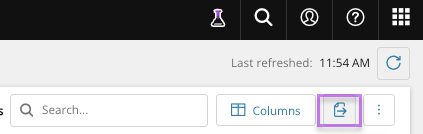
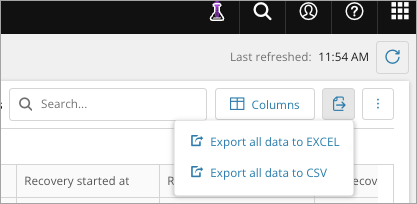
You may export a list of devices currently assigned a plan by clicking the Export icon
This will then provide a separate dialog where you can choose to export in either XSLX or CSV.
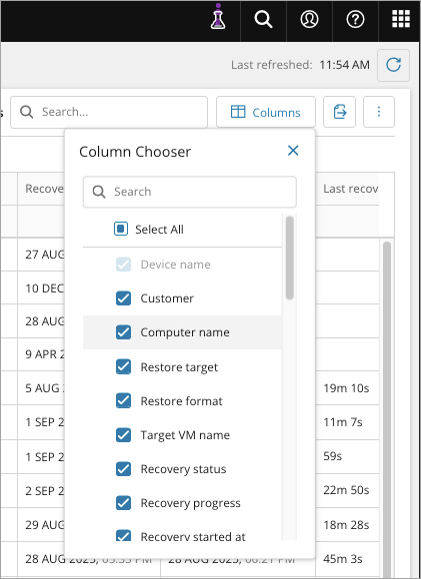
Manage Table Columns
Management Console allows you to manage the tables columns that can be seen within the One-Time Restore overview.
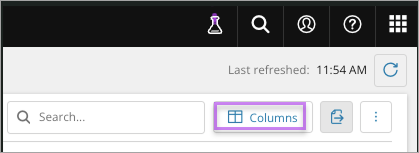
In the Manage table columns dialog, you can select and deselect columns based on the information you wish to view from the overview.
Accessing device properties
The Device Properties window displays several tabs detailing information on the Backup device. Full details of the contents of each tab can be found on the Device management in Management Console page.
This window can be accessed by clicking the Device Name from the One-Time Restore overview.
The two that are the most commonly used with One-Time Restore are the Overview tab and the Settings tab.
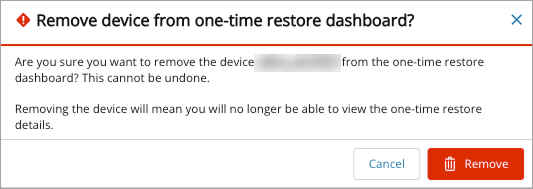
Remove Restore Record from Dashboard
From the One-Time Restore overview, you may remove the record of a device's restore history.
This option is available for any restore status.
This does not remove the device from any Standby Image plans or delete the device in Cove.
To remove a device's restore record:
- Log in to the Management Console under a SuperUser or Manager account
- Navigate to Continuity > One-Time Restore
- Using the search or filtering options, find the device(s) for which you need to delete the recovery record
- Either:

- Select the device(s) using the checkbox to the left of the Device Name and click Remove from Dashboard from the top bar
- Right click on the device and select Remove from Dashboard
or
- Confirm removal of the device's history