For detailed steps on restoring data for each of the Microsoft 365 services, select the appropriate service's instructions below. Before you begin, ensure you have met the necessary requirements:
Requirements
The following account types are required:
- A Security Officer role (for initiating a restore)
- A Global administrator account for Microsoft 365
To restore data to a newly created Exchange mailbox or OneDrive account you have to login at least once to the created mailbox/account.
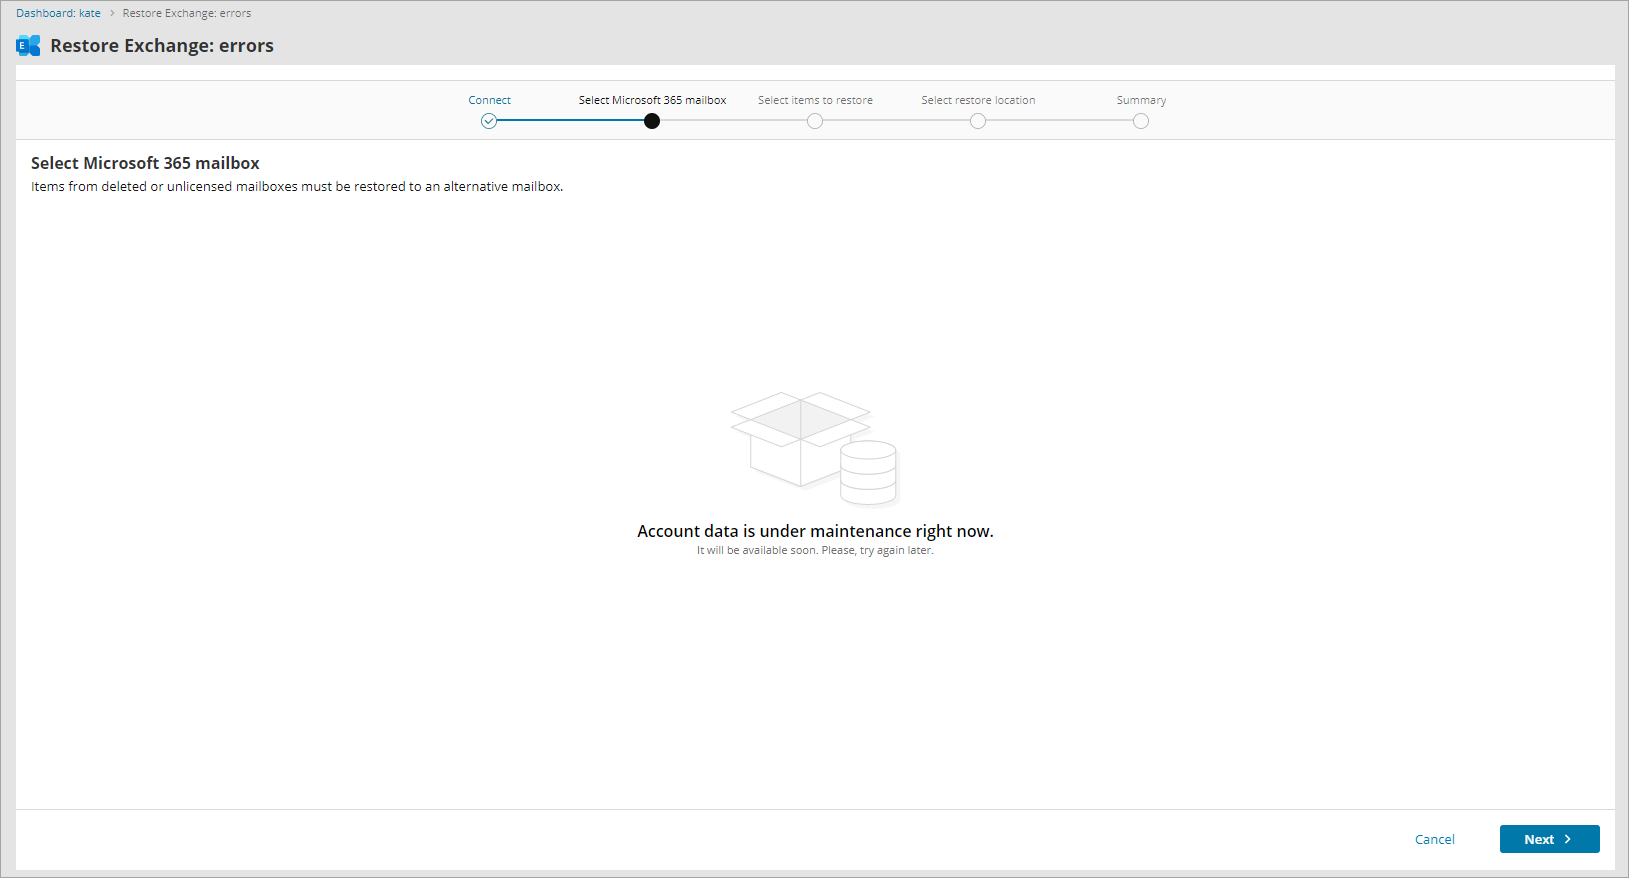
N-able may perform maintenance on the account data to improve performance. The duration of such maintenance is expected to be short and the restore will available shortly.
Instructions
Click the Microsoft 365 service to see instructions for Exchange, OneDrive, SharePoint, or Teams
- Log in to the Management Console as a user with Security Officer permissions
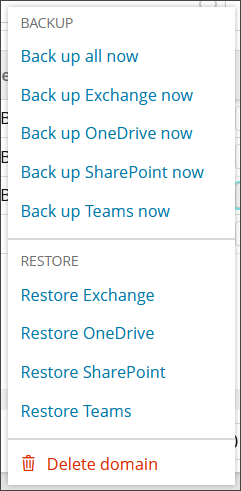
- Open the action menu for the domain and click Restore Exchange
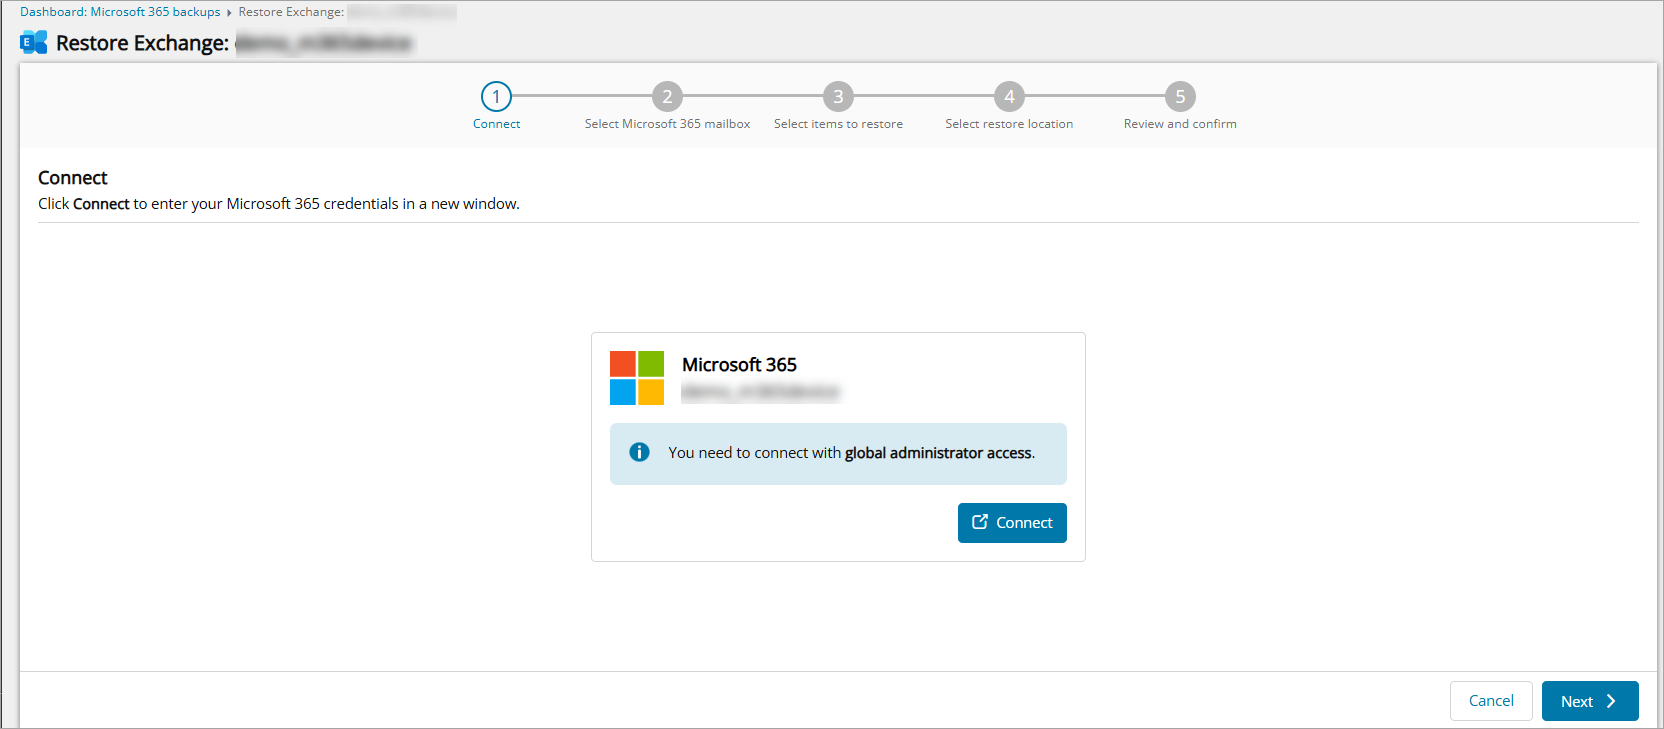
- Connect to the Microsoft 365 Exchange domain with administrative account credentials
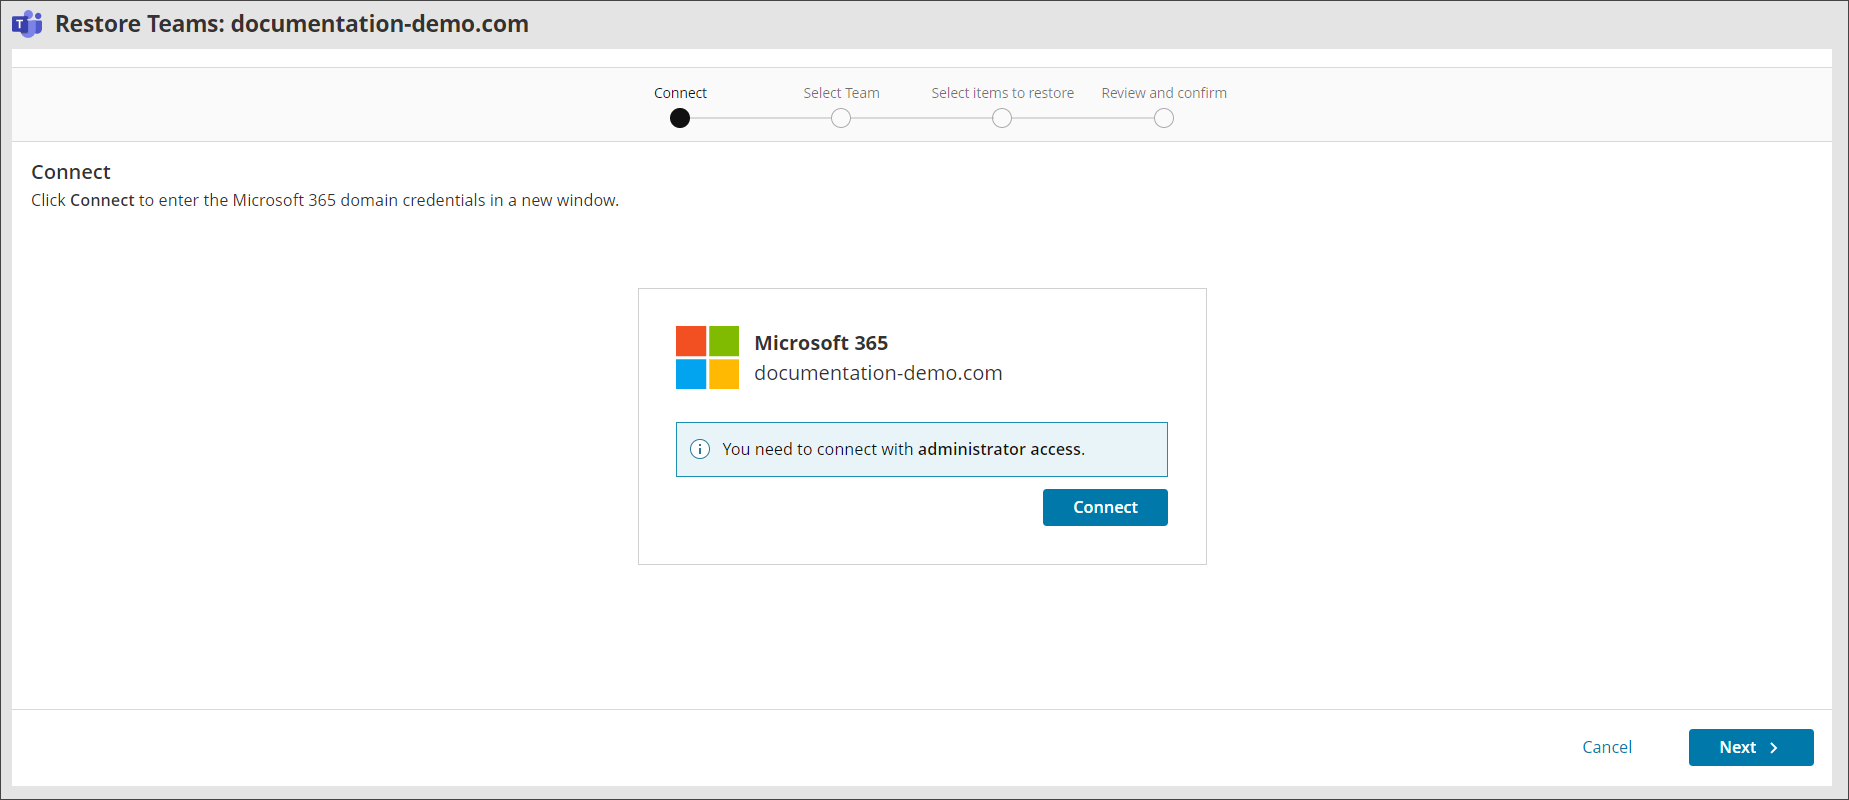
If you do not see the authentication page, make sure your browser is not blocking pop-up windows.
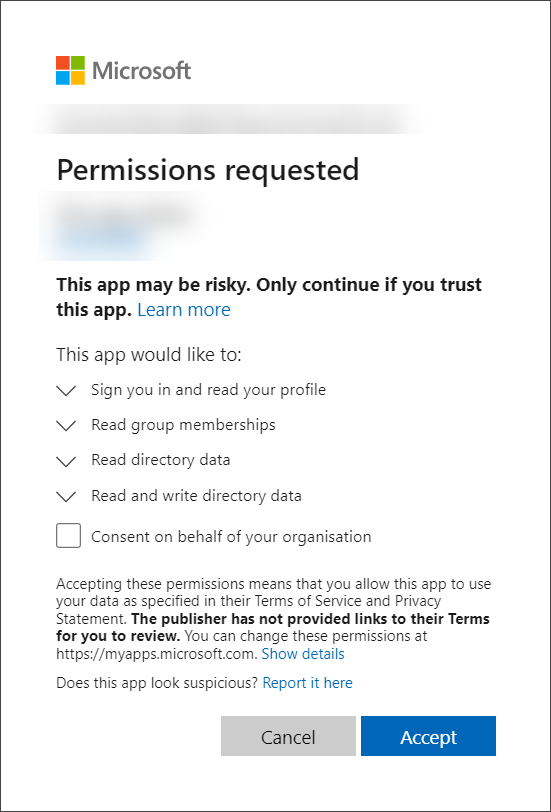
- Accept the required permissions
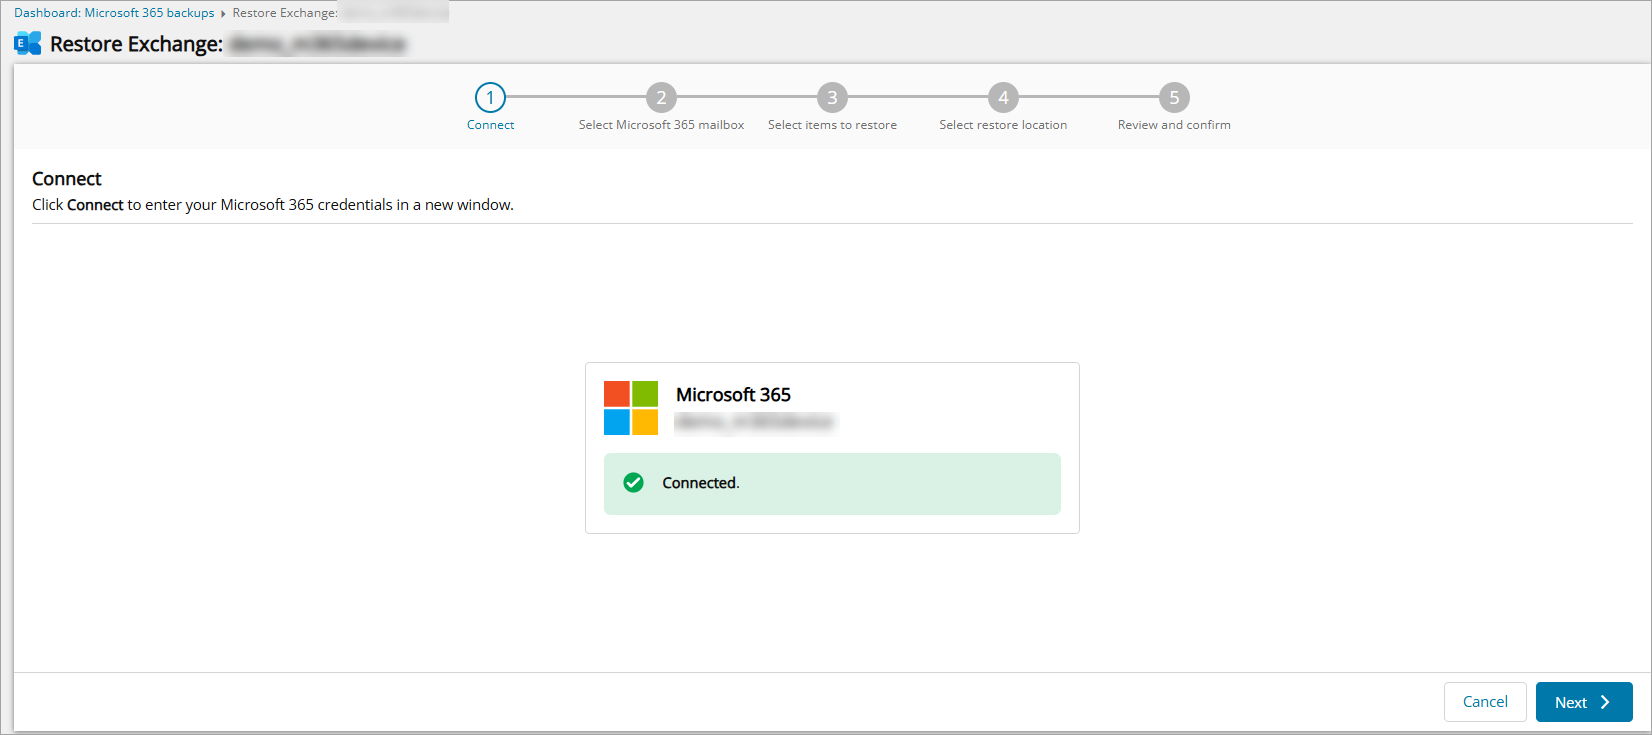
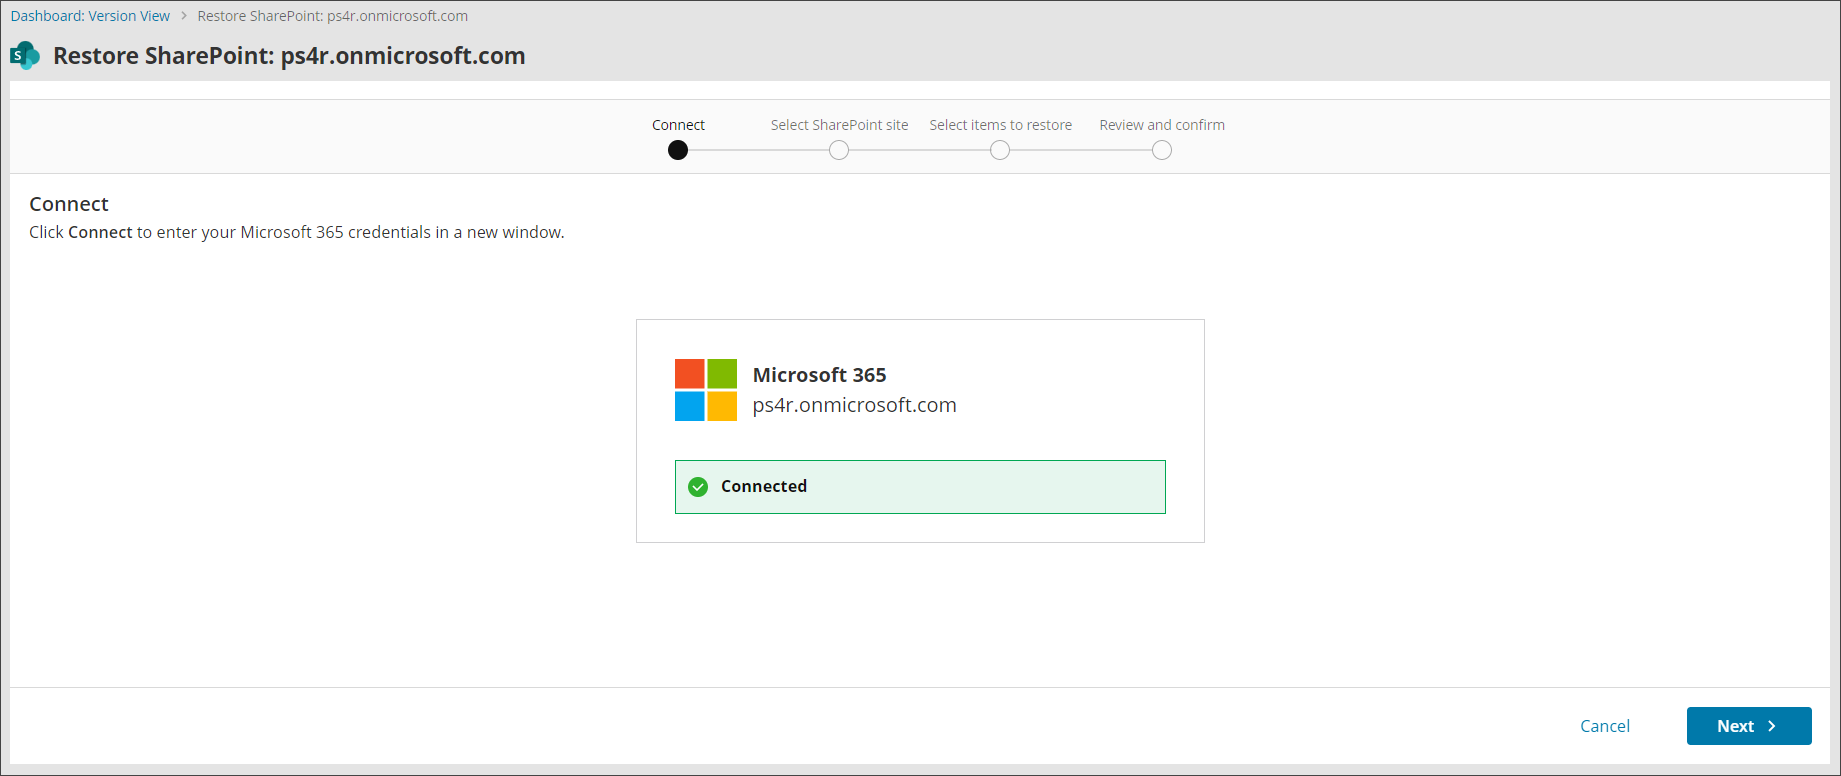
- You will receive a confirmation that the connection has been successful for the restore
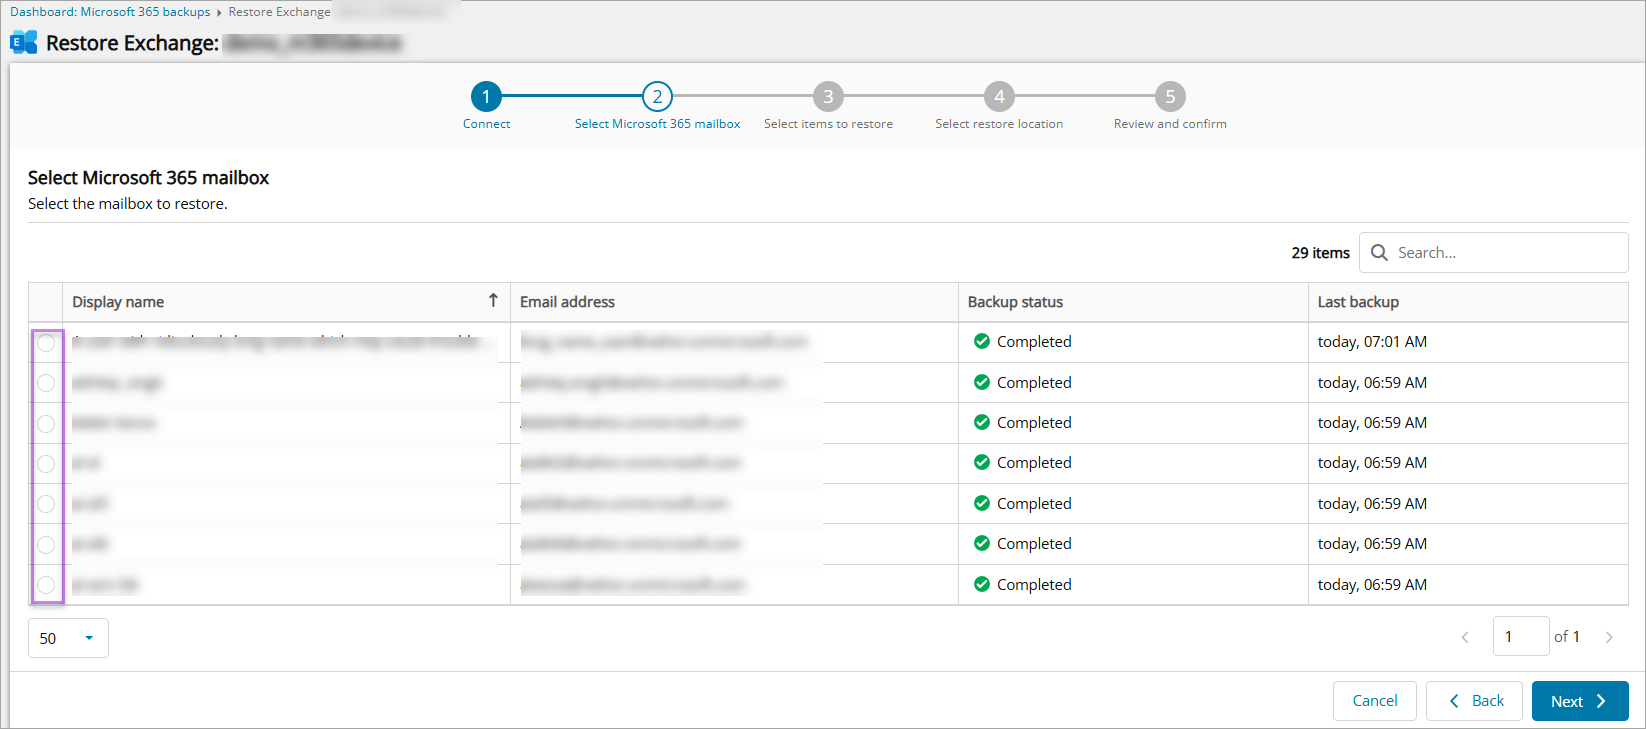
- Select the mailbox you wish to restore items from
- Select the backup session you wish to restore from
- Select the data to restore and click Next
- From the Folders tab:
- Regular Mailbox
- Archive
- Calendars
- Contacts
- Conversation History
- Deleted items
- Drafts
- Inbox
- Junk Email
- Outbox
- Recoverable items
- Sent items
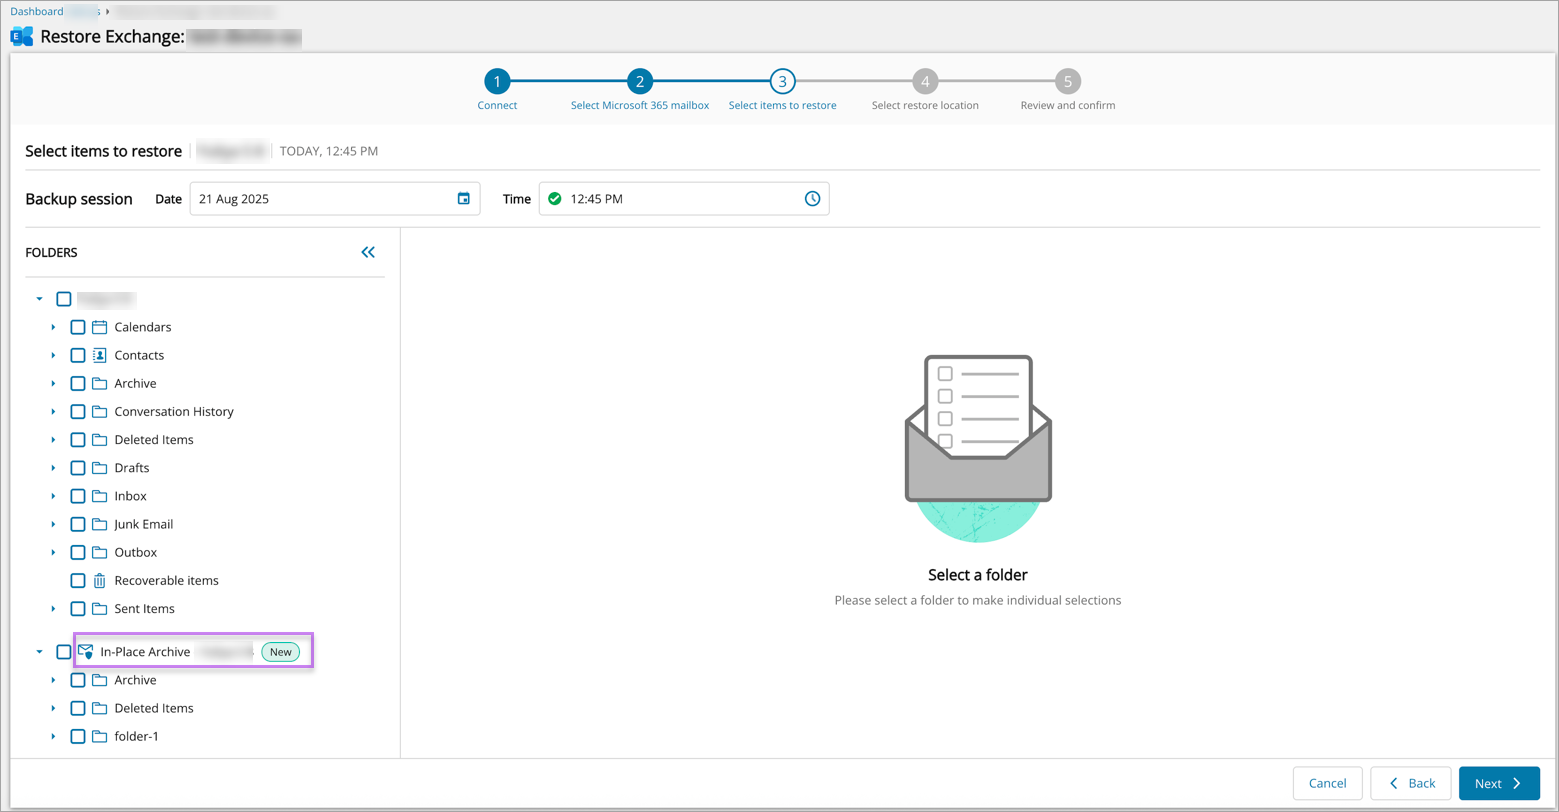
- In-Place Archive mailbox
- In-Place Archives data is available for restore within each Exchange restore session where In-Place Archives were backed up for selected mailbox (In-Place Archives backup has been enabled for the device and the user has In-Place Archive mailbox enabled).
Microsoft may resend calendar event notifications when restoring a full mailbox. To avoid this, deselect calendar items before restoring.
- Regular Mailbox
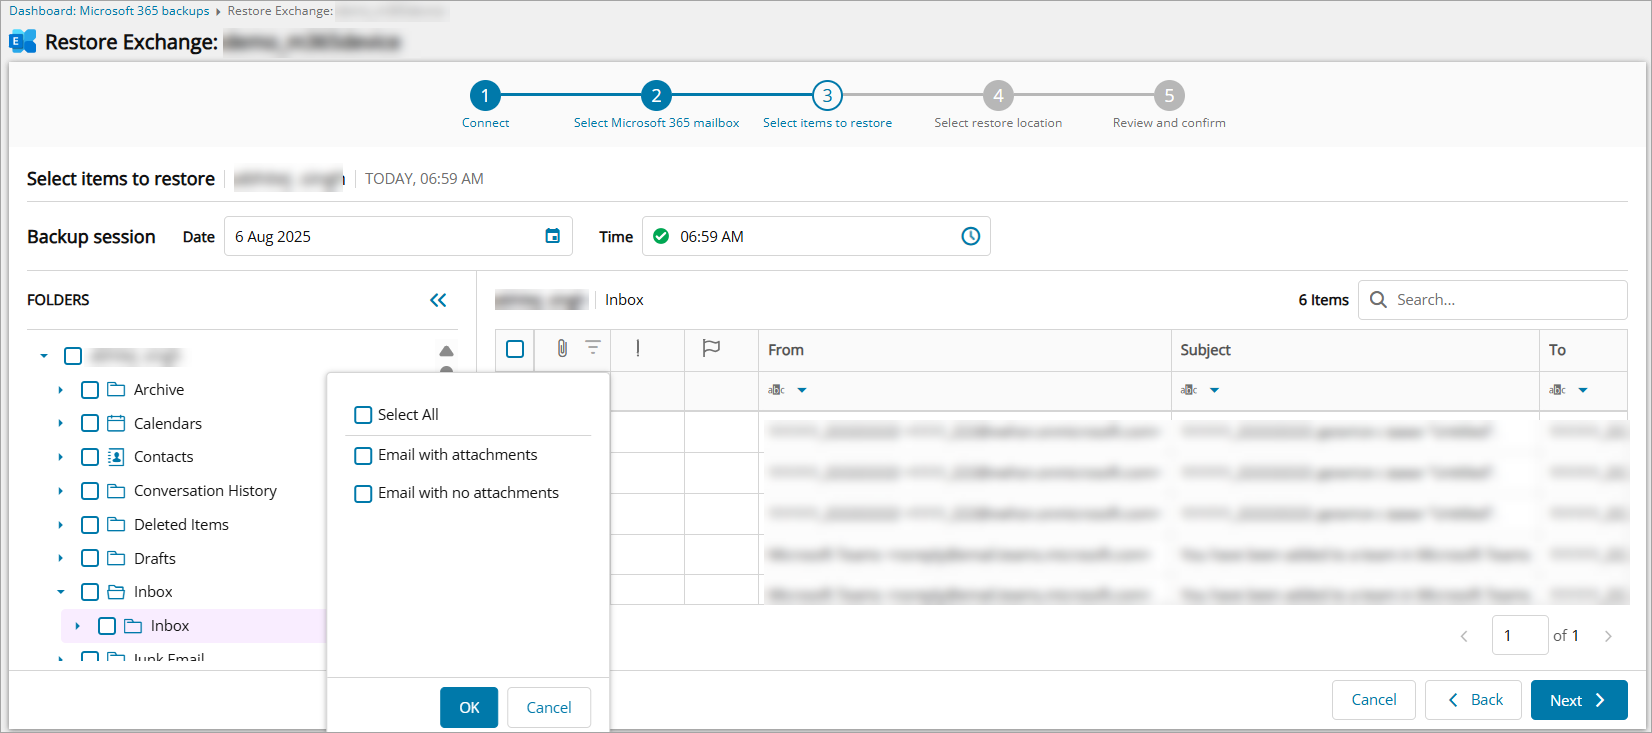
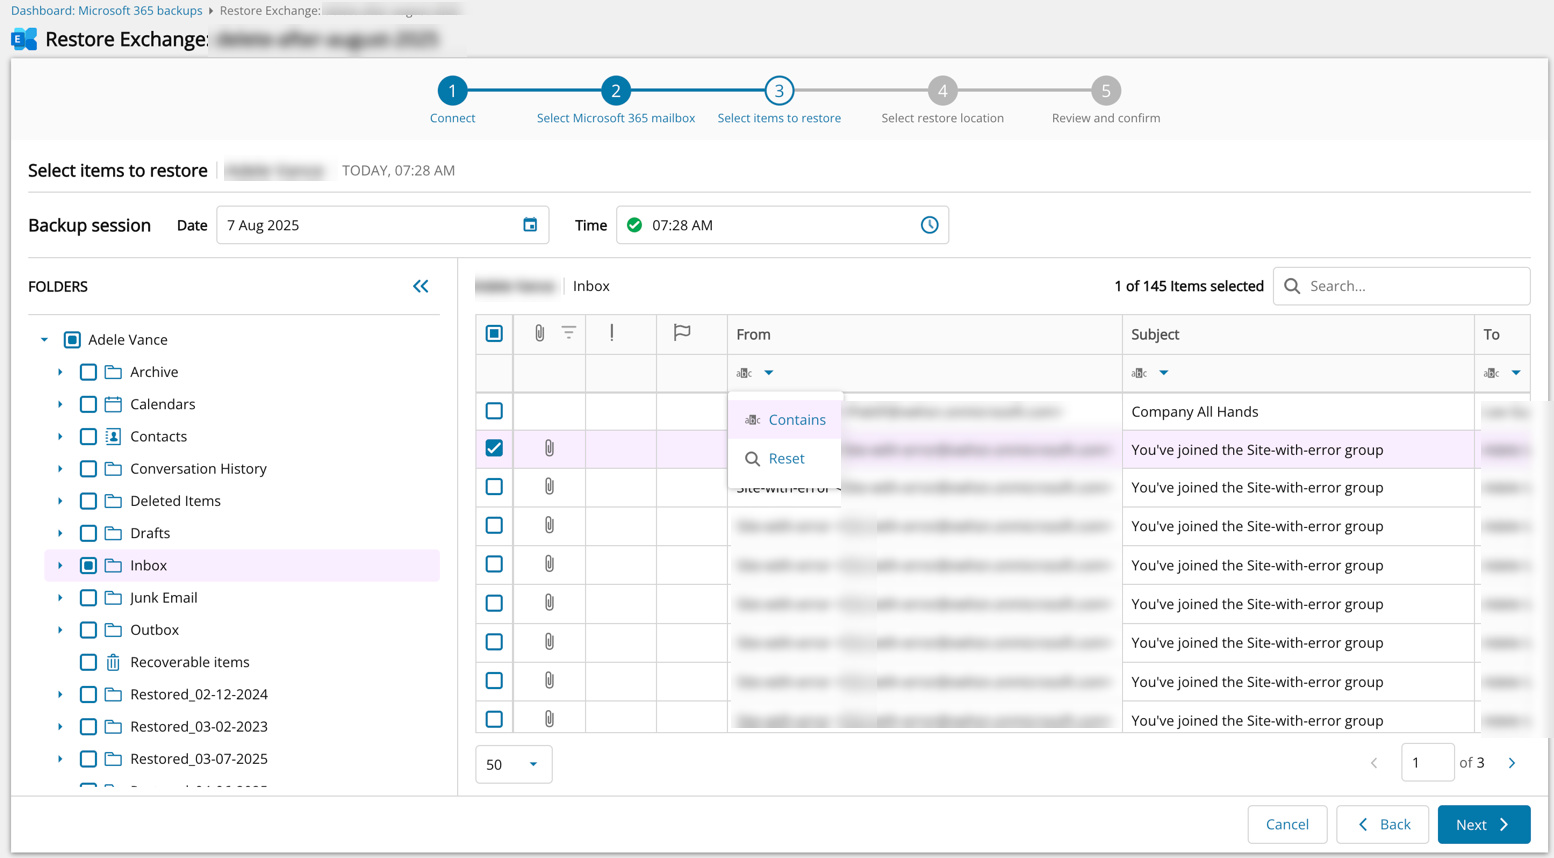
- Select the folder you wish to filter from the list by clicking the arrow and the icon respectively
It is possible to filter for Inbox, Deleted Items, Drafts, Junk Email, Outbox, Recoverable items, Sent items or any additional folders by:
- It is possible to filter for contacts by:
- Name
- Company
- It is possible to filter for calendars by:
- Message fields
- Organizer
- Subject
- Calendar (Appointment Type)
- All
- Single
- Recurring
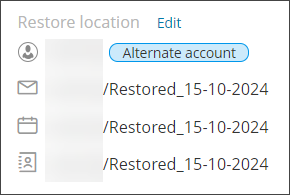
When restoring Calendar items, these will not be placed back into the original calendar location. Instead these will be placed in a folder titled "Restored_DD-MM-YYYY", where "DD-MM-YYYY" is the recovery date, in the mailbox.name/Calendar/ folder.
- Message fields
Or
- From the Folders tab:
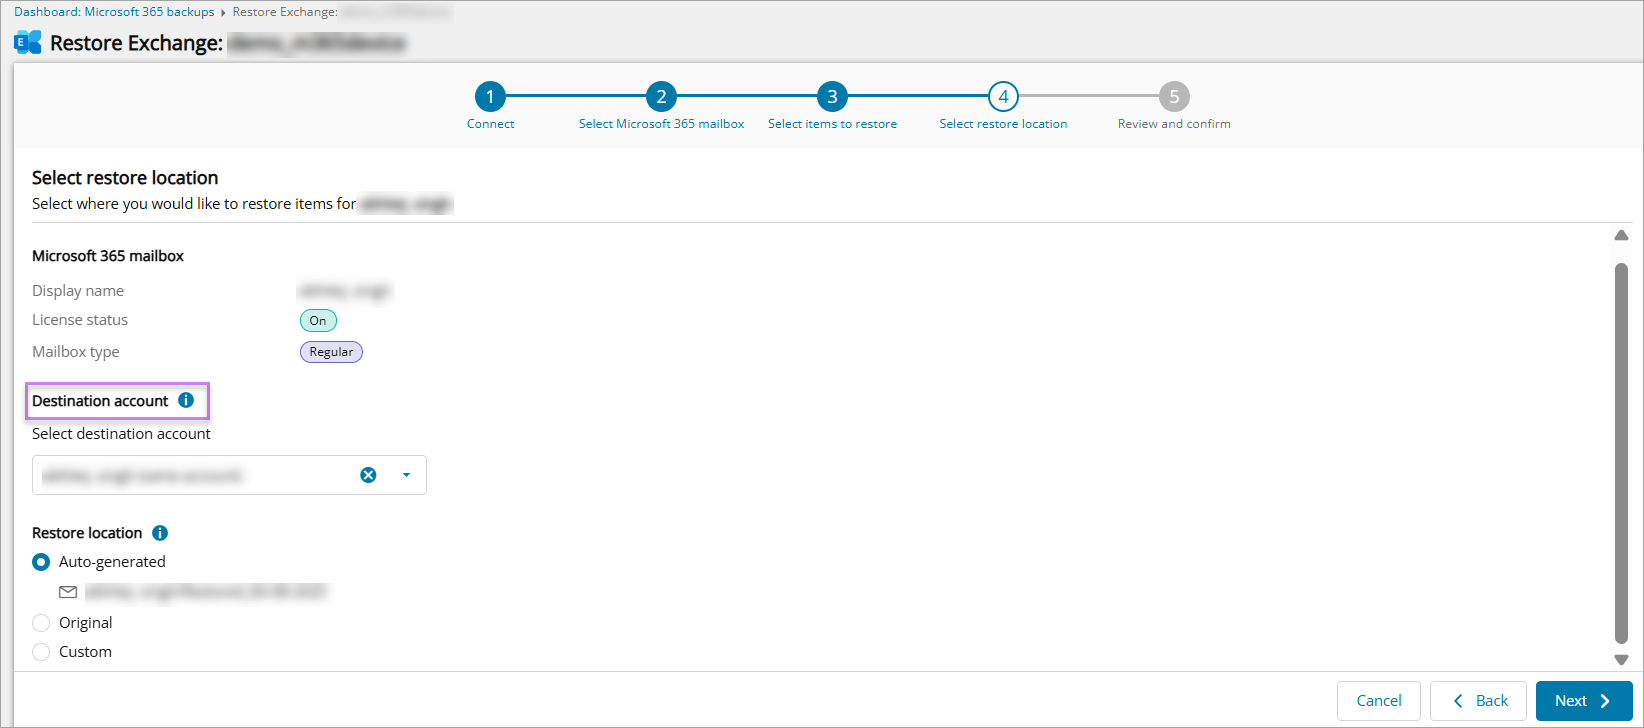
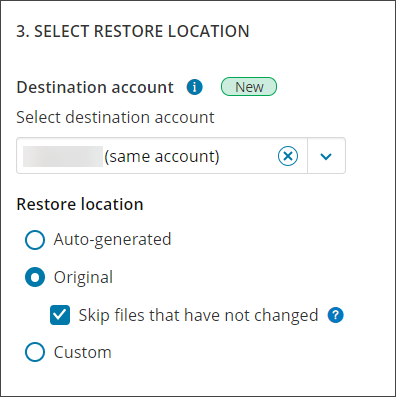
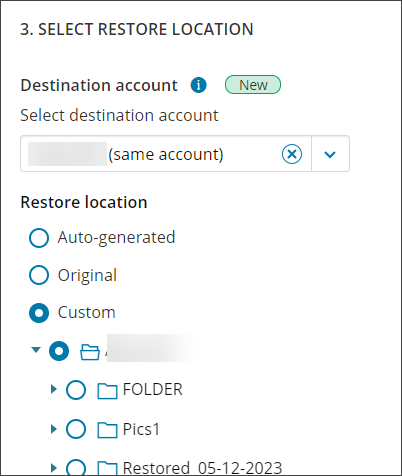
- Select the destination account for the restored data from the dropdown
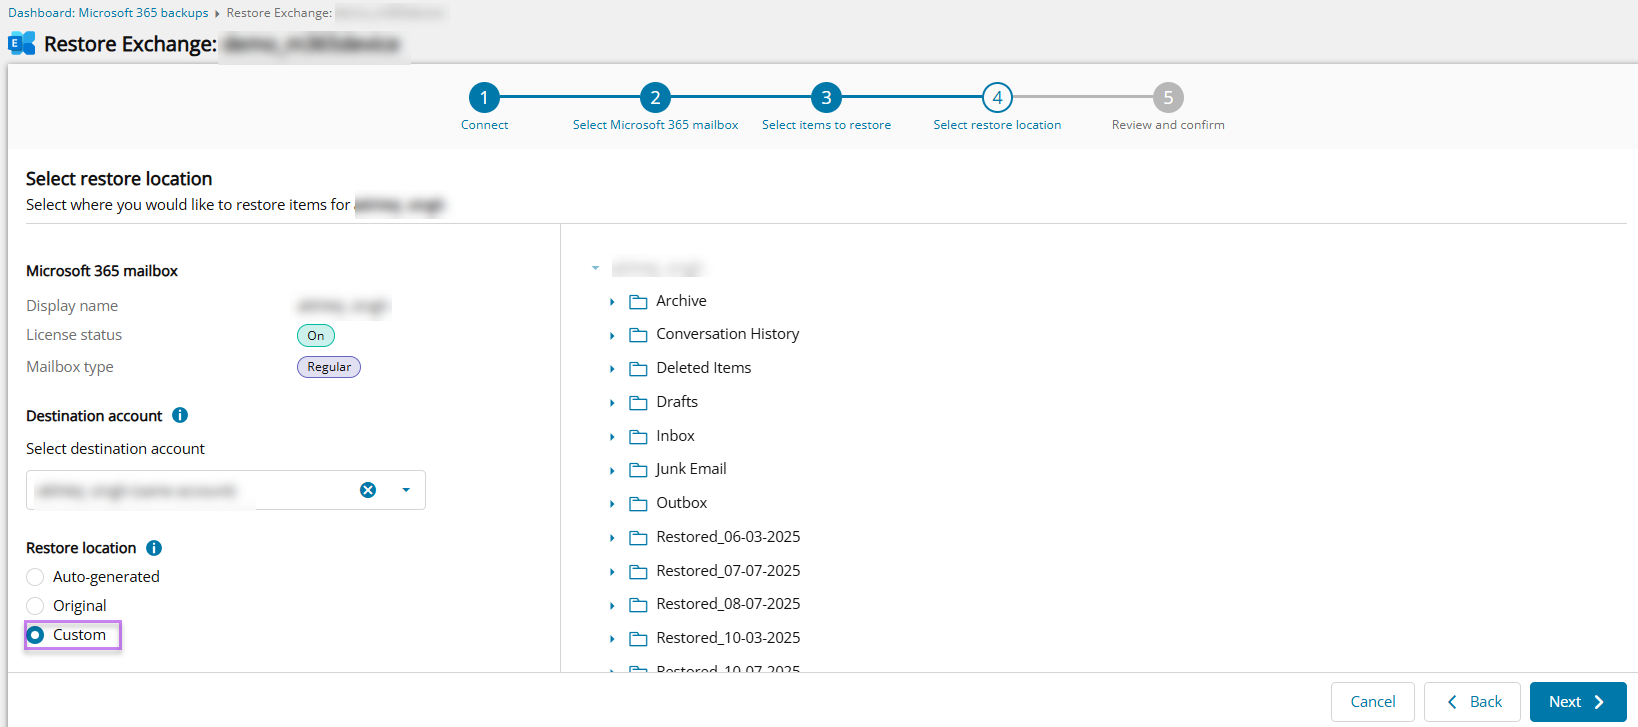
- Select the restore location for selection from Auto-generated, Original, or Custom:
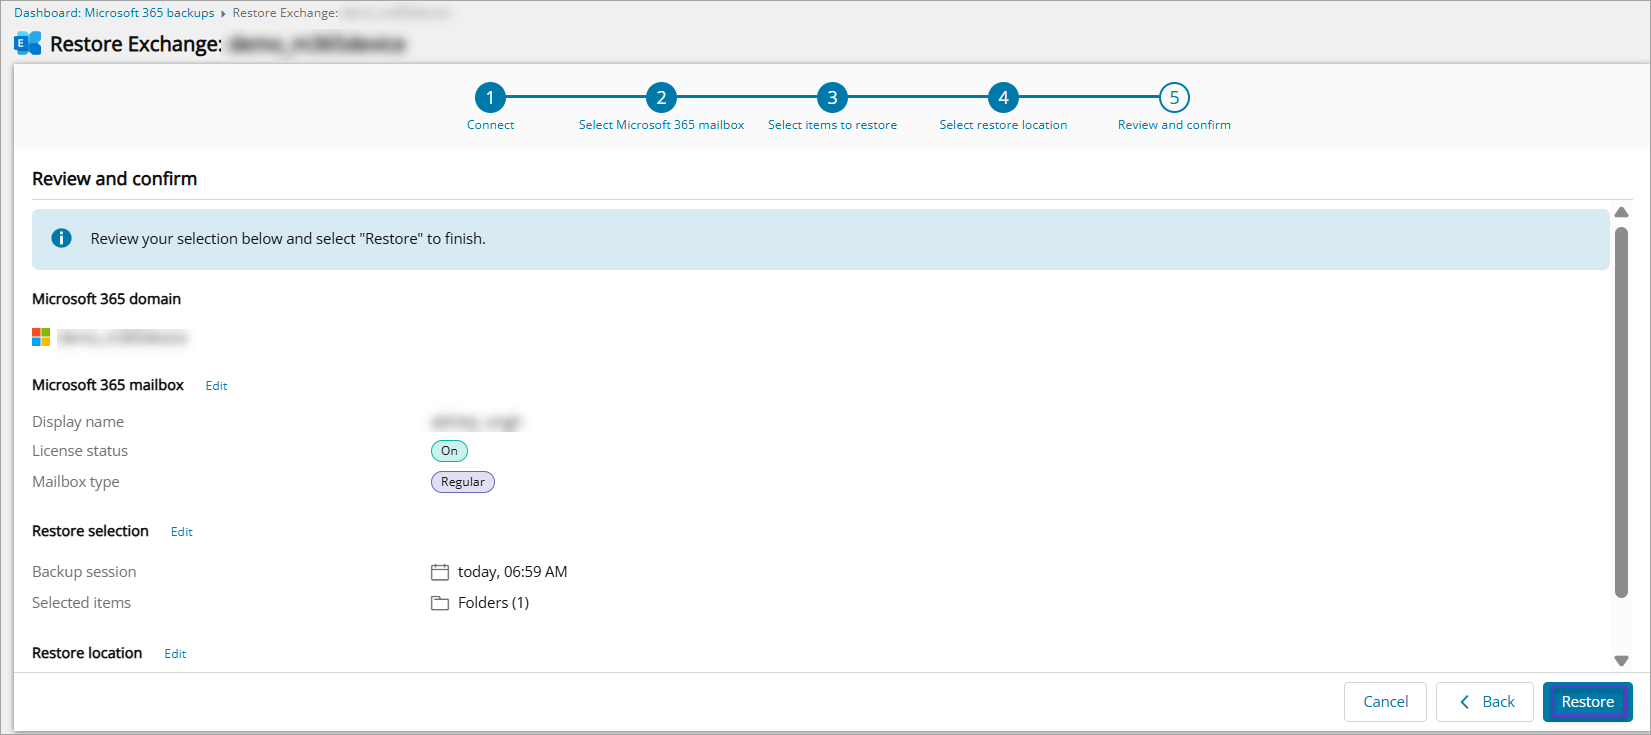
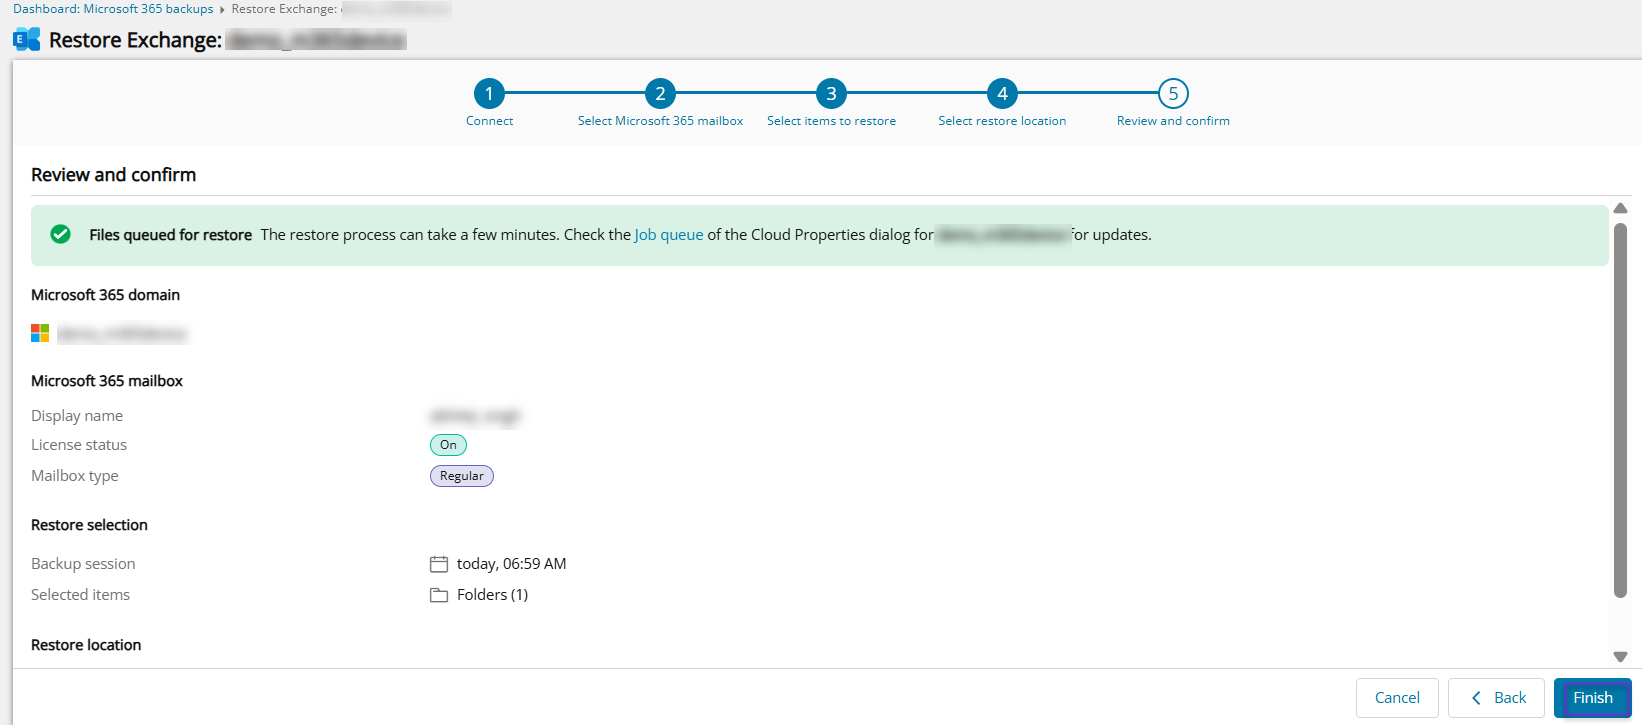
- Confirm your intention to start the recovery and close the wizard
Microsoft may resend calendar event notifications when you restore a full mailbox. If you wish to prevent this, please deselect calendar items.
You can select either the original user or any alternate user from the destination account dropdown to restore the In-Place Archives data.
If the selected user does not have In-Place Archives enabled, the Restore location options will be disabled.
Exchange items from an active account can be restored to either the same account or another account. Exchange items from a deleted or unlicensed account can only be restored to another account.
You may request to disable the ability to select a restore destination at a different account by contacting N-able support.
In-Place Archives can be restored to Original, Auto-generated or Custom Restore location of In-Place Archives mailbox.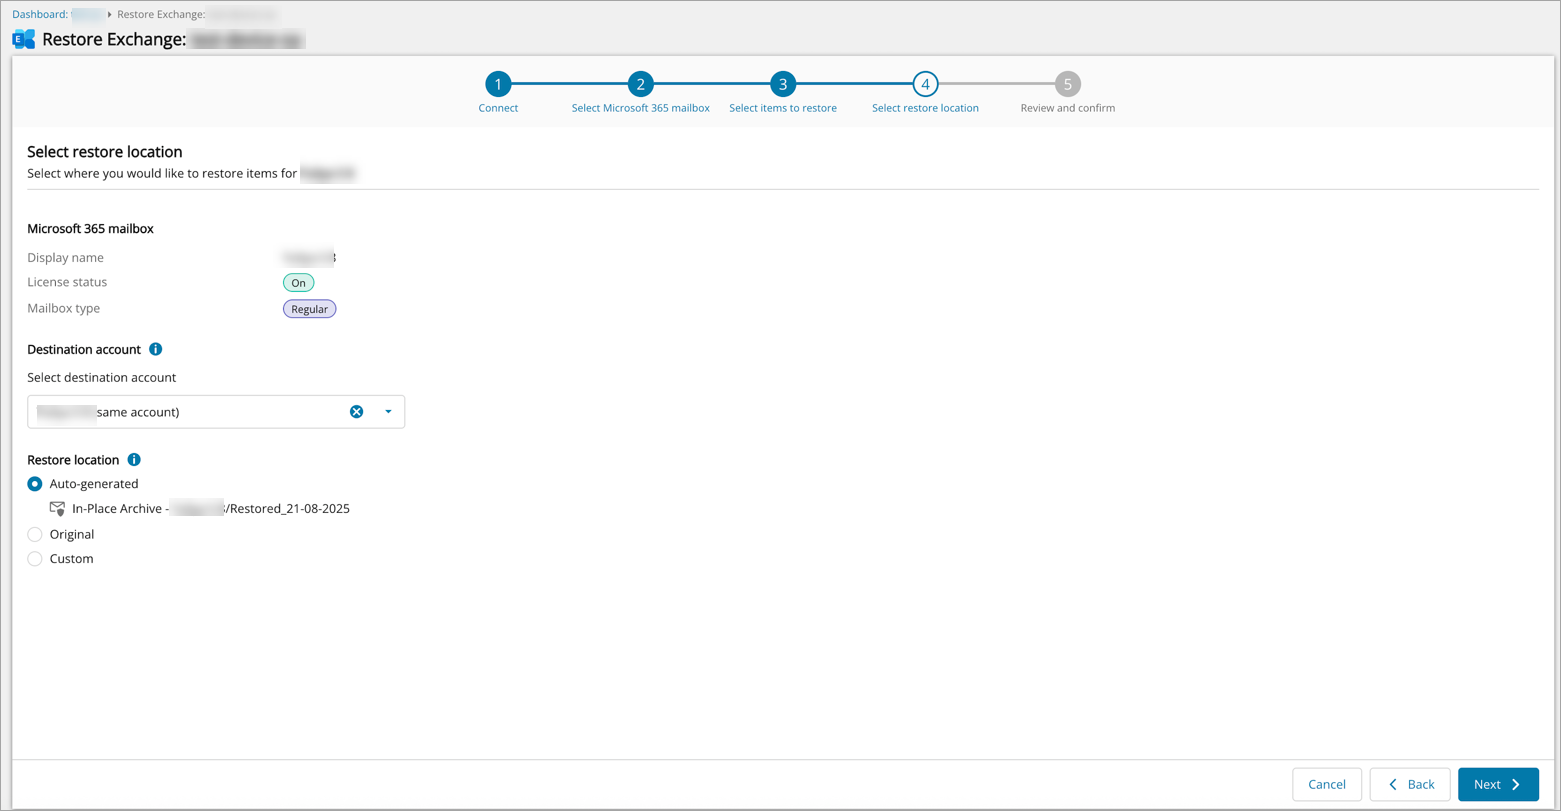
- Log in to the Management Console as a user with Security Officer permissions
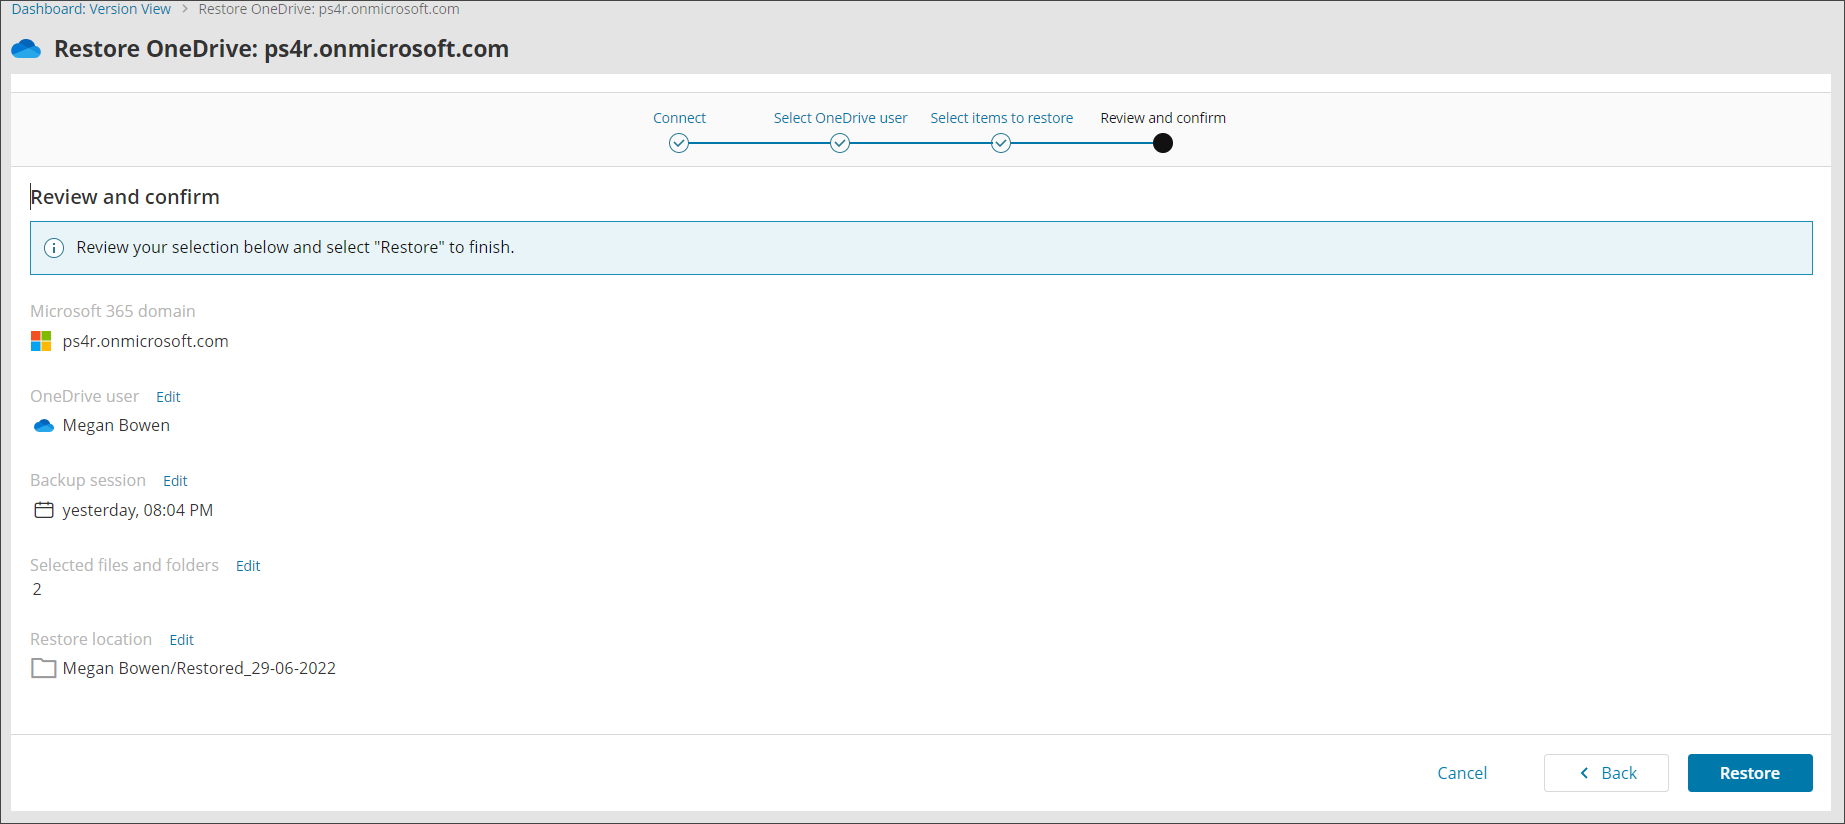
- Open the action menu for the domain and click Restore OneDrive
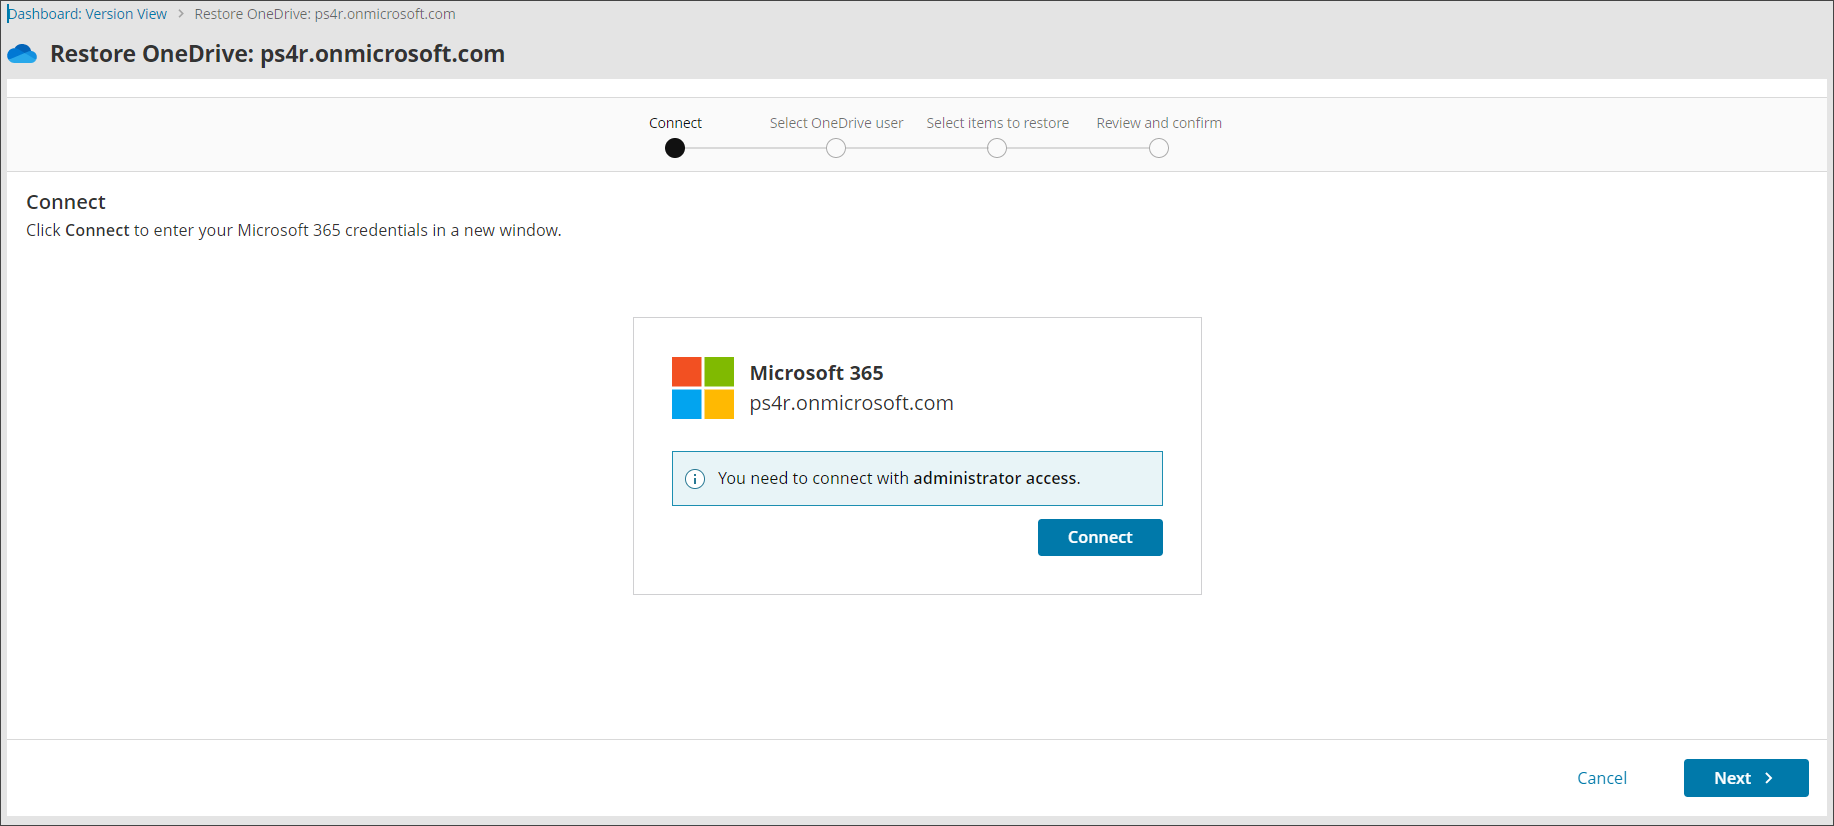
- Connect to the Microsoft 365 OneDrive account with administrative account credentials
- Accept the required permissions
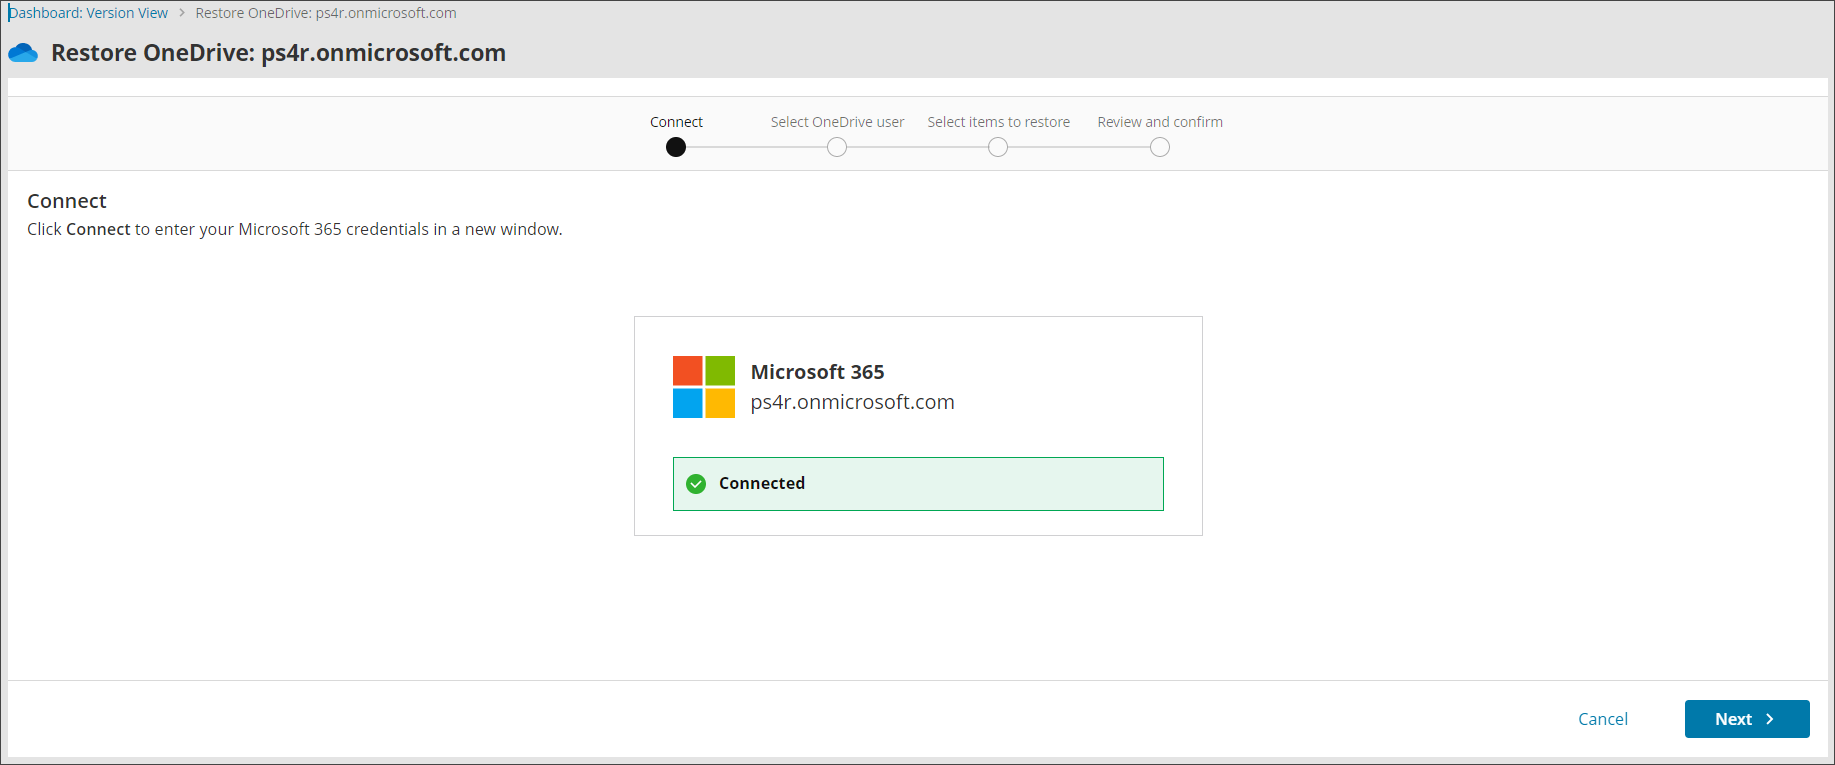
- You will receive a confirmation that the connection has been successful for the restore
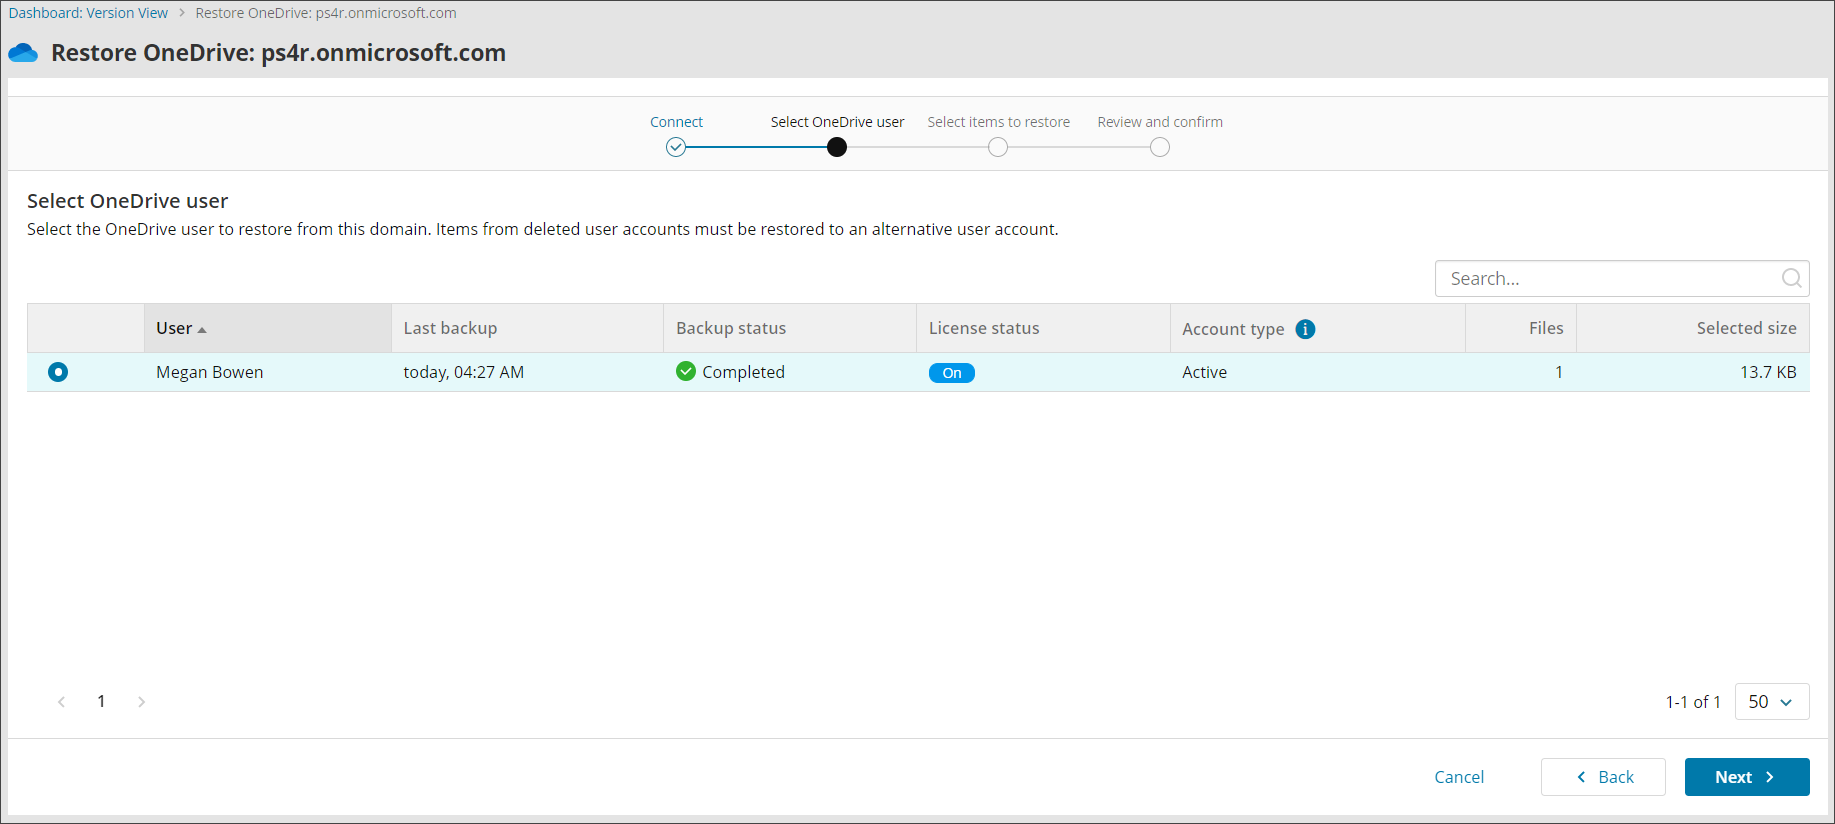
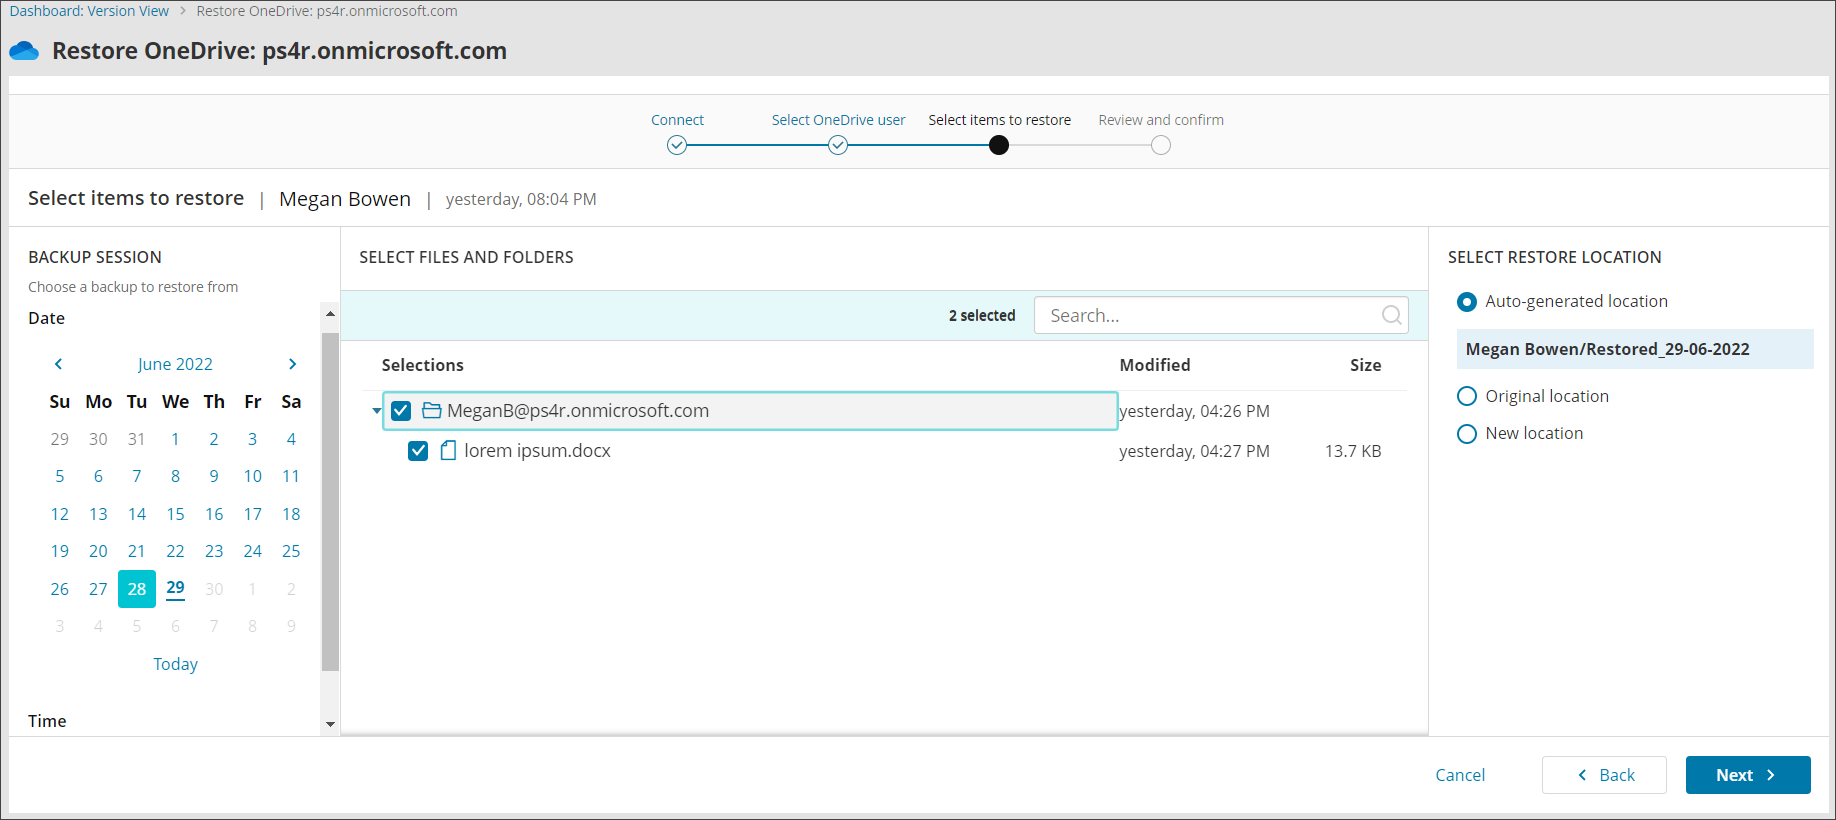
- Select the account you wish to restore items from and click Next. You will see the list of backed up accounts, backup status of the account, the account type (Active or Deleted), number of files and the size of the accounts selection.
- Select the backup date on the left and backup session from the dropdown below if more than one backup was completed on that date.
- Make your selection of the files and folders to restore from the backup tree
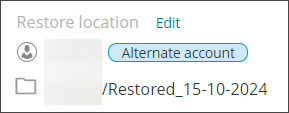
- Select the destination account for the restored data from the dropdown
You may request to disable the ability to select a restore destination at a different account by contacting N-able support
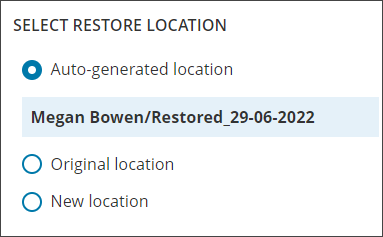
- Select the restore location for selection from:
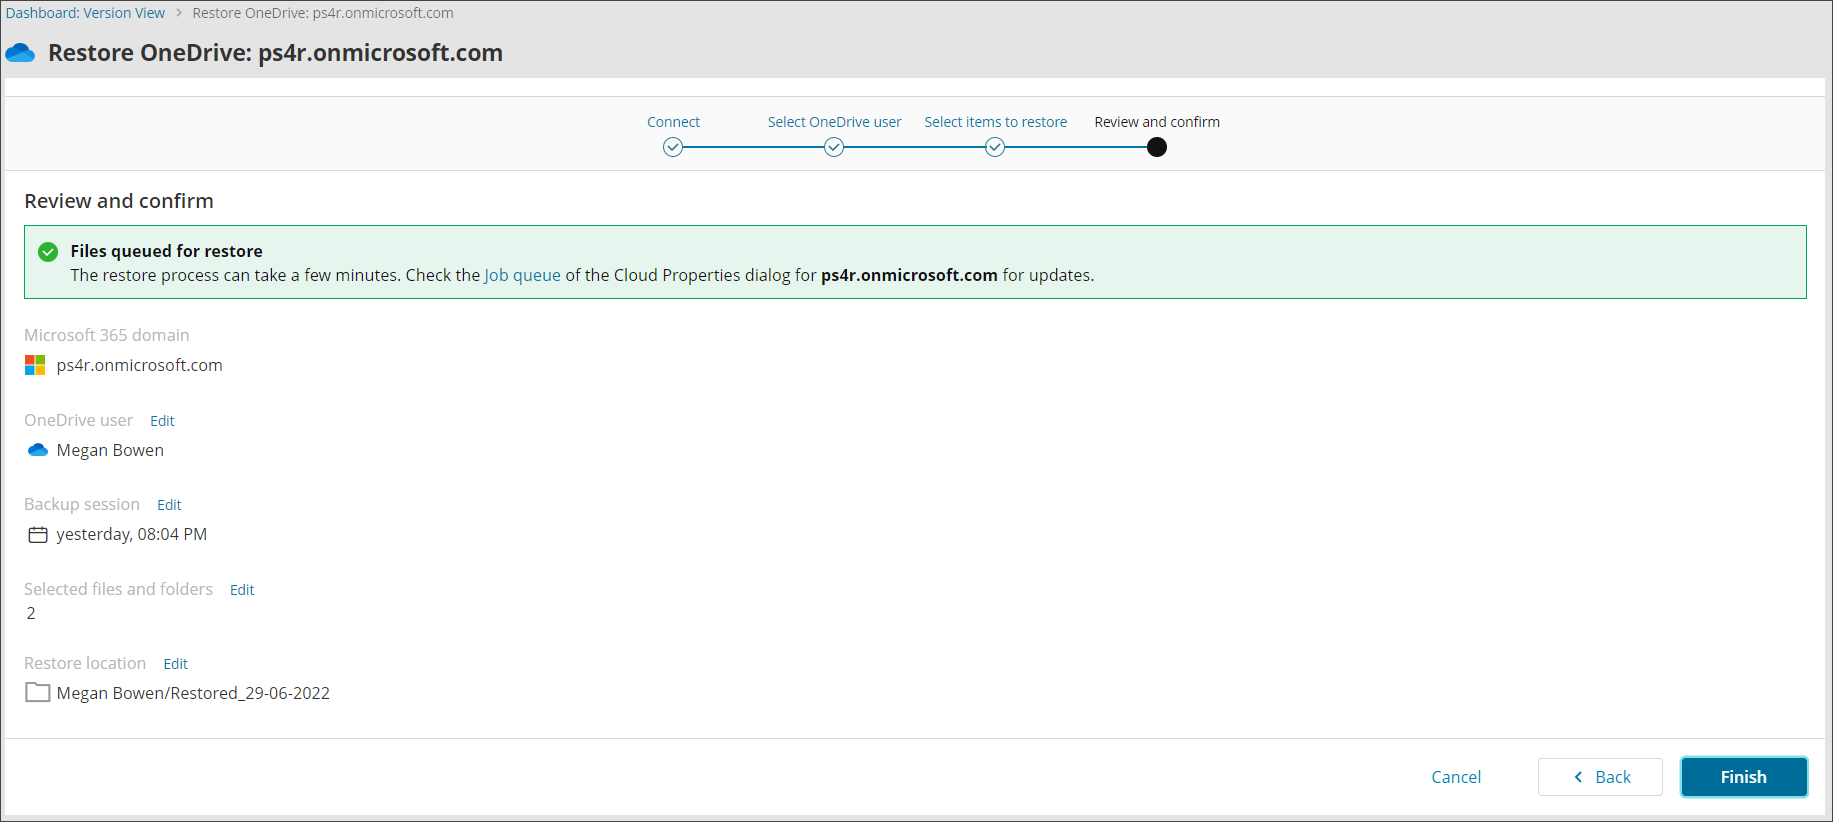
- Confirm your intention to start the recovery and close the wizard
If you do not see the authentication page, make sure your browser is not blocking pop-up windows.
Tick Consent on behalf of your organisation if you wish to allow this app access to the specified resources for all users in your organisation. No one else will be prompted to review these permissions.
- Log in to the Management Console as a user with Security Officer permissions
- Open the action menu for the domain and click Restore SharePoint

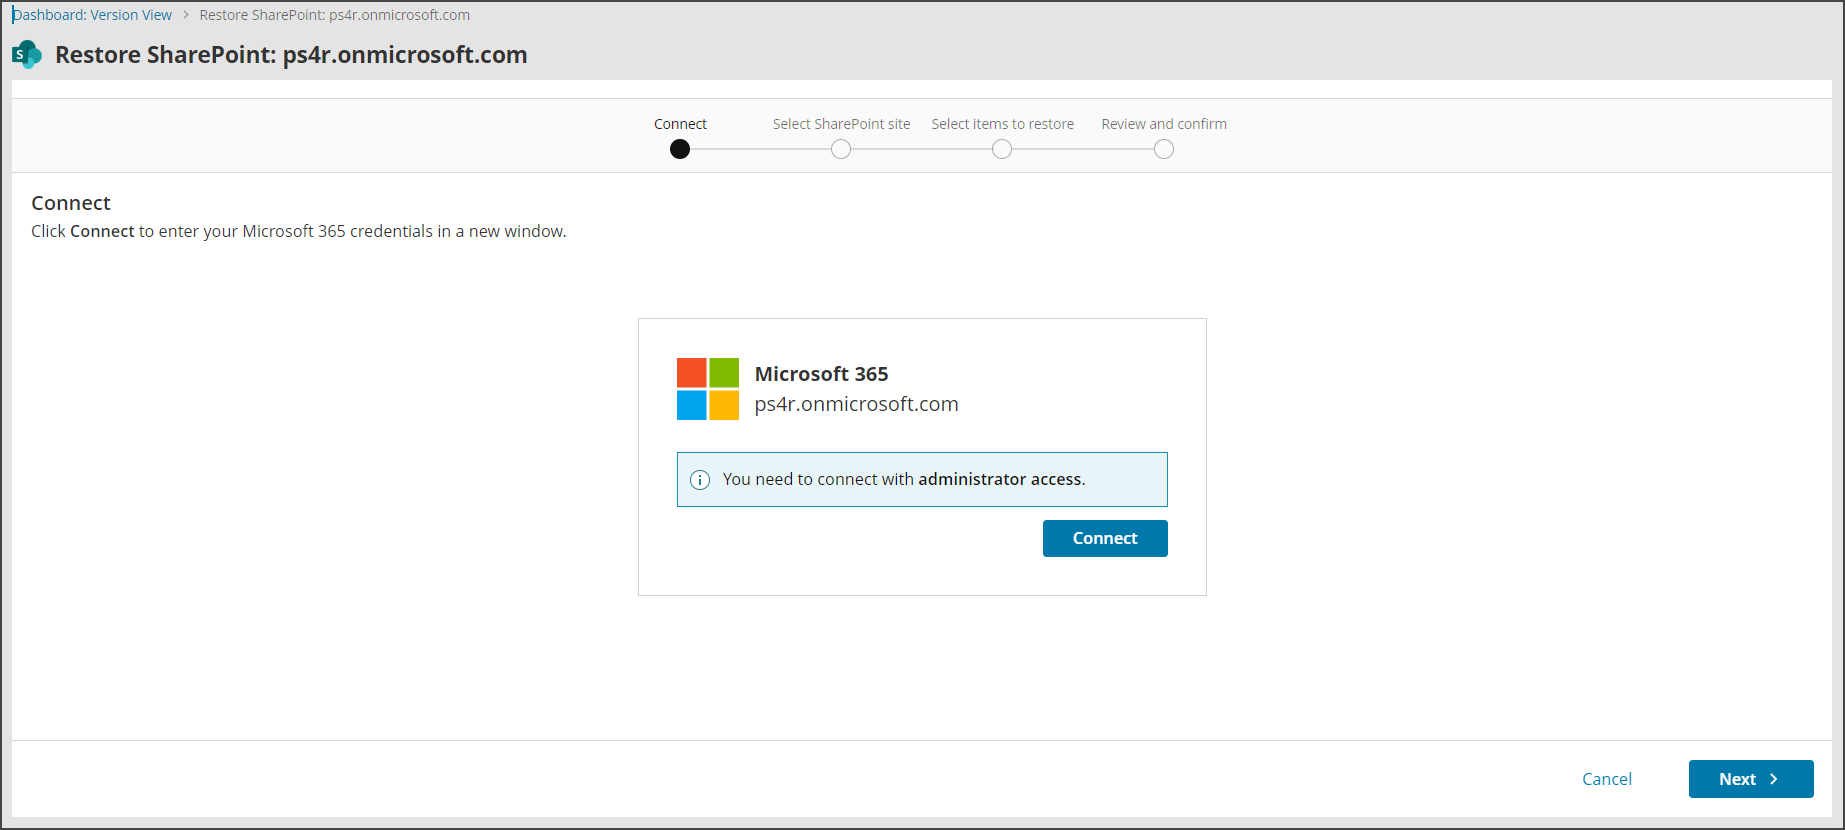
- Connect to the Microsoft 365 SharePoint account with administrative account credentials
- Accept the required permissions
- You will receive a confirmation that the connection has been successful for the restore
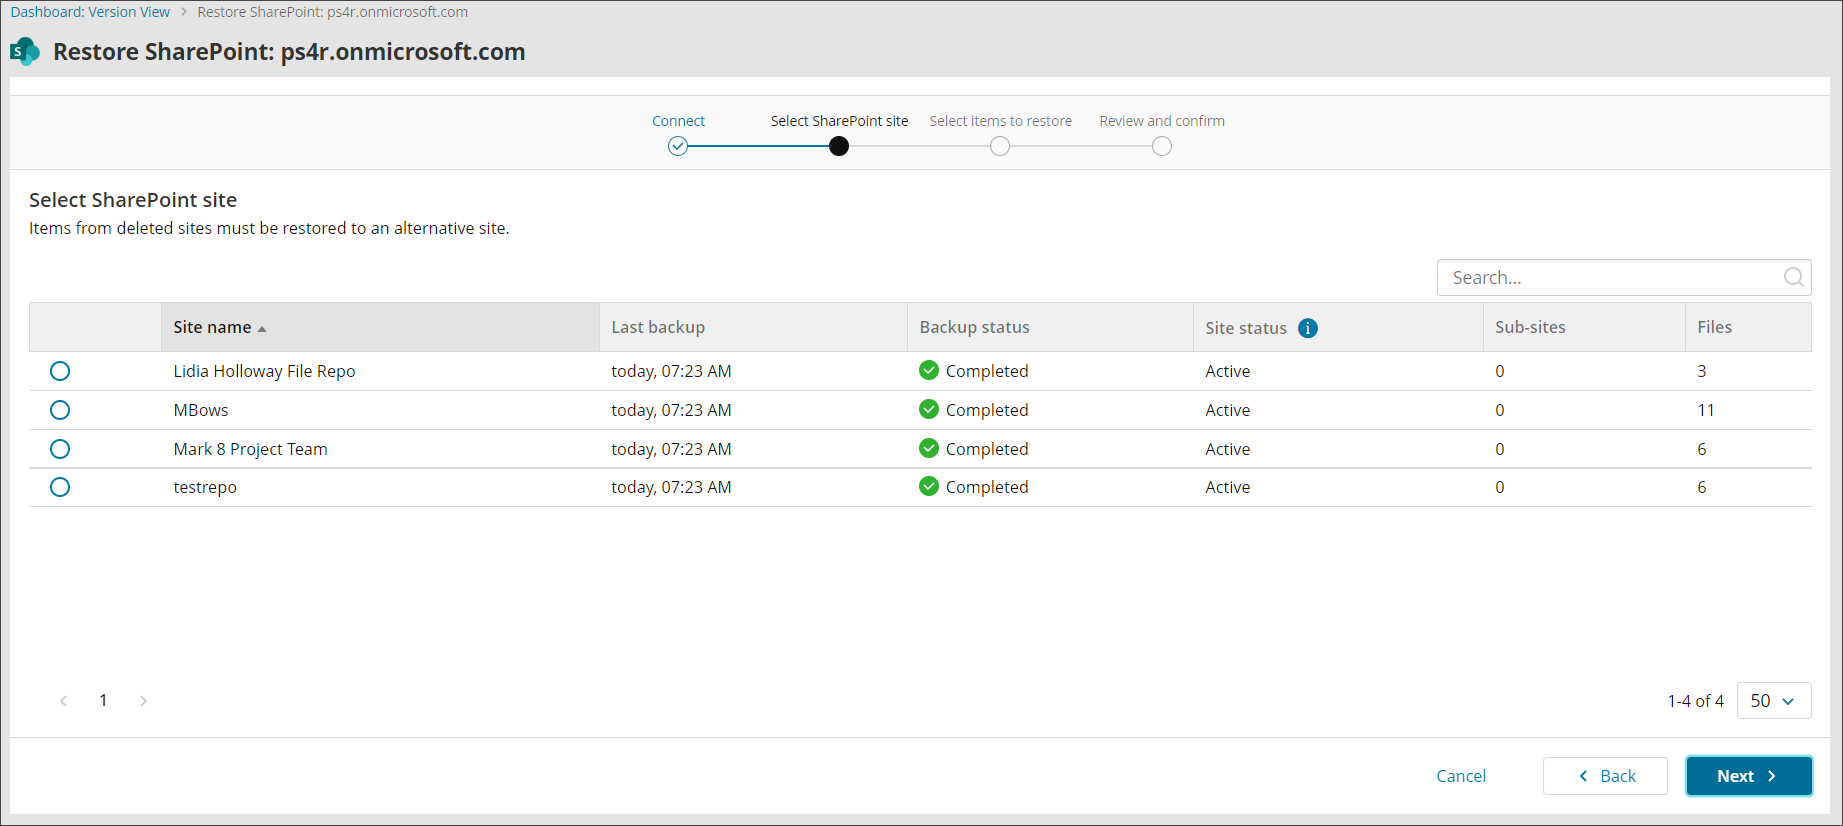
- Select the site you wish to restore from.
You will see the list of backed up sites, backup status of the site, the site status (Active or Deleted), number of Sub-sites and number of files.
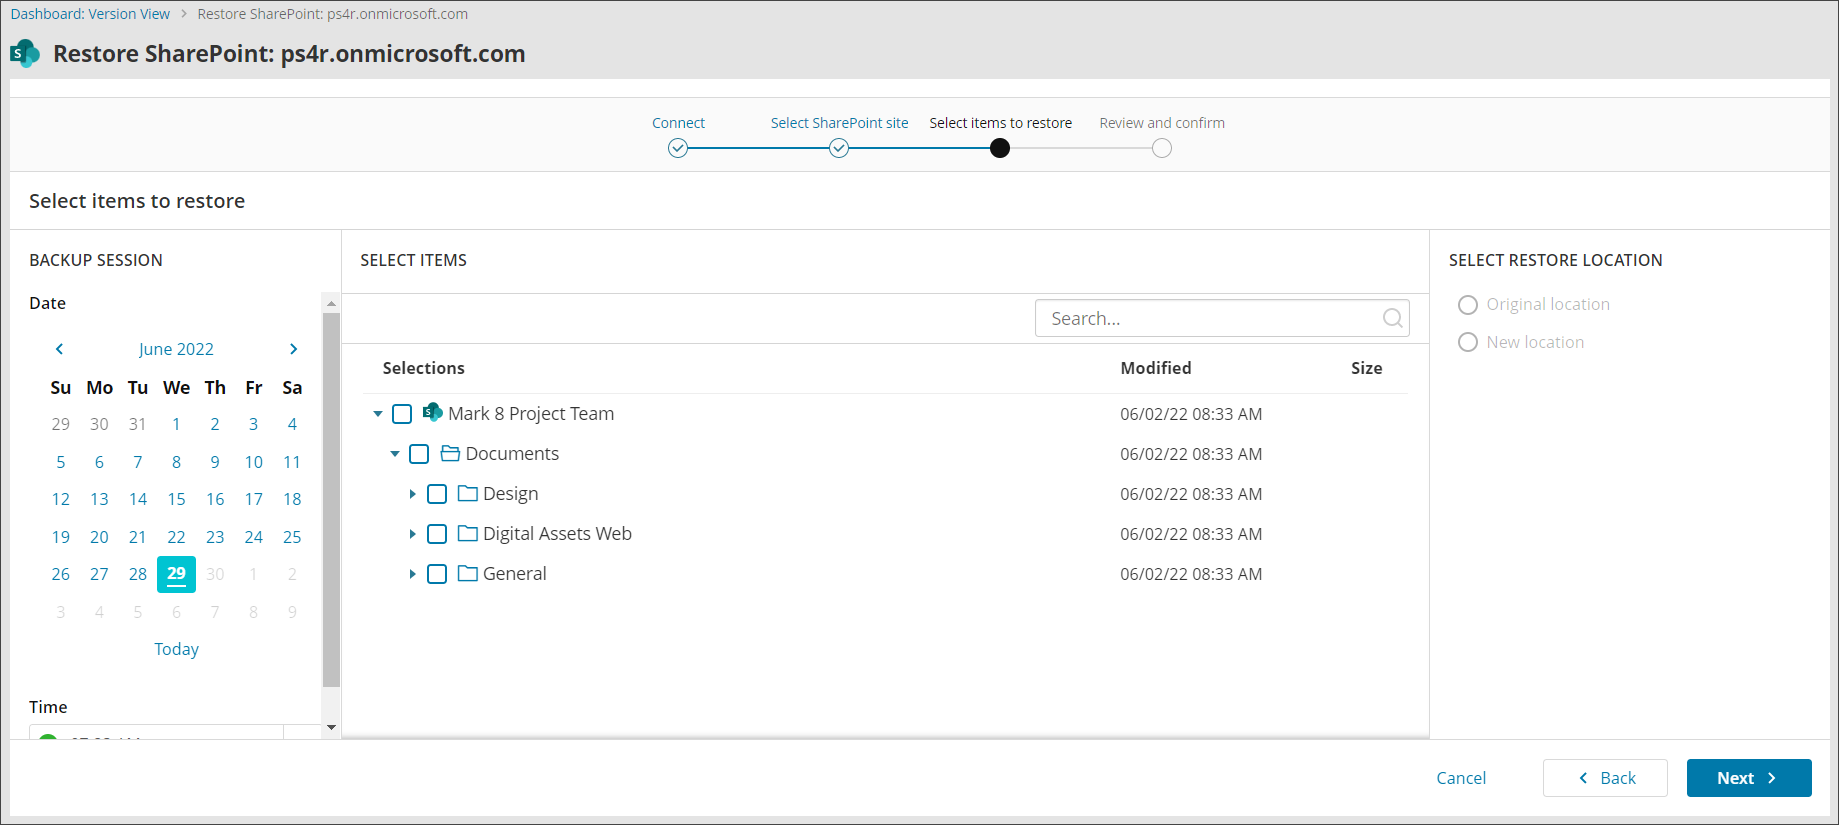
- Select the backup date, backup session and then the items restore from the backup tree
-
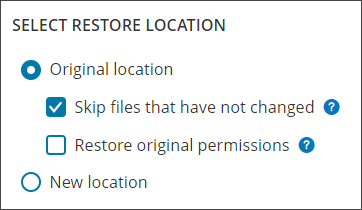
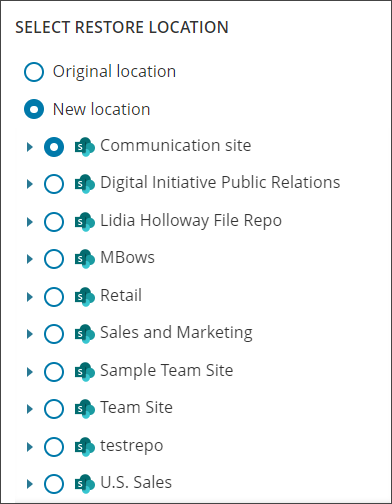
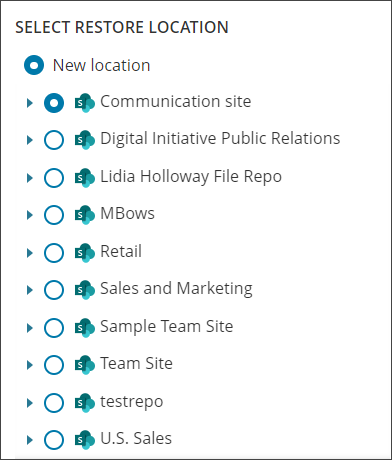
Select the restore location for items, which will be in a panel to the right or below the data selection
Regular Sites
When restoring to the Original Location, you will also see an option to restore original permissions. You can find information on Microsoft 365 SharePoint Permissions here.
Deleted Sites
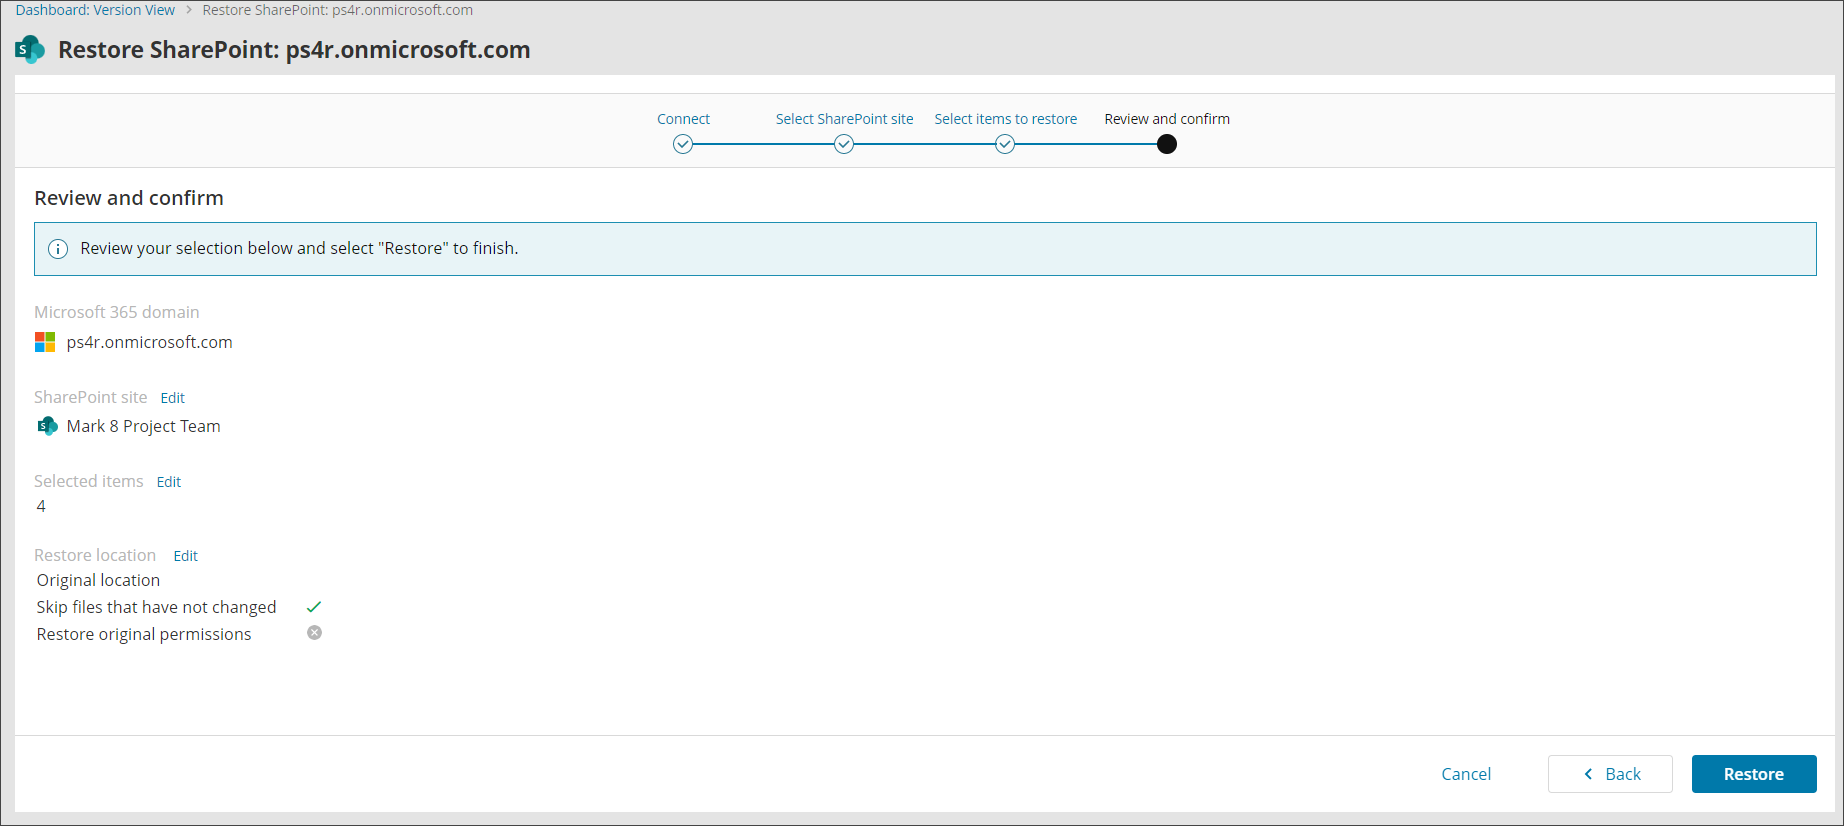
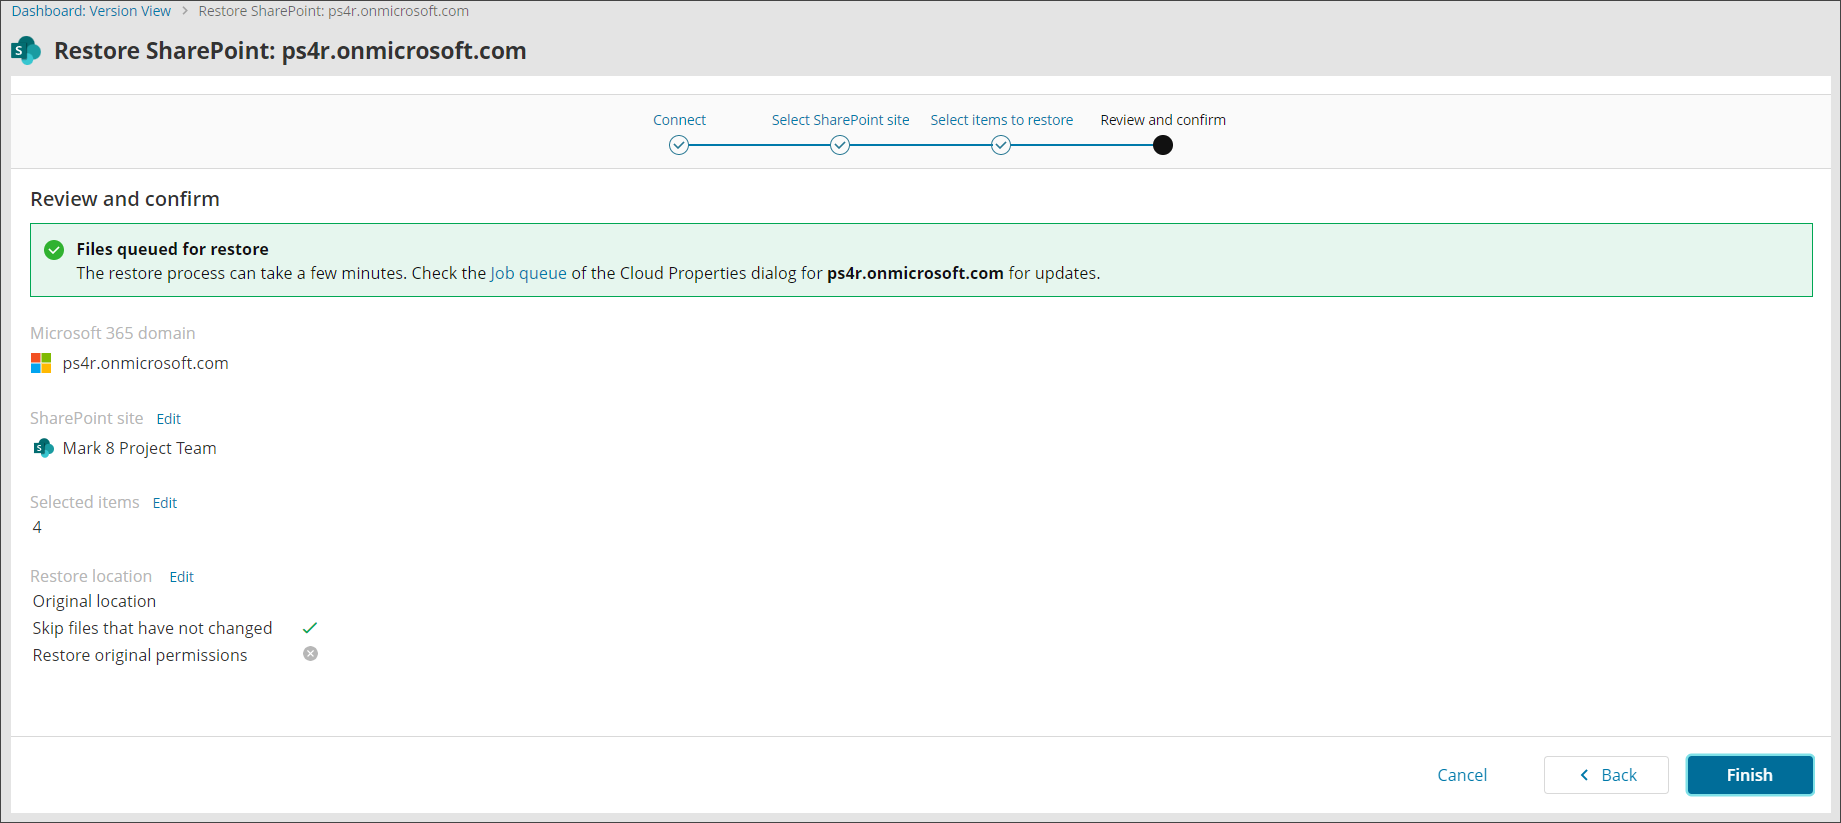
- Confirm your intention to start the recovery and close the wizard
If you do not see the authentication page, make sure your browser is not blocking pop-up windows.
We cannot restore SharePoint site collection. In cases where site collection has been deleted, you will need to recreate this manually.
- Log in to the Management Console as a user with Security Officer permissions
- Open the action menu for the domain and click Restore Teams

- Connect to the Microsoft 365 Teams account with administrative account credentials
- Accept the required permissions
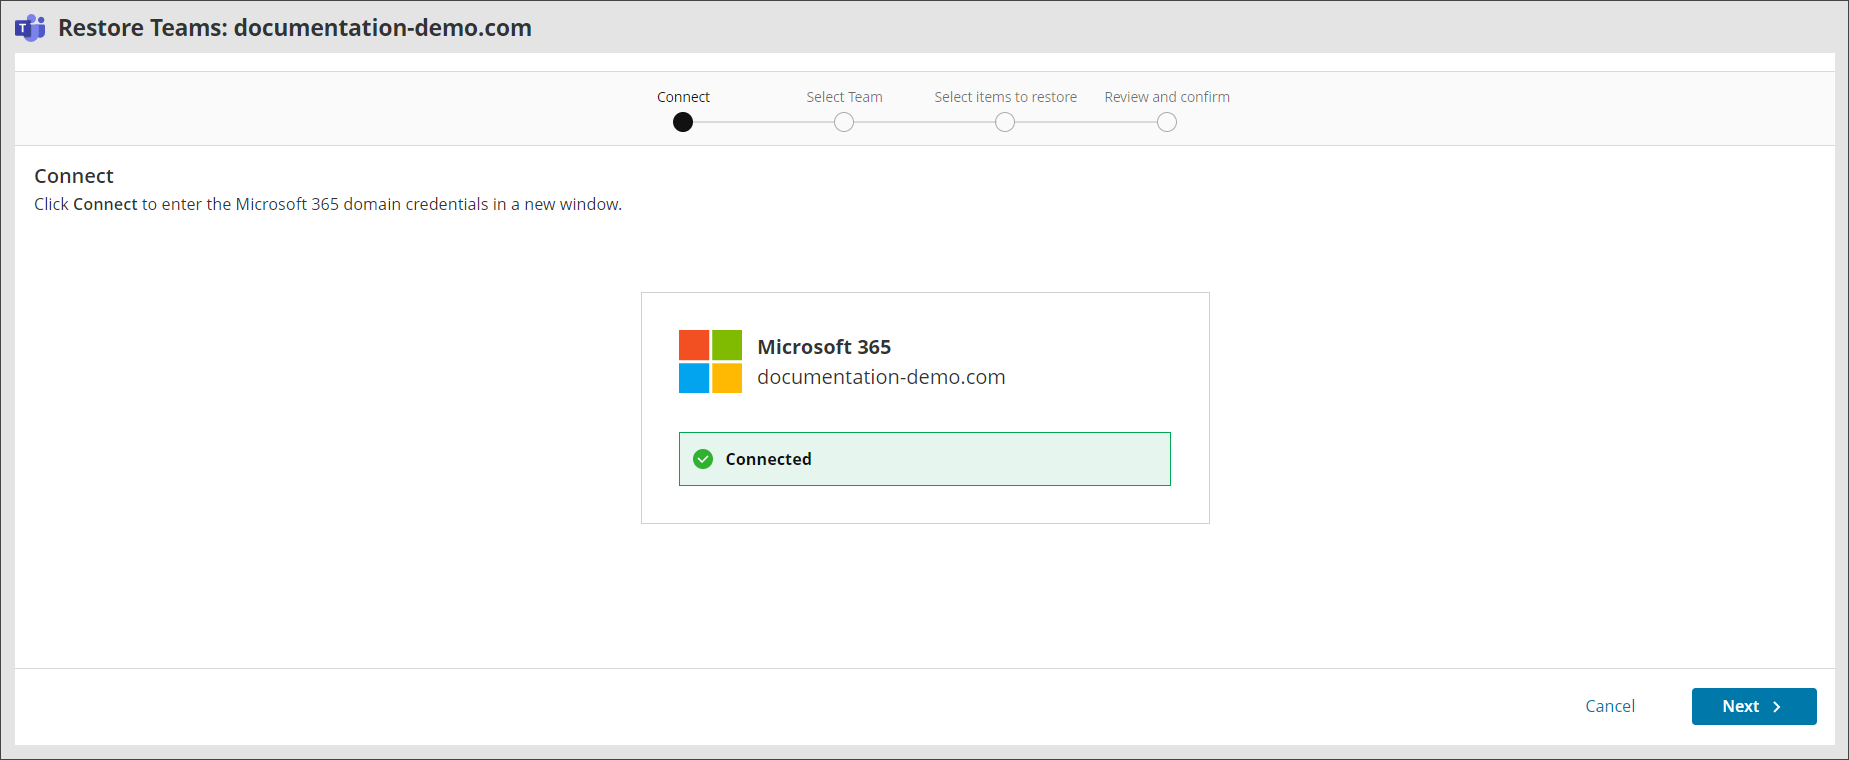
- You will receive a confirmation that the connection has been successful for the restore, click Next to proceed
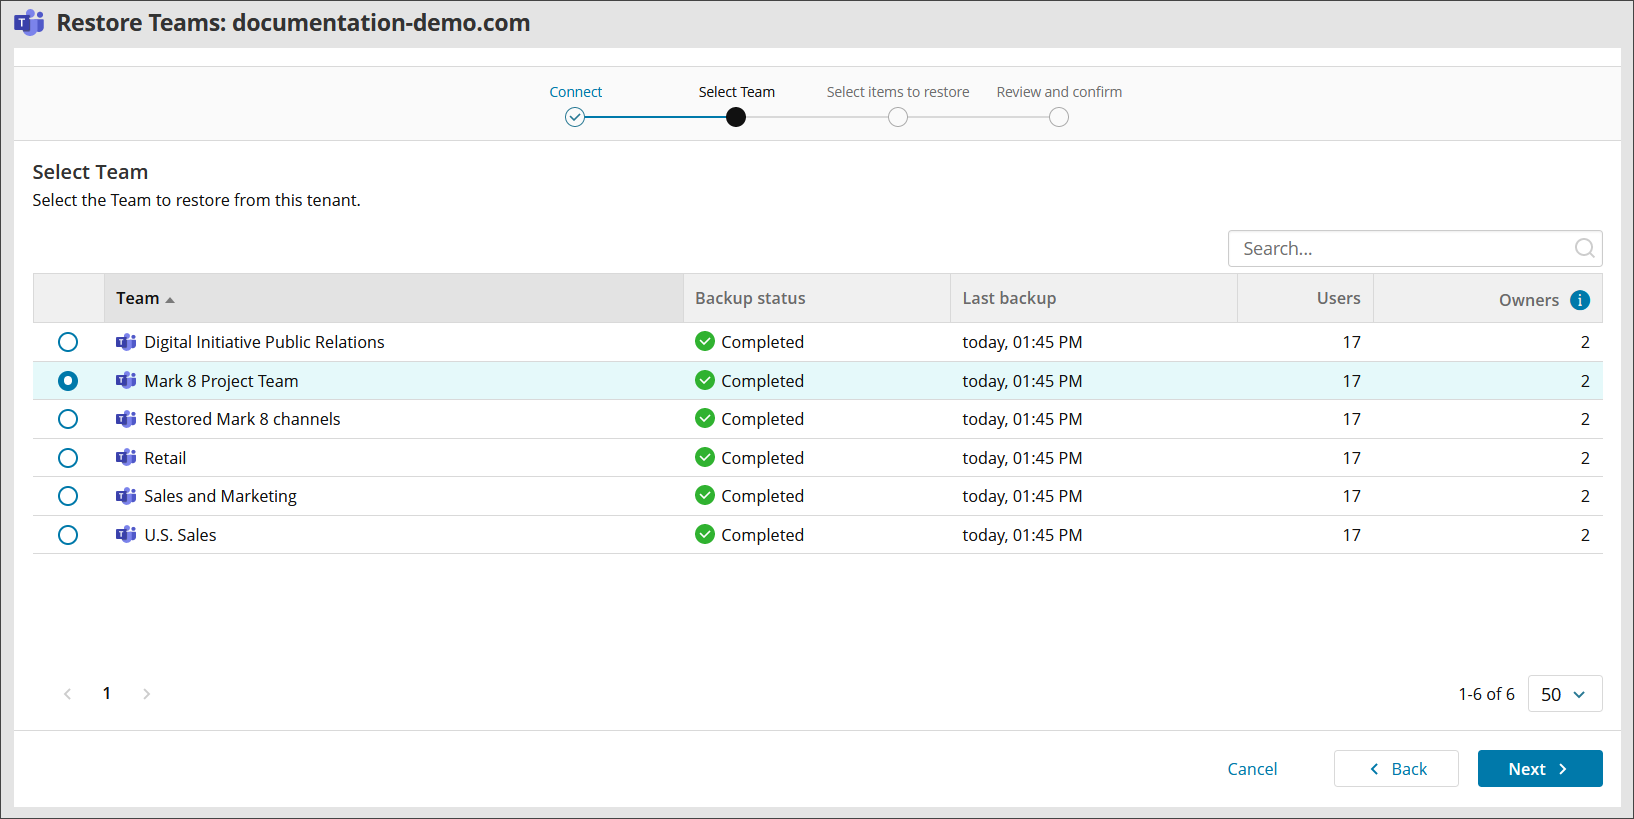
- Select the Team you wish to restore from and click Next
You will see the list of backed up teams, the backup status of the team, the time and date of last backup, number of users and number of owners
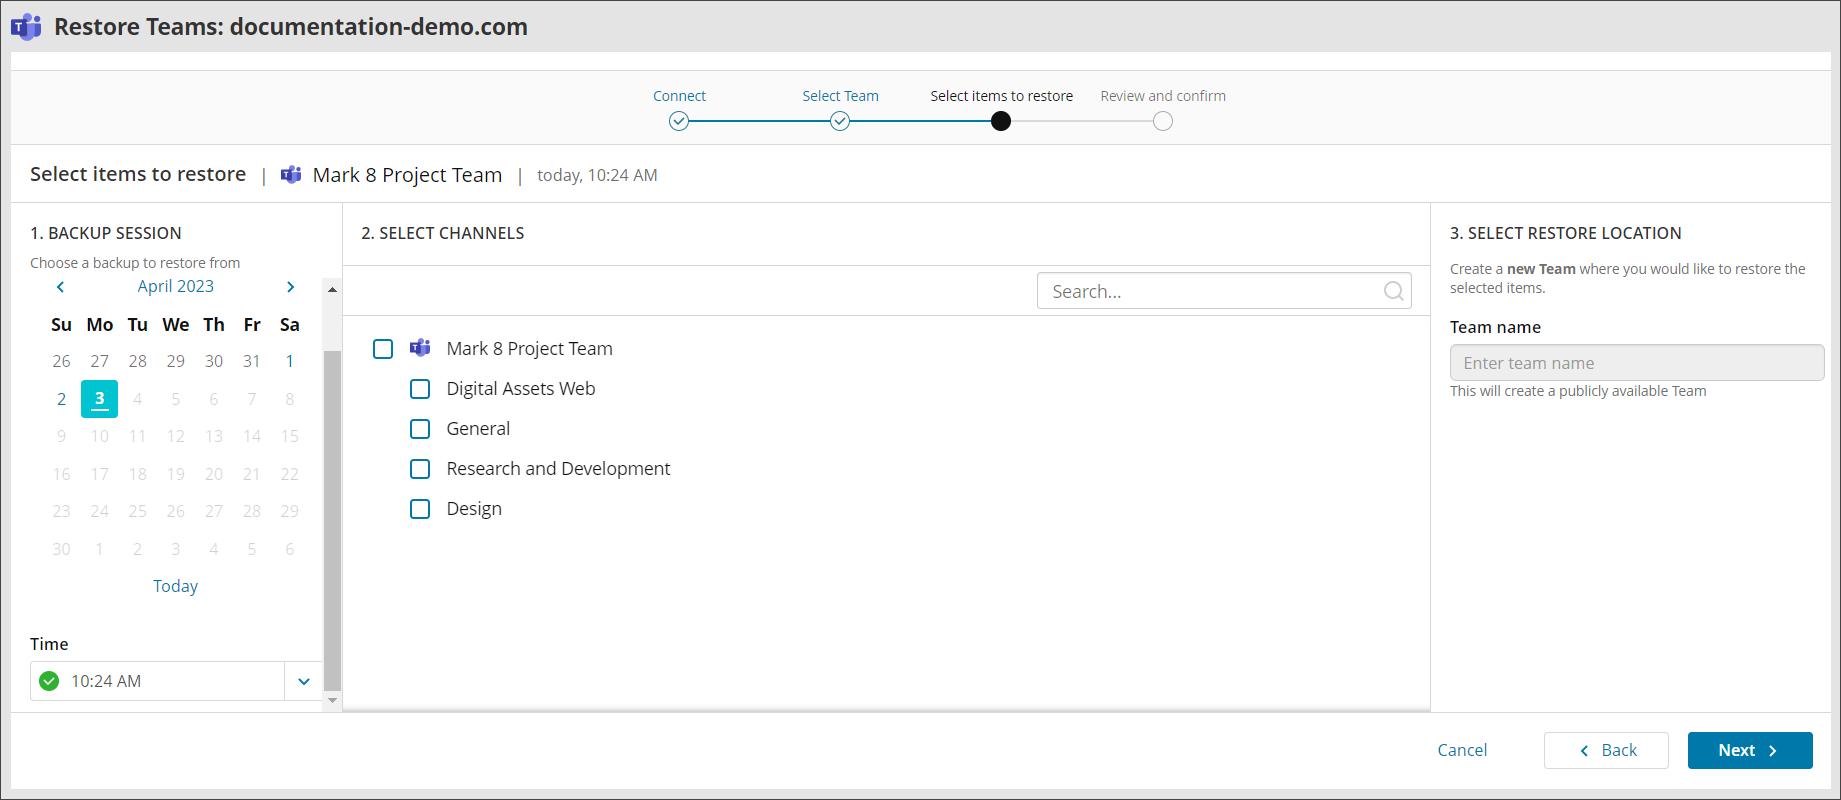
- Select the backup session using the calendar and time dropdown and then select the channels to restore from the backup tree
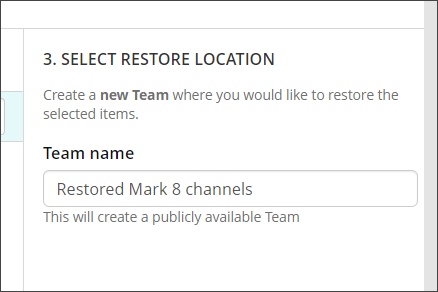
- Provide a new Team Name of the recovery location where you would like to restore the selected items
- Click Next
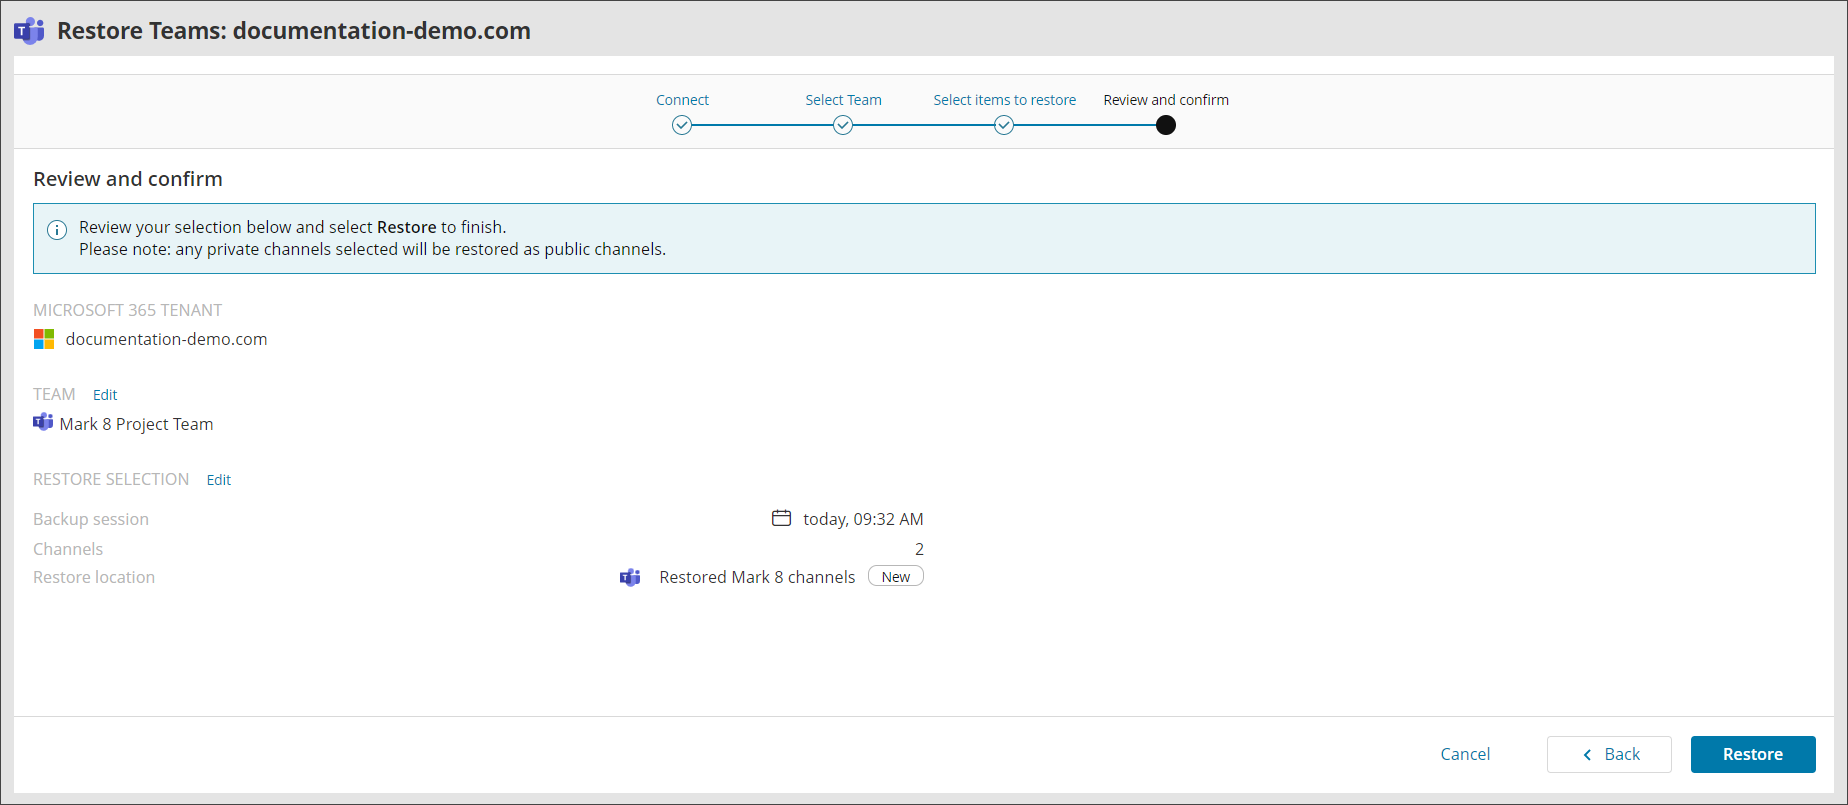
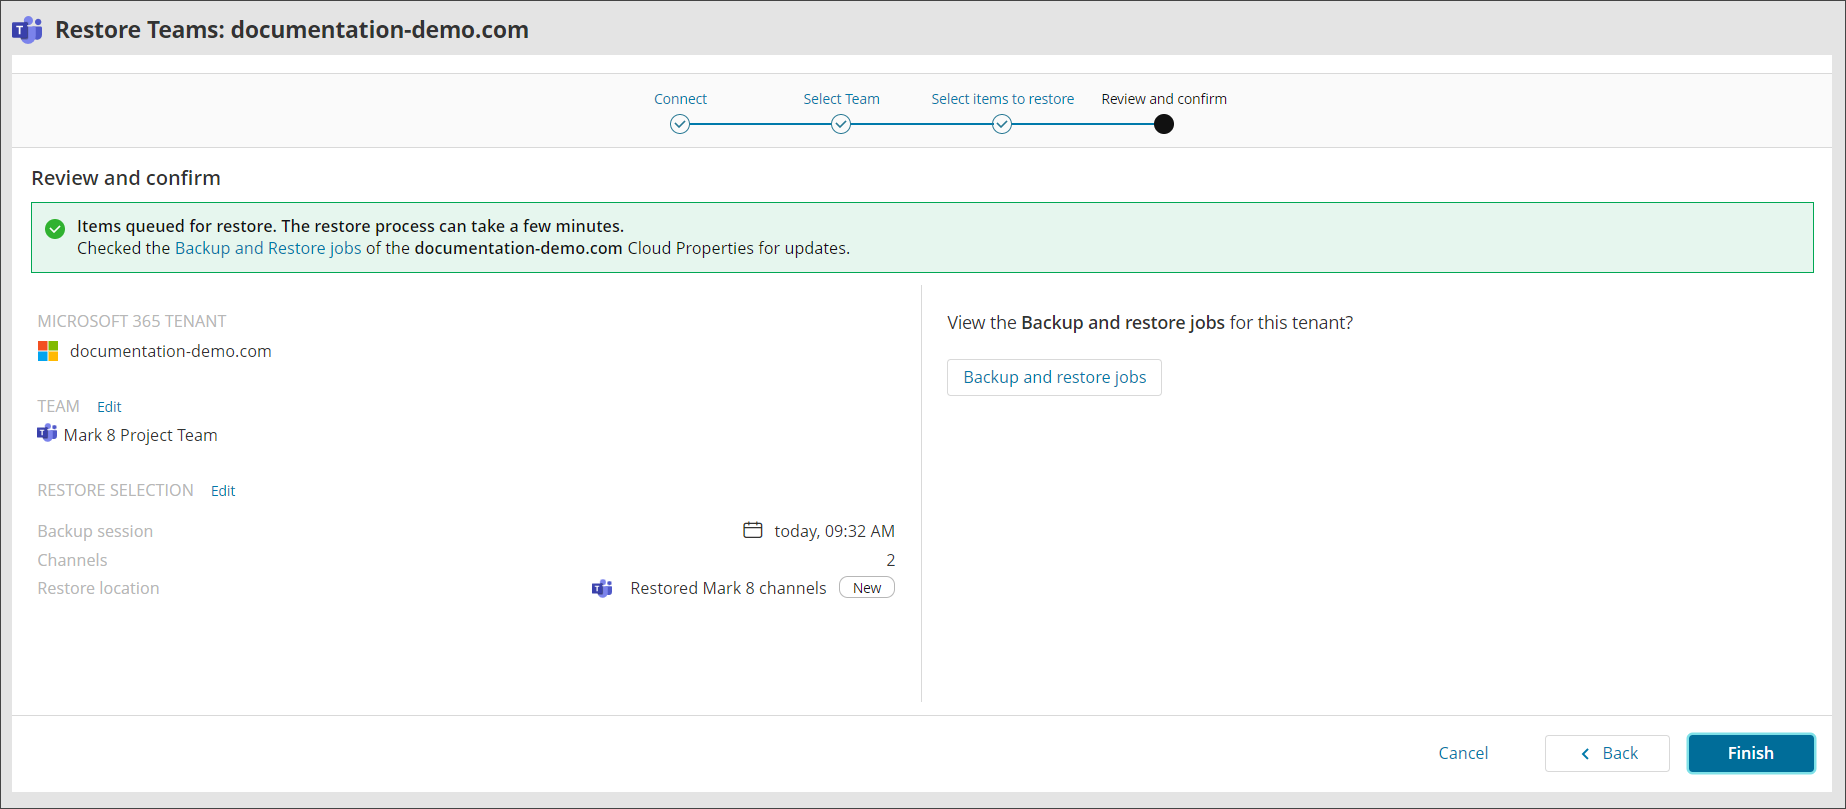
- Confirm your intention to start the recovery and close the wizard
If you do not see the authentication page, make sure your browser is not blocking pop-up windows.
User Actions Audit
If an Exchange or OneDrive restore has been actioned for a domain, this will be noted in the Device Properties > Audit tab.

Cancel Restore
Currently only SuperUser or Manager user roles can perform this action, for all other roles this action is not allowed.
To cancel a currently running restore:
- View the devices View backup and restore job queue
- Click cancel to the right hand side
- Refresh the tab to remove the job
Only restores can be canceled, backups cannot.

