Add Recovery Locations
Instructions for how to Install N-able Recovery Service on Hyper-V Server 2019 need to be followed specifically, due to several differences in the Hyper-V 2019 server configuration.
Instructions for how to Install N-able Recovery Service on Azure Recovery Locations must be followed specifically, due to several differences in the Azure configuration.
Create Recovery Locations
Self-Hosted
- Log in to the Management Console under a SuperUser account
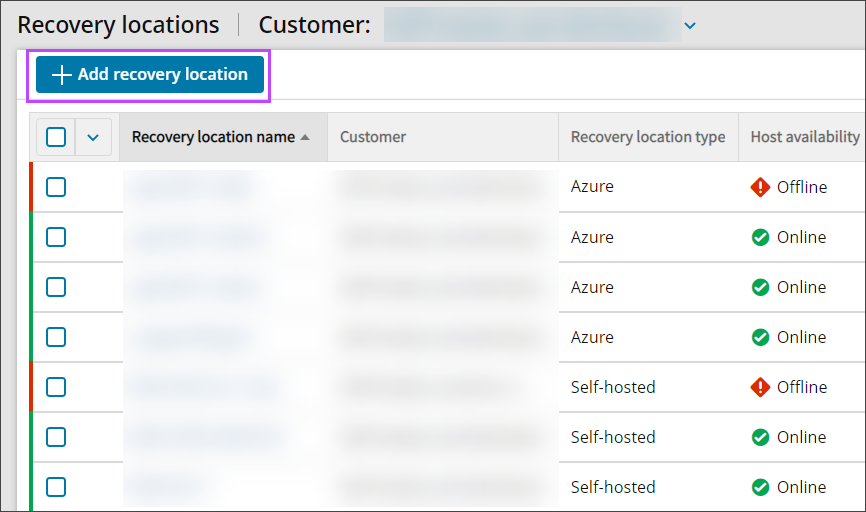
- Navigate to Recovery > Recovery Locations
- Click Add recovery location at the top of the page
- In the Add Recovery Location wizard, select the customer to attribute the recovery location to from the dropdown
- Select Self-hosted as the recovery location type
- Download the recovery service installer
- Run the downloaded installation package on the device where the Virtual Machines should be restored to
- Give the recovery location a storage location by:
- Click Add storage location
- Enter the drive letter or local path to the folder where your virtual machine files will be stored in the box
- Click Save
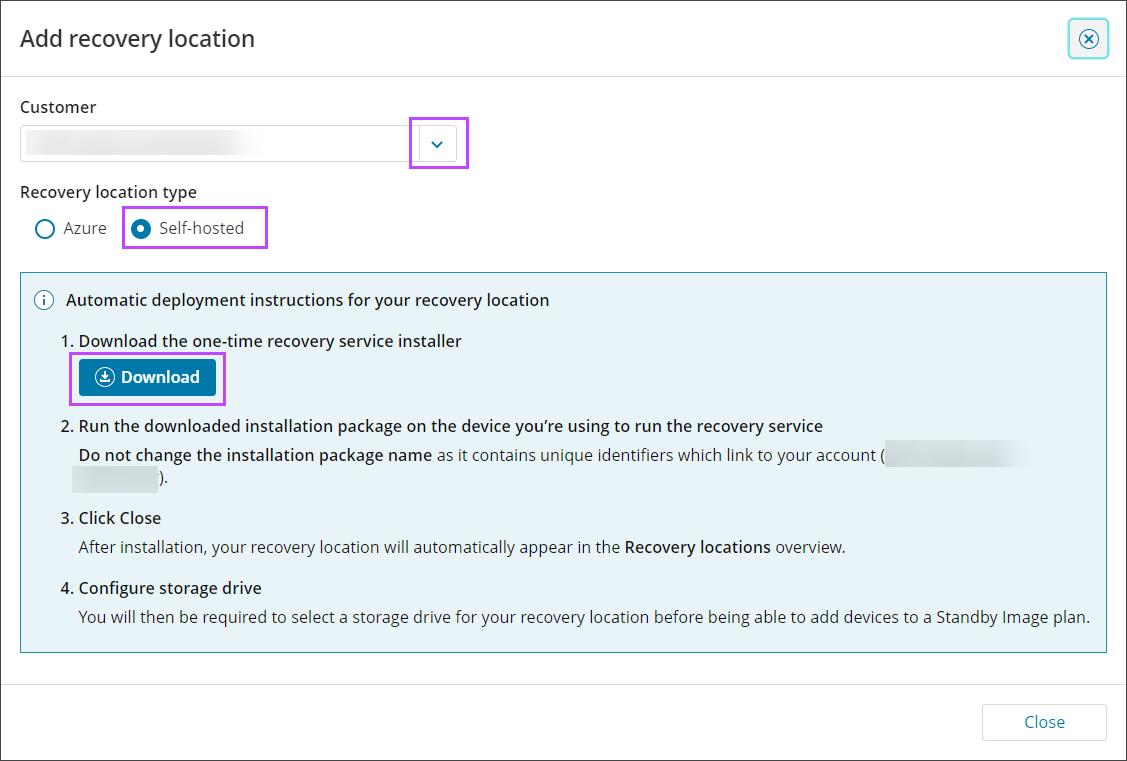
Do not change the installation package name. The installation package name contains unique identifiers to your account.
This is a one-time installer and can only be used to install a single instance of the recover service. The installer will fail if you attempt to use the same package for another installation.
The recovery location will appear in the list after installation is complete
Once locations are added, you may continue with adding devices to the Standby Image plan.
Installing the Recovery Locations recovery service on a Hyper-V Server 2019 requires additional configuration during the setup of the Hyper-V. See here for instructions on installation of the recovery service on Hyper-V Server 2019.
Azure
- Log in to the Management Console under a SuperUser account
- Navigate to Recovery > Recovery Locations
- Click Add recovery location at the top of the page
- In the Add Recovery Location wizard, select the customer to attribute the recovery location to, from the dropdown
- Select Azure as the Recovery Location Type
- Download the recovery service installer and save it to an easily found place on your device
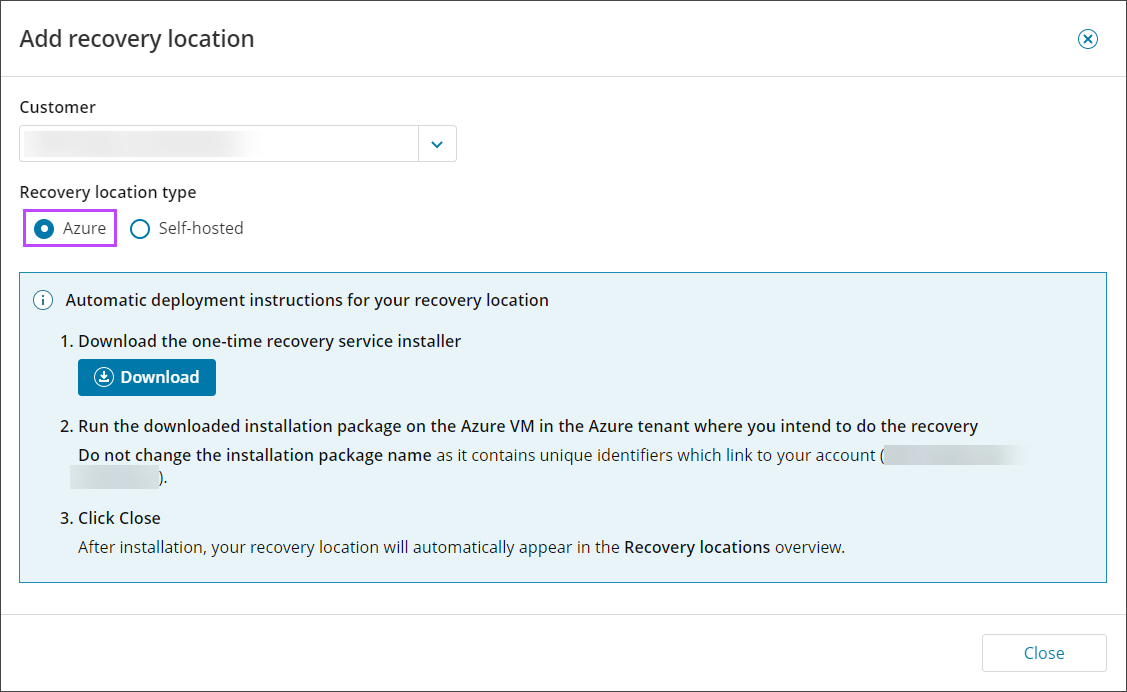
Do not change the installation package name. The installation package name contains unique identifiers to your account.
This is a one-time installer and can only be used to install a single instance of the recover service. The installer will fail if you attempt to use the same package for another installation.
- Continue following the instructions on how to Create the Recovery Location VM
- Then Installing and Configuring the Recovery Location on the Azure VM
- Followed by Assigning Permissions to the Recovery Location VM
Adding a drive letter or local path under Storage Location is not required for Azure Recovery Locations.
Only once location VMs are created, installed, configured and all permissions given, can you Restore To Azure.
Add Device to Recovery Location
Devices can be added to a Recovery Location one at a time, thereby enabling the Standby Image Plan, from the Recovery > Recovery Locations page using one of three methods.
Devices can only be added to the Recovery Location using these methods one at a time.
These will only be available if the Recovery Location is Online.
- Top bar menu
- Select the checkbox for the Recovery Location to add the device to
- At the top of the Recovery Locations page, select Add device to location

- You will now be taken to the Add devices wizard. Follow the steps to enable the Standby Image Plan starting at #6 by confirming the Customer selected is correct.
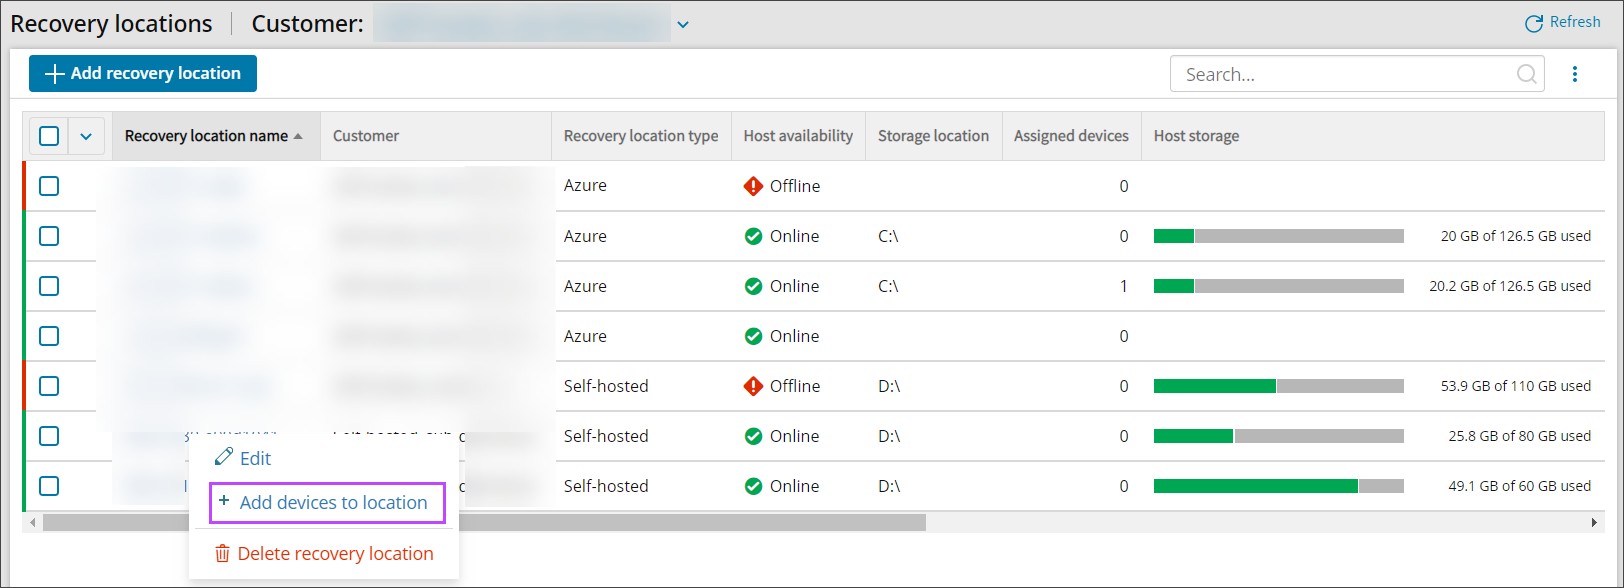
- Location context menu
- Right-click on the Recovery Location to add the device to
- Select Add device to location
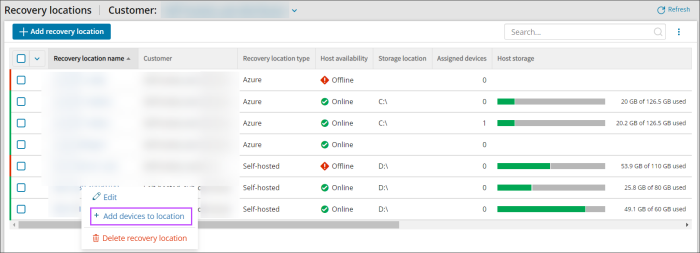
- You will now be taken to the Add devices wizard. Follow the steps to enable the Standby Image Plan starting at #6 by confirming the Customer selected is correct.
- Right hand menu
- Click the action item button for the Recovery Location, seen as three dots in a vertical line to the right of the location's storage drive
- Select Add device to location
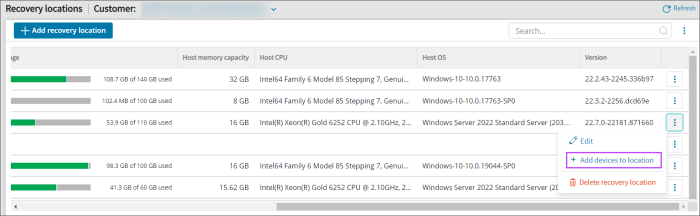
- You will now be taken to the Add devices wizard. Follow the steps to enable the Standby Image Plan starting at #6 by confirming the Customer selected is correct.