
Install Report Manager
Install Report Manager
These instructions are for a new installation of Report Manager, not an upgrade or migration.
Do not add a new Report Manager server during an existing export.
If you add a new Report Manager server and begin exporting data to it during an existing export to the old server, the new export will not contain all of the data. N-able recommends the following:
- Let the export to the old server complete first.
- Add, or migrate to, a new Report Manager server.
During the installation, Interface, ReportInterface, and Webservice virtual directories are set up within IIS.
The following table shows the significance of these virtual directories.
| Directory | What it is |
|---|---|
| Interface | Used for the Administration Console interface in Report Manager. |
| ReportInterface | Used for the Reports Console interface in Report Manager. |
| WebService | Used for communication between Report Manager and the central server. |
- Log in as an administrator to the computer upon which Report Manager is being installed.
- Locate the install file and click Run as Administrator.
- On the User Account Control dialog, click Yes.
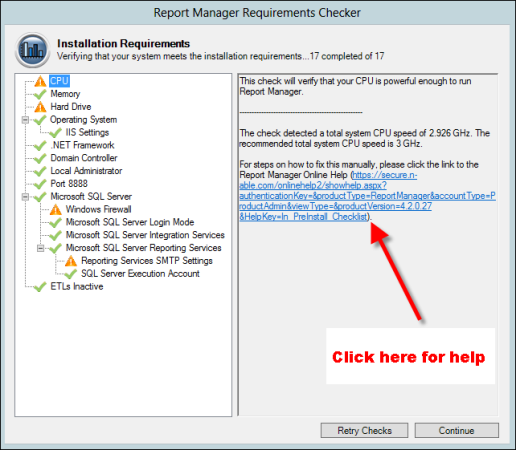
- The Requirements Checker will automatically test your system to ensure it meets all requirements.
- When the verification tests are completed, the Installation Requirements window will display all requirements that still need to be met.
- If necessary, address any issues found by the Requirements Checker, and click Retry Checks to rerun the Requirements Checker.
- Click Continue.
- Click through the Welcome to the InstallShield Wizard for Report Manager window, and then accept the terms of the license agreement.
- Accept the default folder, or Change to a new folder, and click Next.
- On the Report Manager IIS IP/FQDN window, select the option that describes your situation, and click Next.
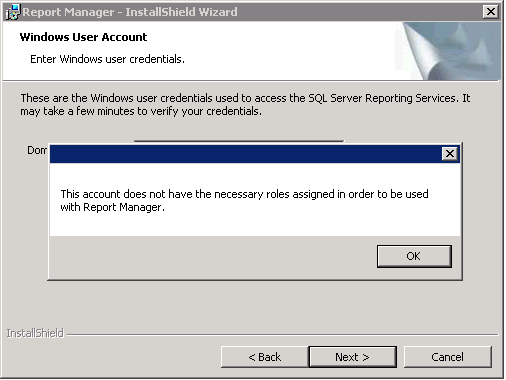
- On the Windows User Account window, provide the Windows user credentials, and click Next.
The password can contain any letters and numbers, and only the following special characters: # $ % ^ - _ = + !
If you receive the This account does not have the necessary roles error message, you will need to set up an account in SSRS.
- On the Database Folder window, click Next to accept the default folders, or Change to specify a different folder.
Do not use spaces in the folder name.
The drive on which you place a new installation of the Report Manager database and database log files must have a minimum of 100 GB for a dedicated Data Partition. The exception to this is if an existing Operational Data Store (ODS) has been discovered, indicating that this is an upgrade.
- On the Report Manager Administrator Sign-in window, your Username will be reportsadmin@n-able.com.
- If required, provide a new Username for the Report Manager Administrator’s account.
- Provide a Password for the Report Manager Administrator’s account and click Next.
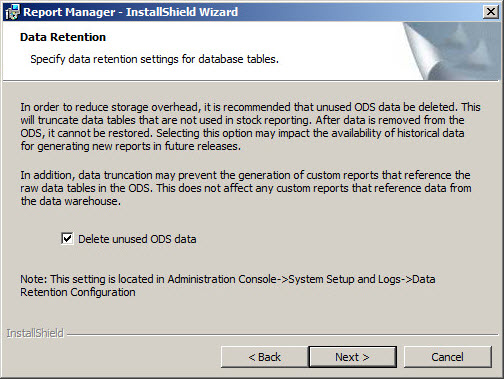
- On the Data Retention window, select the Delete unused ODS data option if you want to reduce the size and duration of exports from N-able N-central, and click Next.
This option will impact the availability of historical data for custom reporting if you intend to use the ODS for custom reporting.
- On the Ready to Install Report Manager window, click Install.
When the installation is complete you will be provided with the option to continue with configuring the N-able N-central data source. Click Finish
Report Manager opens at the N-able N-central Configuration page.
- Click (?) in the upper right-hand corner of the screen to launch the post-installation instructions.
If you did not choose to launch Report Manager, you can access Report Manager through a supported browser or from the Start Menu in Windows.
If you do not complete the requirements needed, your installation will proceed but your system will respond more slowly. For example, if the minimum requirements for CPU or hard drive are not met. Find help with questions by clicking the link in the Requirements Checker window.
The default address is the IP address of the Report Manager server. You can use the IP address or a fully qualified domain name (FQDN).
