
Path: From Custom (OpenID Connect) to N-able Login
With OpenID Connect (OIDC) federated authentication, users can log in securely using their existing organizational accounts instead of creating separate credentials. By connecting to an identity provider (IdP) such as Microsoft Entra ID, your system supports single sign-on (SSO), making access easier for users and reducing the need to manage local passwords.
Steps to move Custom (OpenID Connect) users to N-able Login
You must enroll at least one admin user into N-able Login. This will give the admin user access to the N-able Login features, including the Entra ID setup.
-
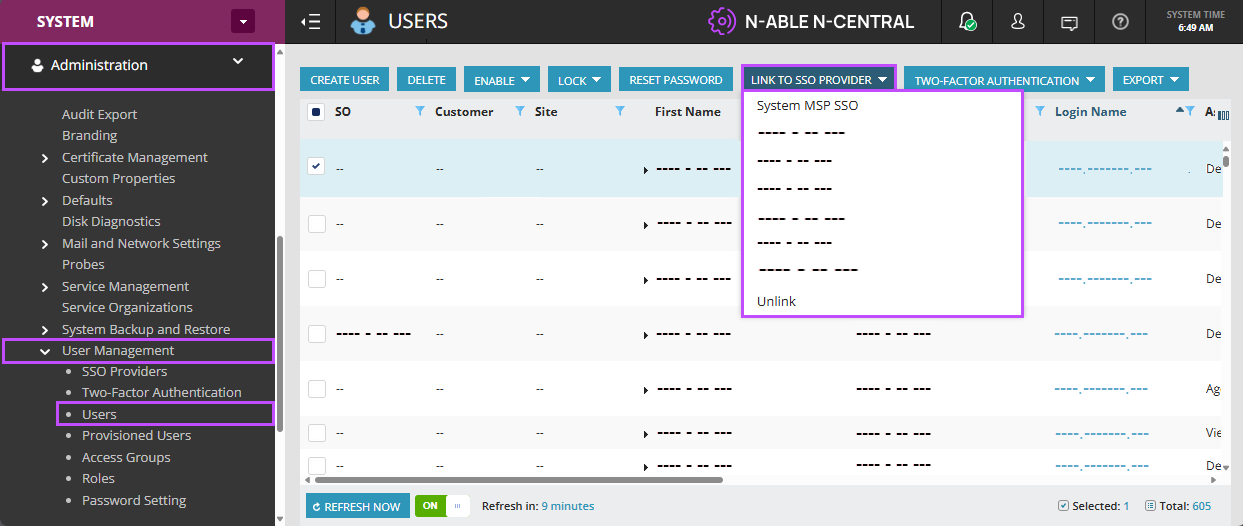
Go to Administration > User Management >Users.
-
Select a local admin user (or create a new one for this role).
-
Select LINK TO SSO PROVIDER and select [System] MSP SSO. If on a hosted system, select [Company] MSP SSO
If one or more users are already linked to another IdP, you must select and unlink each one from that provider before linking them to N-able Login. From LINK TO SSO PROVIDER, select Unlink.
-
Select Accept.
To complete the N-able Login registration process, this new or existing user must have access to a valid and active mailbox.
-
Log out of N-central.
-
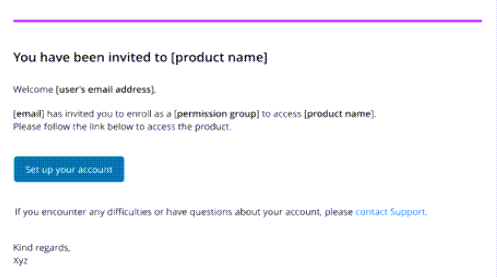
The new admin user will receive an email message with a Set up your account button to set up their N-able Login (MSP SSO) account.
Once enrolled N-able Login, admin users must log out of N-central and log back in using their new N-able Login credentials to complete the setup process.

N-able Login allows you to log in once and gain access to multiple N-central applications, or services without needing to authenticate separately for each one. You enroll users by linking them to N-able Login. Users then receive an email invitation to complete their enrollment as an N-able Login user. Please be aware that we use MSP SSO is an alternative name for N-able Login.
If your account is on-premises, start at the System level. If your account is hosted, start at the SO level.
There are two ways in which you can enroll existing users into N-able Login; from the SSO Providers page and the Users page.
From the Users page
You cannot unlink users after you have connected them to N-able Login.
-
Log into N-able N-central.
-
Do one of the following:
-
If on a hosted account, select the provider, [company] N-able Login.
-
If on an onprem account, select SYSTEM MSP SSO.
-
-
Go to User Management > Users.
-
Select the user(s) you want to link.
If one or more users are already linked to another IdP, you must select and unlink each one from that provider before linking them to N-able Login. From LINK TO SSO PROVIDER, select Unlink.
-
From the LINK TO SSO PROVIDER menu, select MSP SSO. If on an onprem system, select SYSTEM MSP SSO.
-
Click the I have read and understand that I will not be able to disconnect N-able Login checkbox and then click Apply.
Connecting a user to N-able Login cannot be reversed.
If a user was previously enrolled as an N-able Login user, their original registration link will be overwritten with a new one.
- User(s) will receive an email to complete the enrollment.
The link in the welcome email is valid for 7 days. If it expires, repeat steps 3 to 7 to re-enrol the user into N-able Login and resend the welcome email.
From the SSO Providers page
-
Log into N-able N-central.
-
Go to User Management > SSO Providers.

-
In the Name column, do one of the following:
-
If on a hosted account, select the provider, [company] MSP SSO.
-
If on an onprem account, select SYSTEM MSP SSO.
-
-
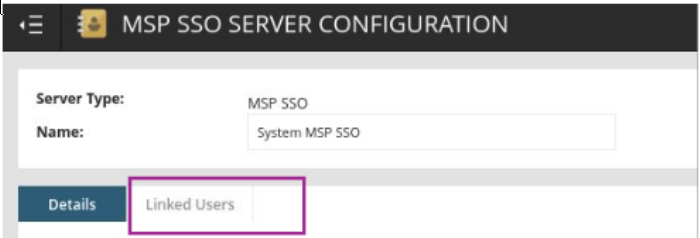
To link N-central users to N-able Login, click the Linked users tab and then click LINK USERS.
You cannot unlink users after you have connected them to MSP SSO.
This step cannot be undone.
-
Select users that you want to enroll into MSP SSO and then click LINK.
N-able Login filters out users that are not eligible (already linked to another IdP) to enroll into N-able Login. You must unlink those users from their provider before linking them to N-able Login. Select the user, and from the LINK TO SSO PROVIDER menu select Unlink.
Click the I have read and understand that I will not be able to disconnect MSP SSO checkbox.
-
Click LINK.
Your users will receive an email invitation to complete their enrollment as an N-able Login user to access N-central. After completing the enrollment steps, they are redirected to N-central to log in with their account credentials.
-
Open the Welcome email and click Set up your account.
-
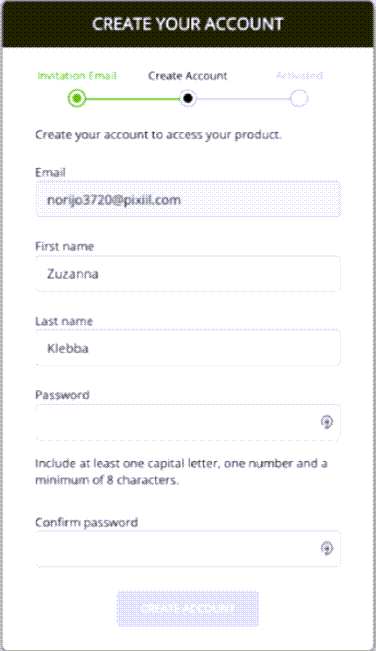
Enter credentials and click CREATE ACCOUNT.
-
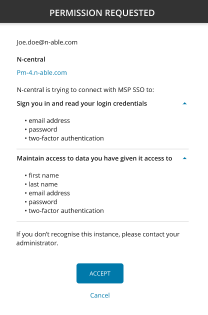
Click Accept to provide the requested permission.
-
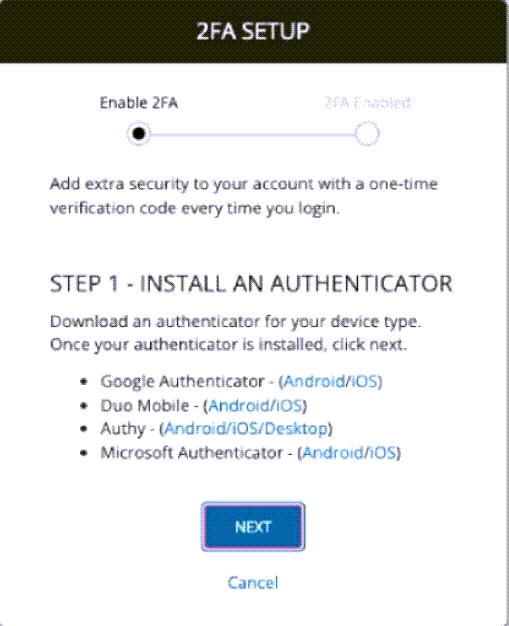
Follow the 2FA SETUP instructions and click NEXT to continue.
-
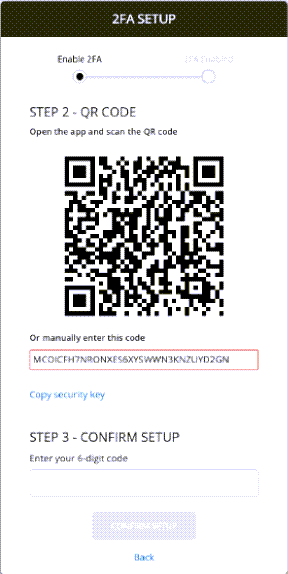
Scan the QR code or manually enter the security key.
-
Enter your 6-digit code and then click CONFIRM SETUP.
-
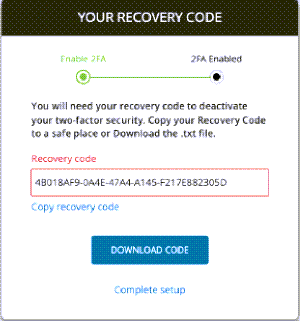
Click DOWNLOAD CODE to download your recovery code.
-
Click CONTINUE.

-
When redirected to N-central, log in.
To streamline user management, you can integrate N-able Login with Entra ID and N-able Login with Entra ID user auto provisioning.