
Add a customer site manually

Sites are useful when a customer has a number of satellite offices that may not have an independent server. It also enables you to better monitor and maintain devices by location.
You can map sites to different accounts in MSP Manager, Autotask and ConnectWise. You can configure the majority of customer level features at the Site Level.
- Expand Administration in the left navigation menu.
- Click Sites.
- Click Add.
- Enter a name.
- The name cannot start with: =, -, +, @
- The name cannot contain: %, &, $, #, <, >, ;, ", /, \
- Click the Details tab and enter the location information for the organization.
- Click the Contact Information tab and enter the information for the prime contact for the Service Organization.
-
Click the PSA Integration tab to enable this feature.
The PSA Integration tab is only present if PSA is configured for your organization.
- Click the Limits tab and click the pencil icon to configure the licensing restrictions for all customers or sites within the Service Organization.
-
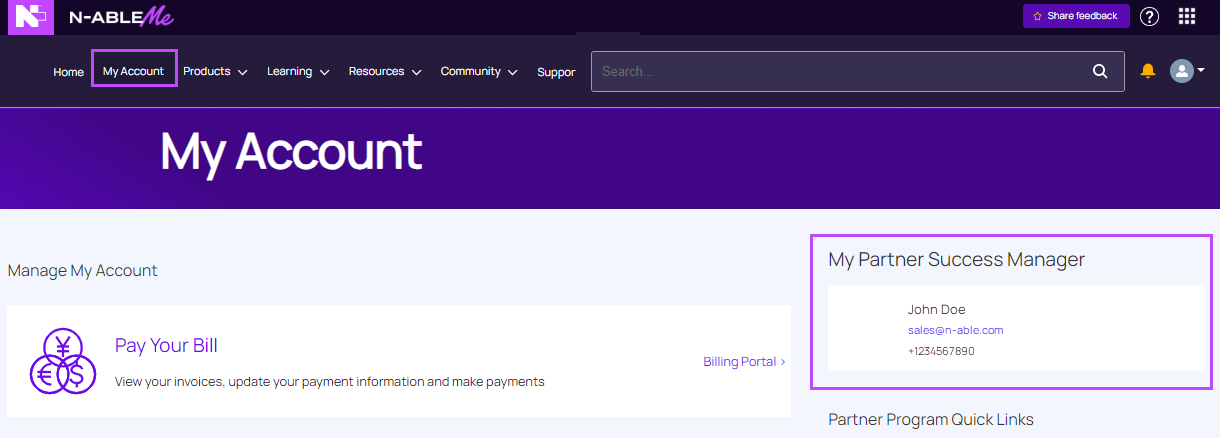
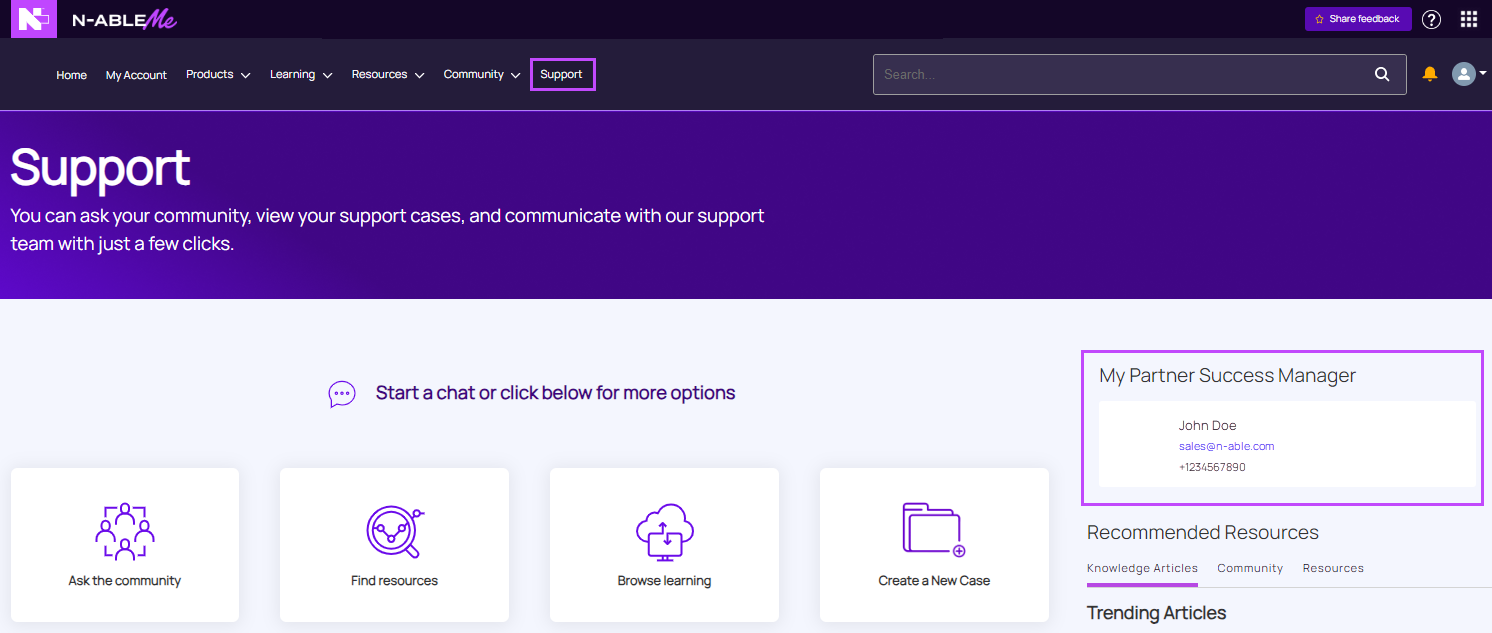
Log into N-ableMe.
-
Your Partner Success Manager’s name and contact details are displayed in the right pane under My Account and Support.
-
Use the contact information to contact your Partner Success Manager or email sales@n-able.com.
- Click the Downtime tab to configure a maintenance window to set the downtime for all the site devices.
- Click the Custom Properties tab to see the default custom properties configured for the site, and select a value or and modify the property if required.
- Once complete, click Save to apply.
If you are adding a site for a customer for the first time, N-able N-central uses a site wizard to guide you through adding a site.
When entering a name, make sure it follows these rules:
The limits indicate the number of managed devices that can have specific N-able N-central features installed. The Maximum column indicates the current system limits for each feature.
To purchase additional licenses, please contact your Partner Success Manager. Their contact information can be found when logged into N-ableMe:
The new site appears in the list. You can now move devices from the customer level to the new site using the Moving Devices Wizard.