
Manage webhooks in MSP Manager
An MSP Manager webhook lets MSP Manager send real-time data to another application when a specific event occurs.
Instead of polling for changes, a webhook pushes data immediately. For example, MSP Manager can send a notification when a ticket is created or updated.
Add webhooks in MSP Manager for integrations
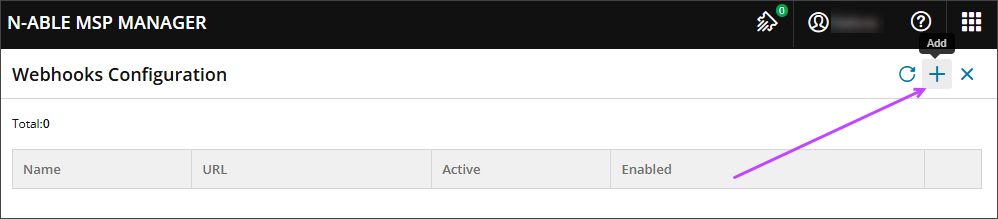
- Go to Settings > Company Settings > Integrations and choose the Webhooks tile.
-
Select Add.
-
Enter a Name and a destination URL for the receiving system.

- Select Test Connection. The connection must succeed before you can save the webhook.
- (Optional) Create a shared Secret value that both systems use to confirm that webhook requests are legitimate and unchanged. For more information, see Webhook security and signing secrets.
- Confirm that the Enabled checkbox is selected for the webhook. If you want to enable it later, clear the checkbox.
- Select the Event Types you want to share with the other application. For information about event types, see Webhook events in MSP Manager.
- Select
 Save.
Save.
Edit MSP Manager webhooks
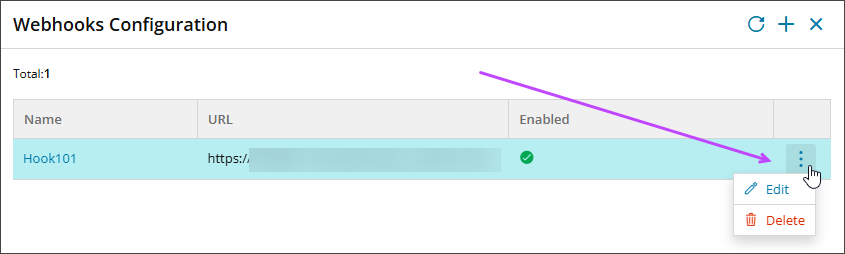
- Go to Settings > Company Settings > Integrations and choose the Webhooks tile.
- For the webhook you want to edit, select the Actions menu and choose Edit.
- Make your changes.
- Select Save.
Delete MSP Manager webhooks
- Go to Settings > Company Settings > Integrations and choose the Webhooks tile.
- For the webhook you want to delete, select the Actions menu and choose Delete.
- Select Delete to confirm the action.
Related topics