As a Super-Admin user, instead of using the default system generated certificate, it is possible to manage your own SSL certificates.
- Step 1 - Generate a Certificate Signing Request and RSA key
- Step 2 - Send the generated CSR to your Certificate Authority (CA)
- Step 3 - Create PEM file containing certificates and RSA key
- Step 4 - Upload SSL Certificates and RSA Key
When uploading your own SSL certificate, you must also include any intermediate certificates.
Step 1 - Generate a Certificate Signing Request and RSA key
It is vital that you copy and store this information somewhere safe for use in the next steps, otherwise you will have to start this process over again.
This step requires that you generate the CSR to send to the Certificate Authority (CA) when applying for a signed certificate.
If you already have a Certificate (CRT), certificate key (KEY), certificate signing request (CSR) and the Certificate Bundle (Root Intermediary Certificate) you can skip this step and go directly to step 4 - Step 4 - Upload SSL Certificates and RSA Key.
Before generating an SSL Certificate, ensure the following:
- Web interface SSL matches the full hostname used to access the Spam Experts Control Panel
- Incoming certificate matches the MX records
- Outgoing certificate matches the SMTP hostname
- Login to Spam Experts as a Super-Admin Level user
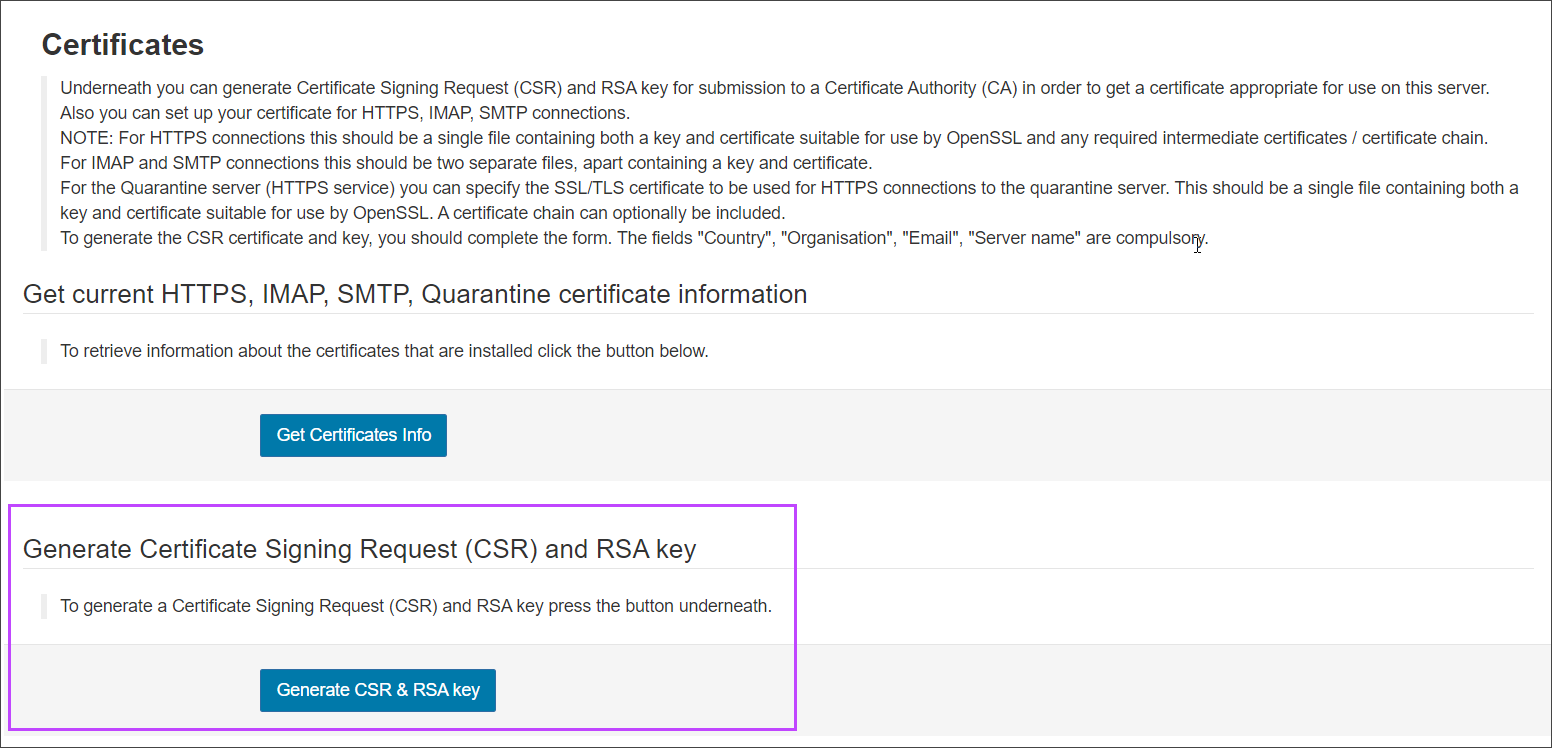
- Navigate to Branding > Certificates
- In the Generate Certificate Signing Request (CSR) and RSA Key section, click Generate CSR & RSA Key
- Enter the details:
- Country
- Organisation (Required)
- E-mail (Required)
- State
- Locality
- Organisation unit
- Server name
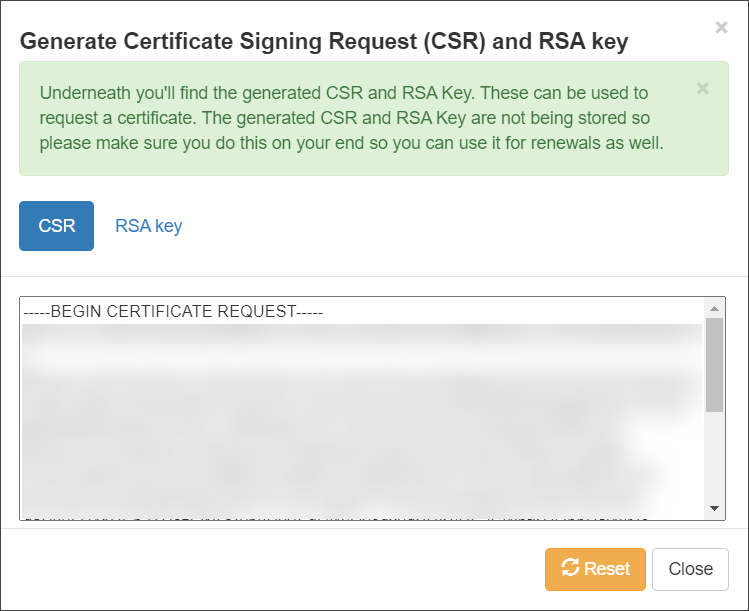
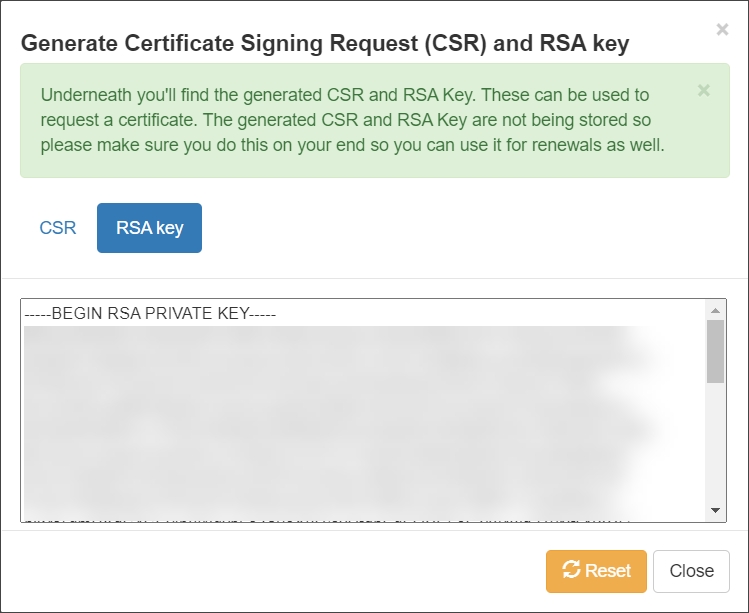
- Click Generate. You will see the window now displays two tabs:
- Copy the contents of both tabs and paste them into a text document, ensuring this is saved somewhere easily accessible and safe
You will need the CSR when applying for a signed certificate to the Certificate Authority (CA), and the RSA key will be used later on when uploading the certificate to Spam Experts.
See Step 4 - Upload SSL Certificates and RSA Key.
RSA Key
Ensure you have OpenSSL installed on your machine before beginning.
- Open a terminal
- Create a key and sign the certificate with it using the following command:
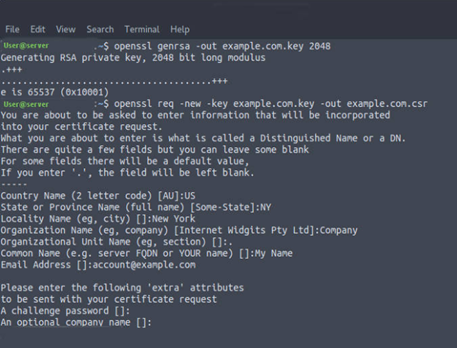
openssl genrsa -out demo-domain.invalid.key 2048
Replace demo-domain.invalid with the hostname the certificate is intended for
The output should be similar to:
Generating RSA private key, 2048 bit long modulus ......+++ .........................+++ e is 65537 (0x10001)
The process may take a little while before you can go on to the next step.
Keep the RSA key safe - without it you cannot generate the certificate signing request (CSR). You also need it later when uploading the certificate.
CSR
- After generating the RSA key (also known as a private key) and have taken a note of this, create the CSR using the following command:
- Enter the required information but do not set a challenge password
- Press Enter once complete
openssl req -new -key demo-domain.invalid.key -out demo-domain.invalid.csr
Replace demo-domain.invalid with the hostname the certificate is intended for
You are about to be asked to enter information that will be incorporated
into your certificate request.
What you are about to enter is what is called a Distinguished Name or a DN.
There are quite a few fields but you can leave some blank.
For some fields there will be a default value,
If you enter '.', the field will be left blank.
-----
Country Name (2 letter code) [AU]: NL
State or Province Name (full name) [Some-State]: State
Locality Name (eg, city) []: Cityname
Organization Name (eg, company) [Internet Widgits Pty Ltd]: Your Company Name
Organizational Unit Name (eg, section) []: Department
Common Name (eg, YOUR name/FQDN) []:demo-domain.invalid
Email Address []:example@demo-domain.invalid

Please enter the following 'extra' attributes
to be sent with your certificate request
A challenge password []:
An optional company name []:
The Common Name is important and must match your server CNAME/Control Panel Hostname settings.
If, for example, your Control Panel is hosted at server1.demo-domain.invalid, you should enter this as the Common Name. DO NOT enter HTTP:// or HTTPS://
Take a note of the CSR generated here and save it to a text document
Step 2 - Send the generated CSR to your Certificate Authority (CA)
The Certificate Authority (CA), on receipt of the CSR, will send you the signed certificate you need.
You will also need to download any intermediate certificate(s) and root certificates from the certificate provider's website at this stage.
Make sure that you download copies of both intermediate and root certificates and not just the root one as this will not be accepted by the system alone.
Step 3 - Create PEM file containing certificates and RSA key
Once you have all the information you need from the Certificate Authority, you need to create a PEM file containing the following information in the following order:
- RSA key - This is the key generated along with the CSR that you received in Step 1 - Generate a Certificate Signing Request and RSA key using whichever method you
- Issued Certificate - This is the certificate issued by the Certificate Authority (CA)
- Intermediate Certificate(s) (if any) - Downloaded from the CA website
- Root Certificate(s) - Downloaded from the CA website
Save the file somewhere you can easily find it for the next step.
Step 4 - Upload SSL Certificates and RSA Key
Once you receive the certificates from the Certificate Authority (CA) and create the PEM file containing these certificates and the RSA Key, you can then upload it to Spam Experts.
If you already have a wildcard certificate for your domain, you can upload it, but you must ensure the certificate matches your Fully Qualified Domain Name (FQDN) or the browser will display an error stating that the certificate is invalid.
When uploading your own SSL certificate, you must also include any intermediate certificates.
- Login to Spam Experts as a Super-Admin Level user
- Navigate to the Branding > Certificates page
- Scroll down to the Certificate for HTTPS Connections section
- Click Browse and locate the PEM file containing the certificates and RSA key
- Click Save at the bottom of the page
A message will be displayed at the top of the page indicating if the upload was successful or not.
You can also upload the certificates from the Admin Level Control Panel in the Branding Management page - see Upload Certificate Bundle Manually.


