CLI Scanning via N-central
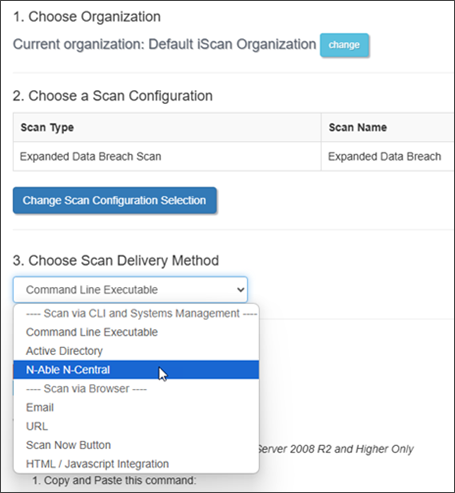
After selecting your organization and scan type from the Scan Computers page, choose N-able N-Central from the Scan Delivery Method dropdown:
To create a Scripting Task in the N-central Management Console that runs a scan using the Risk Intelligence Command Line Executable file follow these steps:
- Step 1: Download the executable for Windows
- Step 2: Enter scheduled task and task details
- Step 3: Select target devices
- Step 4: Set a schedule
- Step 5: Monitor progress
- Step 6: View results
Step 1: Download the executable for Windows
- Download the command line executable for Windows to the device from which you are running the N-central Management Console. The downloaded file will be named iscanruntime_XXXXXX_.exe.
- Rename the file to iscanruntime.exe.
- Take note of the Short Code to use later.
- Take note of the download location to use later.
Step 2: Enter scheduled task and task details
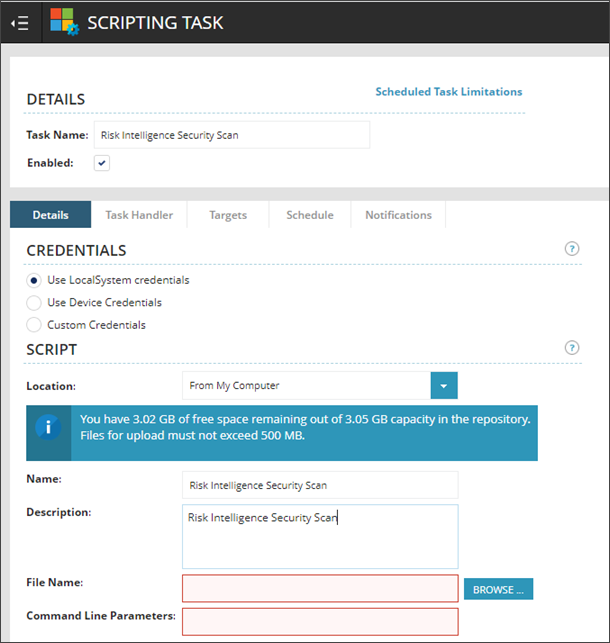
- On the N-central Management Console left navigation, choose Actions > Run a Script to launch the wizard.
- Enter a descriptive name for the task. For example: Risk Intelligence Security Scan
- Select the appropriate Credentials option.
- From the SCRIPT Location: dropdown, select "From My Computer".
- Enter a descriptive name for the script. For example: Risk Intelligence Security Scan
- Enter a description. (Optional)
- Click Browse to locate the command line executable file you downloaded earlier.
- Once located, select the file and click Open to add that file name.
Only the file name will show up, not the full path. This is expected.
- Delete any text from the Command Line Parameters entry box and add the following: -k XXXXXX (Where XXXXXX is the Short Code for the scan you're going to run.)
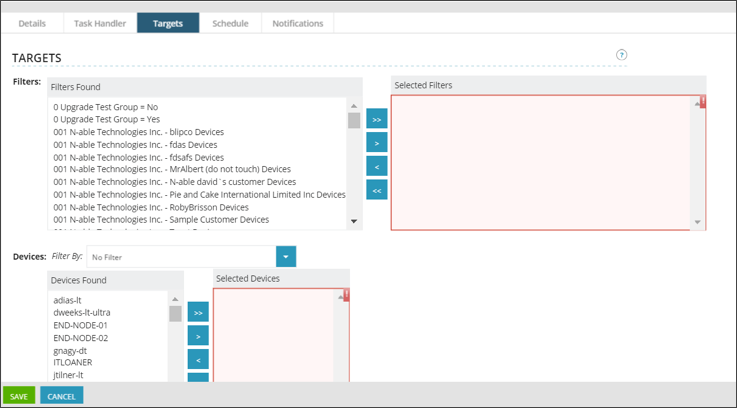
Step 3: Select target devices
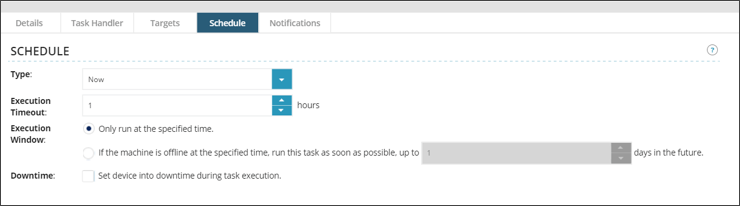
Step 4: Set a schedule
- Select the Schedule tab.
- Choose the appropriate schedule type: "Now", "Once" or "Recurring".
- Set the Execution Timeout value.
For Data Scans, it is recommended that this value be set to a minimum of 24 hours to ensure proper completion of those scans. The Data Scans are: Data Discovery / Breach, Expanded Data Discovery / Breach and PAN. The default value of one hour is sufficient for all other scans.
- Configure the other scheduling options as needed.
If you are setting a recurring task, make sure to allow enough time for any Data Scans to complete before scheduling another scan.
- Click Save.
Step 5: Monitor progress
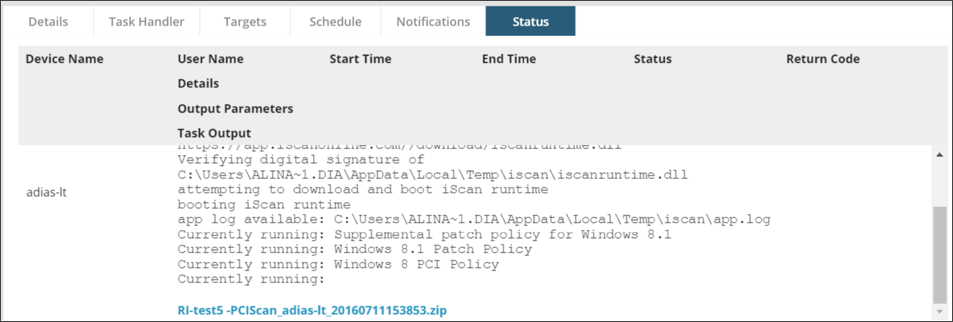
- Select the Status tab and monitor the progress of your task.
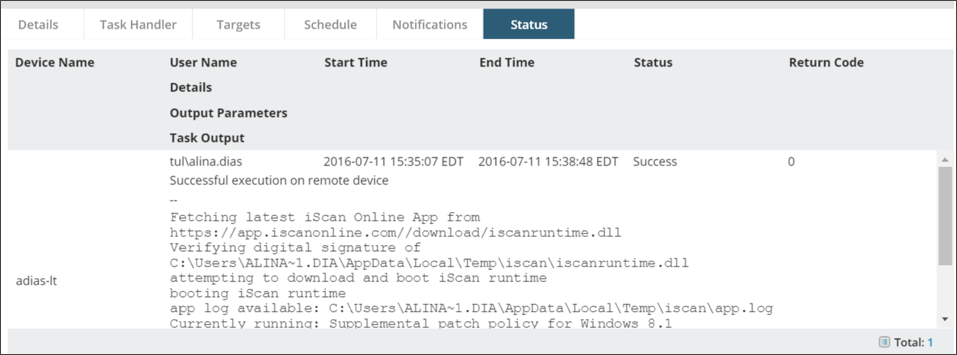
Step 6: View results
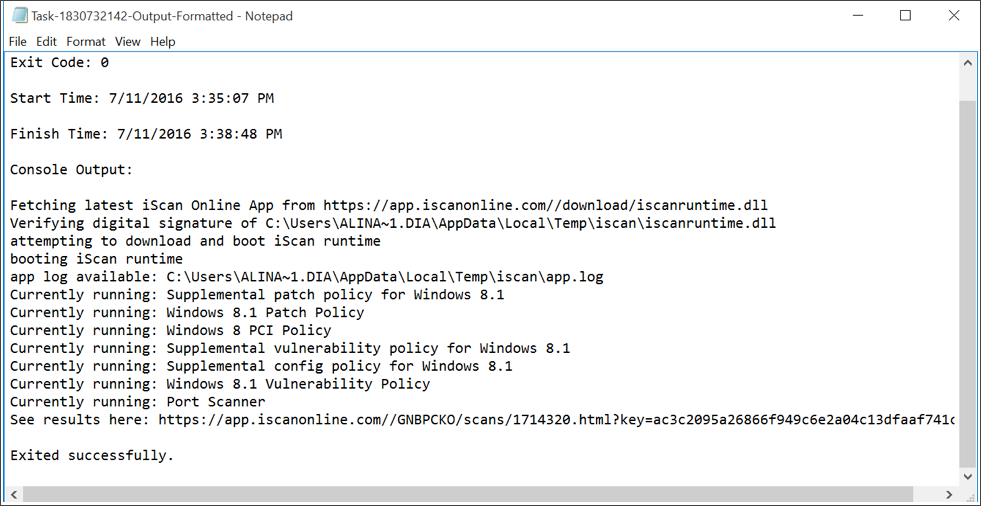
When the scan is completed, the output will be displayed in the Task Output.
To view the scan results, open the zip file provided and copy the report URL prefaced with “See results here:” into your web browser.
Alternatively, from your browser you can log in to your Risk Intelligence dashboard, click View and Manage from the left navigation, then select Scan Results to see a full listing of all scans. From there, locate the appropriate device and double click the scan to open the results.