
Add New Customer Under Partner
- Go to View and Manage - Organizations.
- Double-click to open the Partner that you want to add a customer to. In this example the top level partner is the Acme IT Service Worldwide account and we will add a Customer account to the ACME IT Houston sub-partner:
- Open the Account Info tab and click on Add Account Under This Partner.
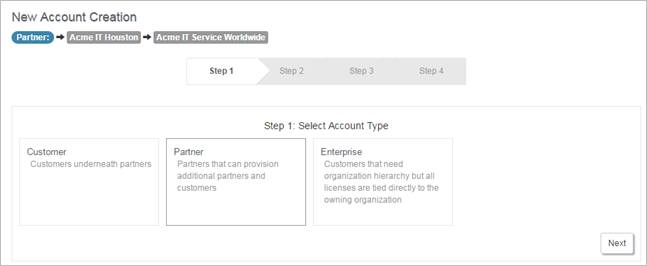
- Step 1: Select Account Type is displayed. Click Partner and click Next.
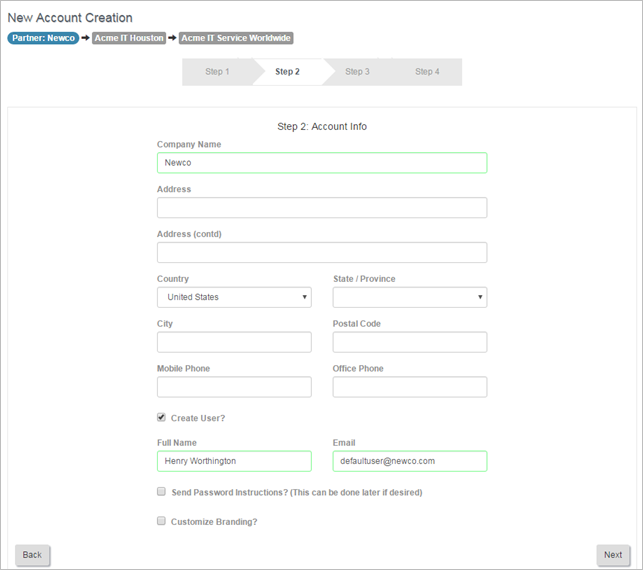
- In Step 2: Account Info, enter the required details. You can choose to add a default user for this new account and add branding - or do this later. Click Next to continue.
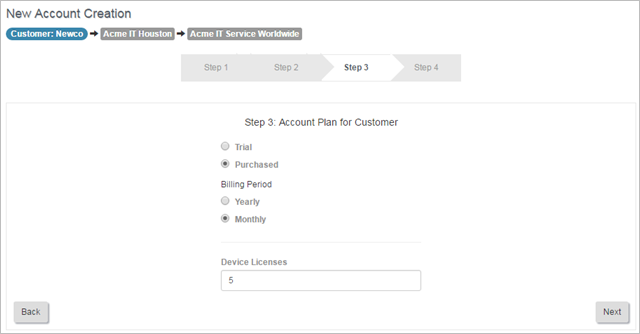
- In Step 3: Account Plan for Partner, you can choose whether this is a Trial or Purchased account (the default trial expiration is 14 days for trial accounts). In this example we want to create a Purchased account. Select Purchased and enter the Billing Period (Yearly or Monthly).
- Enter the number of licenses required and click Next.
- In Step 4: Review, check that you are happy with your new account details and click Save.


The default number and maximum number of trial licenses is limited to five. However, you can have more purchased licenses if needed.
The new account's Account Settings pages are opened, displaying the Billing tab. From here you change the number of licenses allocated and enable/disable Automatic Renewal.