Ninja RMM Integration Features
To set up the Ninja RMM integration please see NinjaRMM Integration Configuration.
You need to have Documentation Manager enabled in order to integrate with Ninja RMM. Please contact your Account Manager if you are interested in enabling this feature.
Once the Ninja RMM integration with Passportal has been completed, you are able to use your newly imported data. This document will walk through the features available with your assets as part of the integration.
Accessing Synchronized Assets
- You can view any synchronized assets from Ninja RMM by navigating to any client you have chosen to sync and selecting Assets.
- Selecting any of the assets will present you with a screen providing information on several pieces of Asset Information such as Name, IP address, Type, Last logged User, Domain, User Defined Fields, and many others.
Access Additional Asset Information
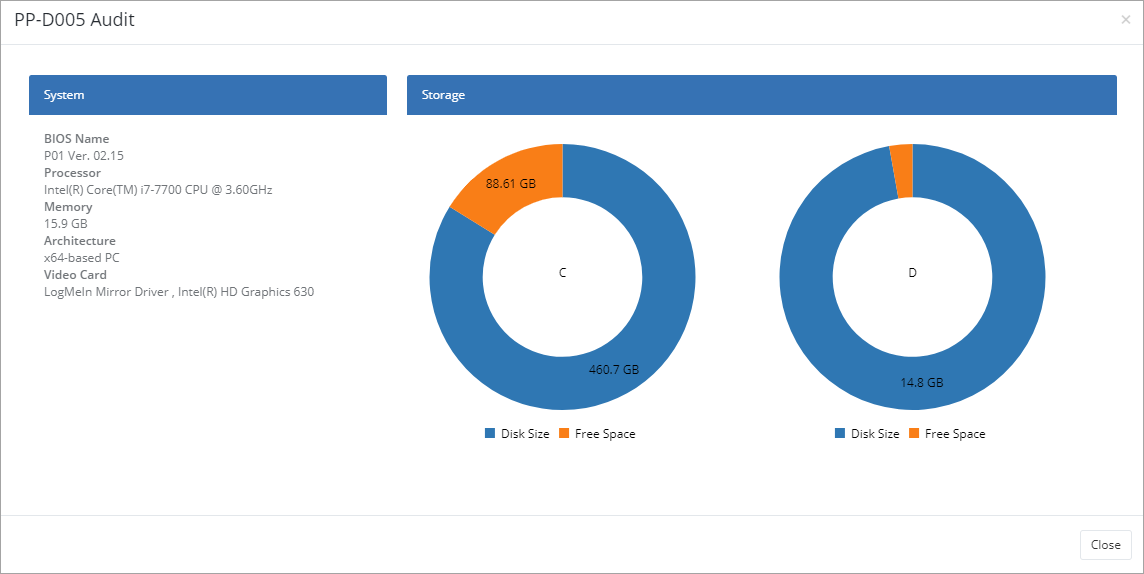
You can view additional audit information on the device from within Passportal, allowing you to gather additional asset information without needing to log in to Ninja RMM.
- Select the Audit Device button.
- The device audit information is displayed.
- Click Close to close the screen.

Software On Device
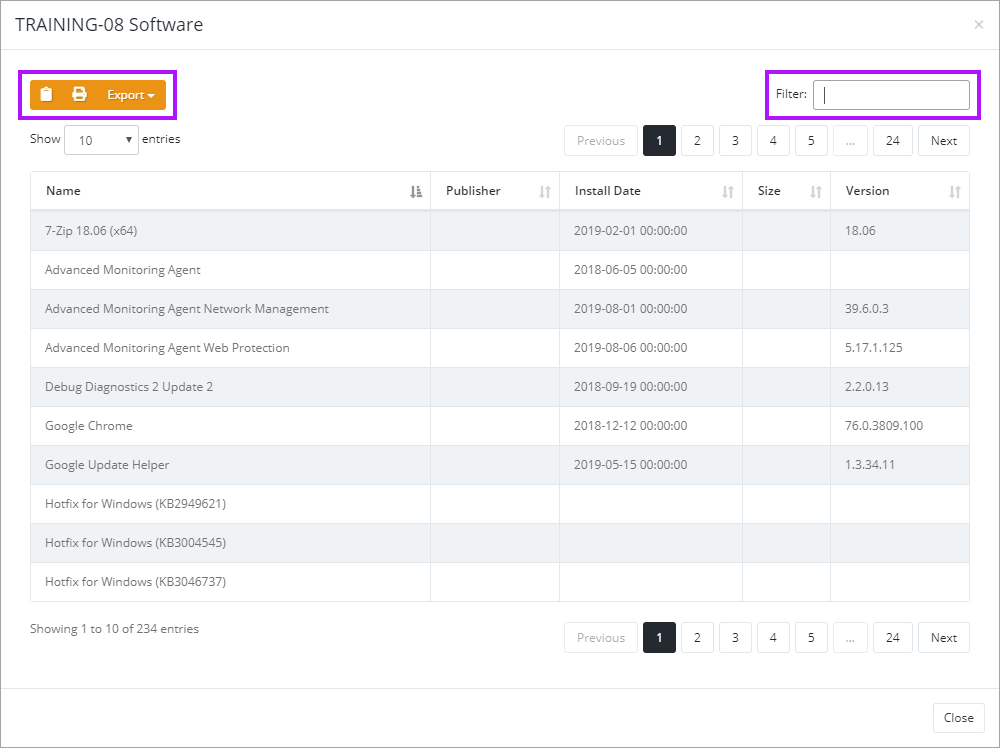
You can view information on what software is installed on the asset from within Passportal.
- Select the Software On Device button.
- The Software on Device screen is displayed.
- The information can be copied, printed or exported using the buttons, as well as filtered to allow easier location of details.
- Click Close to close the screen.

Access device in Ninja RMM
You can also launch into Ninja RMM to view the device.
- Select the Launch Portal button.
- A new tab opens in your browser for Ninja RMM, and takes you directly to the asset.

Re-Sync Device
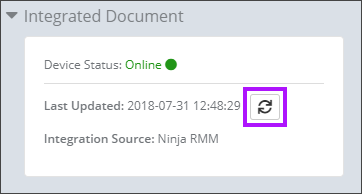
You can re-sync an asset with Ninja RMM from within Passportal by selecting the Sync Device button.


