
Mailboxes are for the reception of email and do not provide access to the Mail Assure Control Panel. For an end level user to gain access to the Dashboard, an Email User must be created, see Manage Email Users.
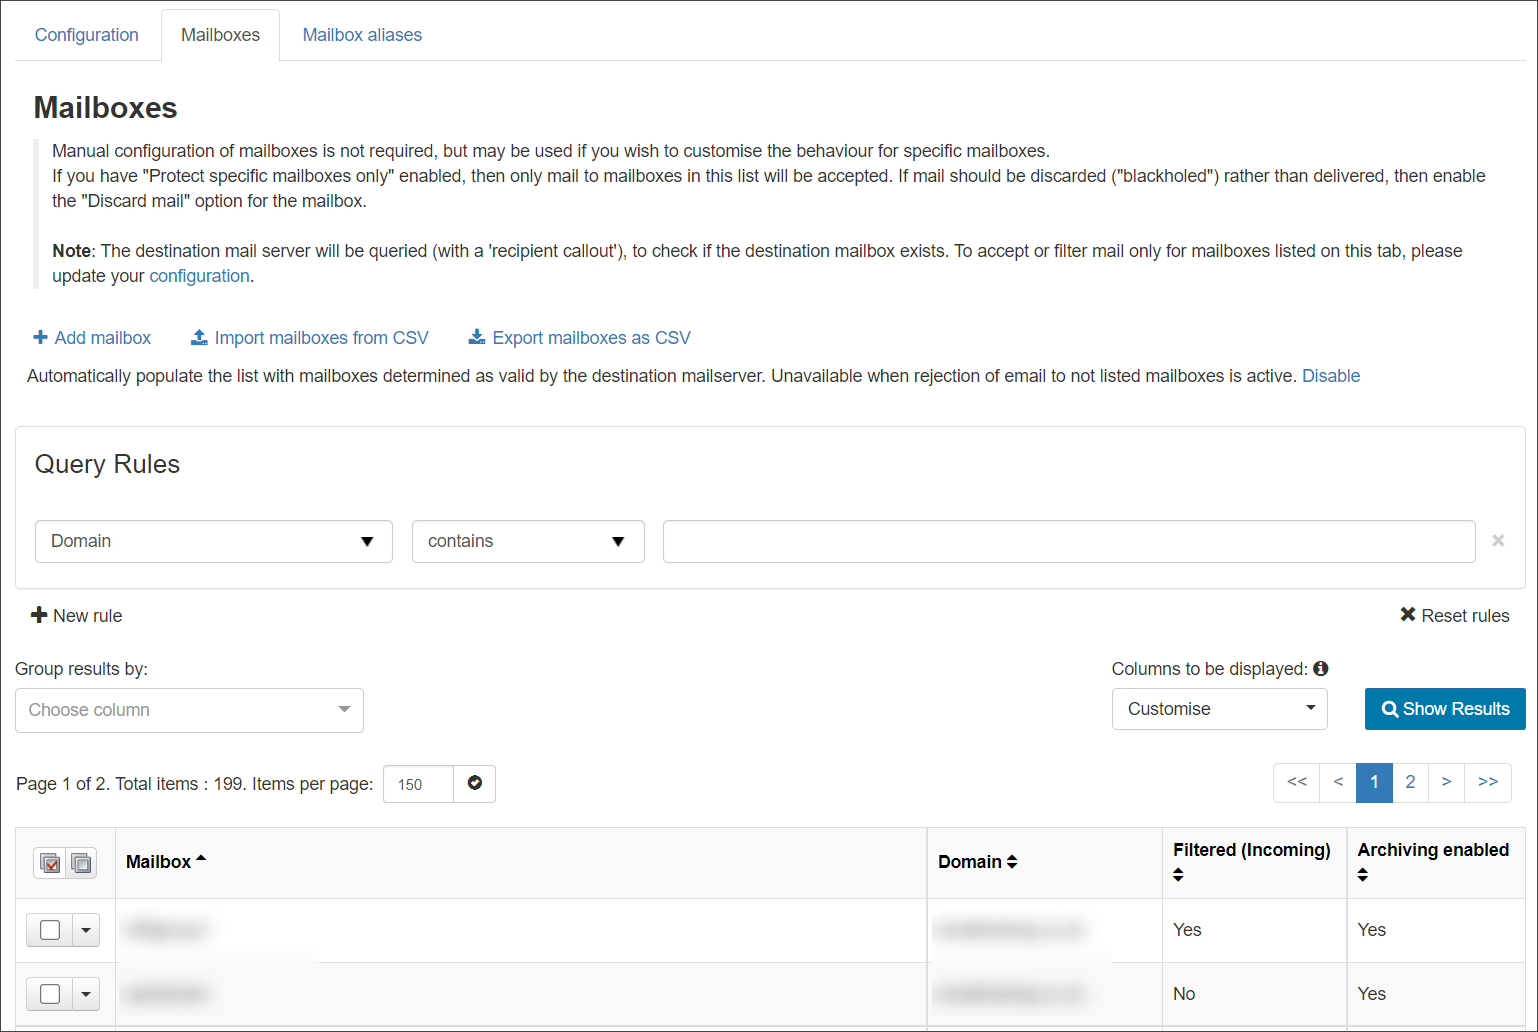
In the General section of the menu, select Mailboxes Overview or Mailboxes Configuration, then the Mailboxes tab. At Admin level you can view all mailboxes set up in the system for all domains. At Domain level you can view all mailboxes in the domain only.
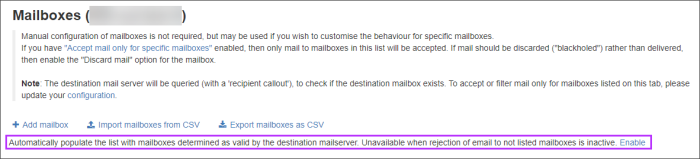
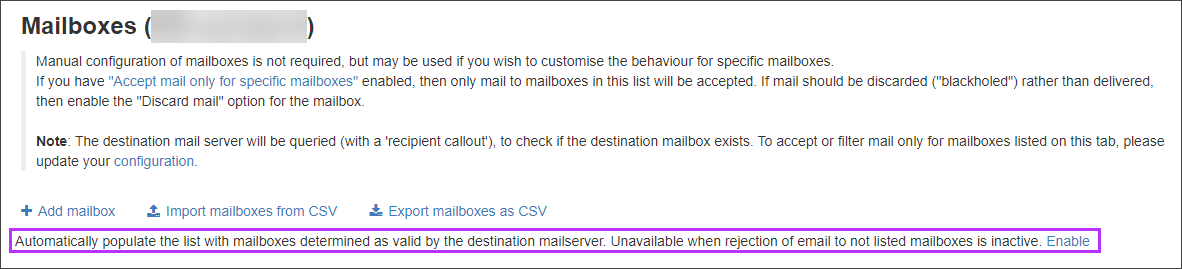
- Automatically populate the list with mailboxes determined valid by the destination mailserver - Automatically discover and add local mailbox addresses via recipient callout verification
- This can be enabled or disabled by clicking Enable/Disable
- This can be enabled or disabled by clicking Enable/Disable
- Manage mailbox filtering - Edit one or multiple mailboxes
- Allow list a recipient - by turning off incoming filtering on their mailbox, see Switch off Filtering for Specific Mailbox (Allow list recipients)
- Enable Archiving for specific mailboxes - See Restrict Archiving to Specific Mailboxes
View mailboxes
In the Mailboxes tab, click on Show Results to view all mailboxes. To search for specific mailboxes, use the Query Rules panel to refine your search and click on Show Results to display matching results.
Add mailboxes
Add Multiple Mailboxes Via CSV
You can add multiple mailboxes at once by using the Import mailboxes from CSV feature on this page. You may export mailboxes as well by using the Export mailboxes as CSV feature here too.
To get the structure of the CSV required:
- On the Mailboxes page, click Export mailboxes as CSV
This will provide a CSV file with the correct header columns
- Once you have this, populate this with your data
- Save the file
- Use Import mailboxes from CSV to upload the list to your domain
Add Single Mailboxes Manually
If you have Automatically populate the list with mailboxes determined as valid by the destination mailserver... enabled, mailboxes will be detected and configured automatically but you may want to add and customise the behaviour of specific mailboxes.
Please be aware that you cannot use non US-ASCII characters in the local part of a mailbox.
To do this follow these steps:
- Click on + Add mailbox
- Enter the Mailbox name (email address local part) - If you are at the Admin level also select the domain. If you are at the domain level, this will be automatically selected
- Select a Timezone - Using recommended settings here will use settings from the Configuration Tab
- Choose an appropriate Date format - Using recommended settings here will use settings from the Configuration Tab
- Choose an appropriate Time format - Using recommended settings here will use settings from the Configuration Tab
- Select whether this mailbox should be Filtered for incoming mail - Using recommended settings here will use settings from the Configuration Tab
- Select whether this mailbox should be Archived
- Select whether this mailbox should have Automatic Email Scout Reports enabled
- Advise if this mailbox is a Distribution List - These mailboxes are not expected to send mail directly and so messages with a distribution list address as a sender may be blocked
- Set if the mailbox should disregard all legitimate email without a rejection response - This setting allows for no-reply@ style mailboxes, where all mail should be accepted but will not be read, and so will be immediately discarded
- Advise if this mailbox is a Shared Mailbox - A shared mailbox is a mailbox that multiple users can use to read and send email messages
- Save the mailbox - you will now see the mailbox added to the list for the domain
The following settings are optional
Plus Addressing/Sub-Addressing
Mail Assure supports plus addressing, often called sub-addressing, which allows the addition of a 'tag' on a mailbox by use of a '+' as the separating character. Such addresses should not be added to the mailboxes list, so long as the primary mailbox is.
For example: for the primary mailbox piff.jenkins@example.com, plus addresses such as piff.jenkins+newsletters@example.com, or piff.jenkins+sales@example.com can also be used.
Delivery of mail at the destination server will be done to the full plus address, so the tag may be used for sorting mail in the inbox.
Edit one or multiple mailboxes
If a mailbox was added used Microsoft 365 Sync, some settings cannot be edited.
- For a single mailbox - Alongside the mailbox you want to edit, click on the dropdown menu and select Edit
- Place a tick in the checkbox alongside the mailboxes you want to edit
- At the top and bottom of the results open the Apply to selected dropdown
- Select Edit
- Click Apply
- You may change the following settings:
- Timezone
- Date format
- Time format
- Filtered (incoming) - If you disable this, filtering on the selected mailboxes is switched off. Effectively the recipients are Allow listed. See Switch off Filtering for Specific Mailbox (Allow list recipients)
- Archiving enabled
- Automatic Email Scout Report Activation
- Distribution list
- Discard all email without rejection response
- Shared Mailbox
- Click Apply
For multiple mailboxes -
The Edit mailbox or Edit multiple mailboxes dialog is displayed.
If editing a single mailbox, the mailbox address is displayed.
You can also accept a recipient for all domains using the Recipient Allow list at the Admin Level, see Add recipient to Allow list.
Remove one or multiple mailboxes
- For a single mailbox - Alongside the mailbox you want to remove, click on the dropdown menu and select Remove
- Place a tick in the checkbox alongside the mailboxes you want to remove
- At the top and bottom of the results open the Apply to selected dropdown
- Select Remove
- Click Apply
- Confirm mailbox(es) removal in the dialog that is displayed with a list of mailboxes selected
- Click Remove
For multiple mailboxes -
Mailboxes cannot be undeleted. If you have deleted the mailbox, it cannot be restored so you must add it as a new mailbox and set up all configuration again.
Switch off Filtering for Specific Mailbox (Allow list recipients)
You can choose to Allow list a recipient by switching off incoming filtering on that mailbox.
- At Domain Level, select General > Mailboxes Configuration
- Click to open the Mailboxes tab and use the Query Rules panel to search for the relevant mailbox
- Click Show Results to see all matching results
- Click on the dropdown to the left of the mailbox and select Edit to open the Edit mailbox dialog
- Expand the Filtered (Incoming) panel and select No
- Click Save
Convert Mailbox to Mailbox Alias
Converting a mailbox to a mailbox alias is an action that might be required for a number of reasons, the main one being if an employee leaves the customer and all their mail should now be redirected to another mailbox. Converting a mailbox into an alias can be done by:
- Find the mailbox you want to make into a mailbox alias from the Mailboxes list
- Click on the dropdown menu and select Convert mailbox to alias
- Ensure the correct domain is selected from the Domain dropdown
- Enter the mailbox name the alias should be attached to in the Mailbox box
- Ensure the correct mailbox to convert is in the Alias field
- Click Save