From the Management Console, you can view the dedicated Recovery Testing overview by selecting Continuity > Recovery Testing from the vertical menu on the left hand side.
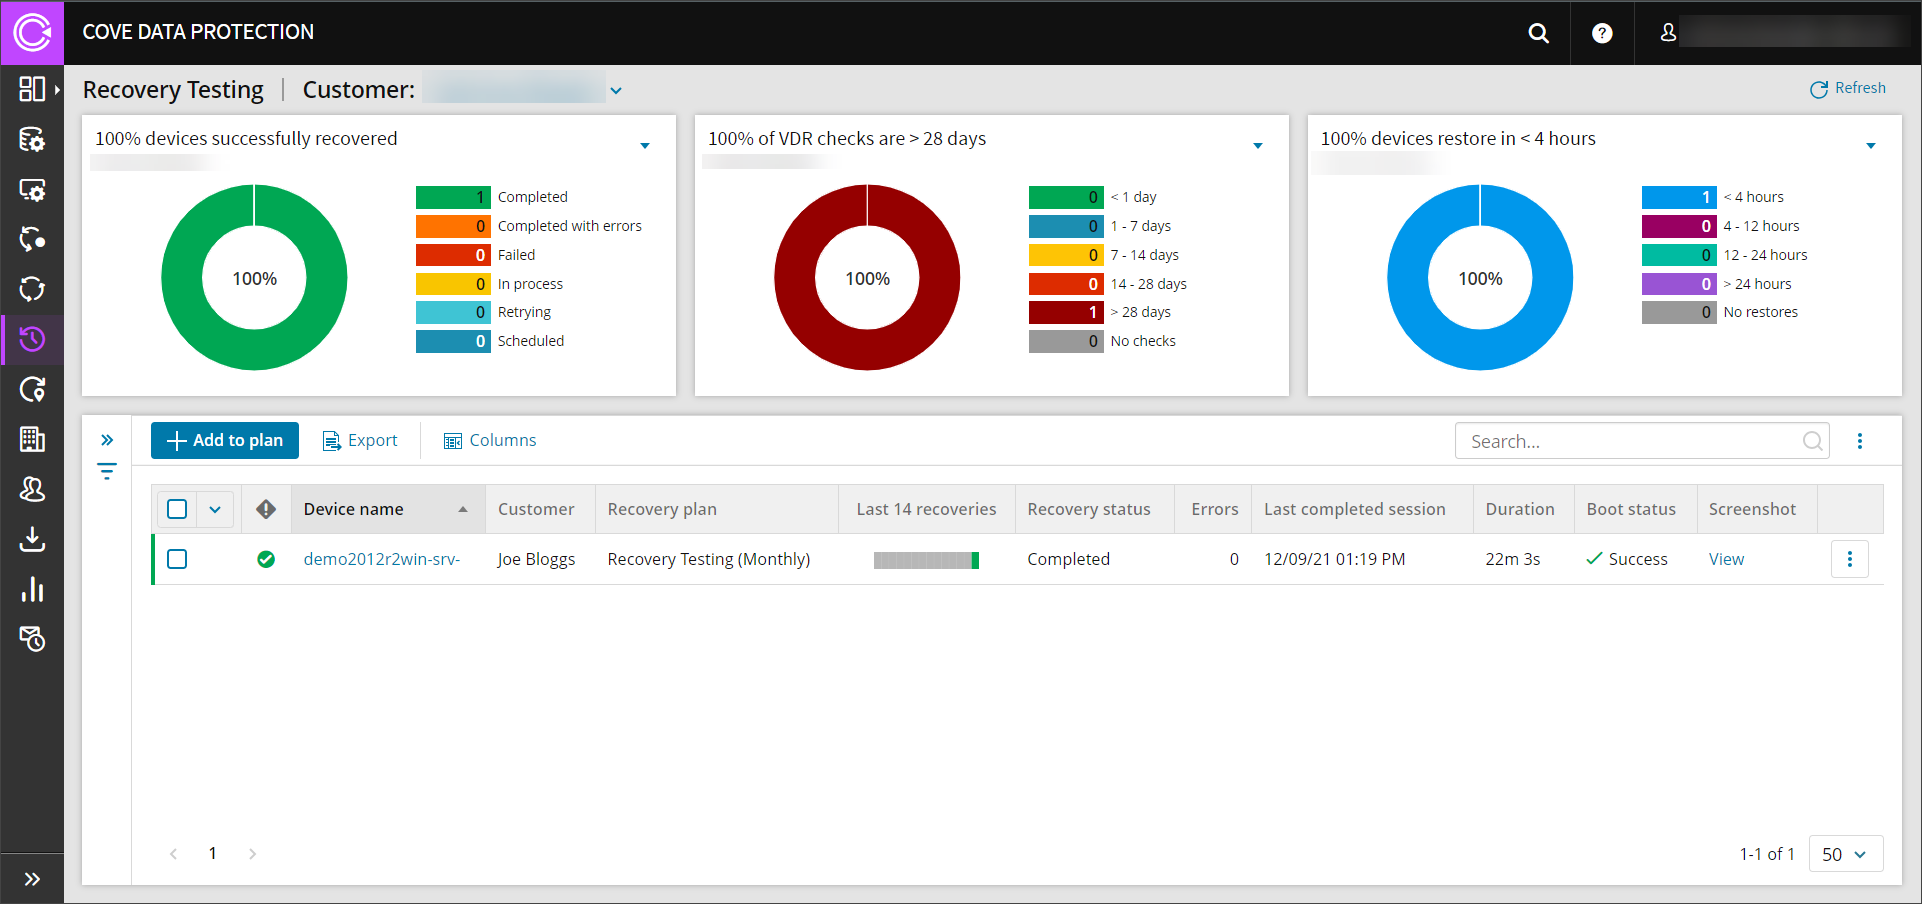
From this overview, you will see a specified set of columns detailing information relevant to Recovery Testing, including the continuity history of the last 14 recoveries, the status, and plan, along with some other information.
You can distinguish between Recovery Testing plans by the Recovery Testing Plan column. You will see one of two plan names:
- Recovery Testing (Bi-Weekly)
- Recovery Testing (Monthly)
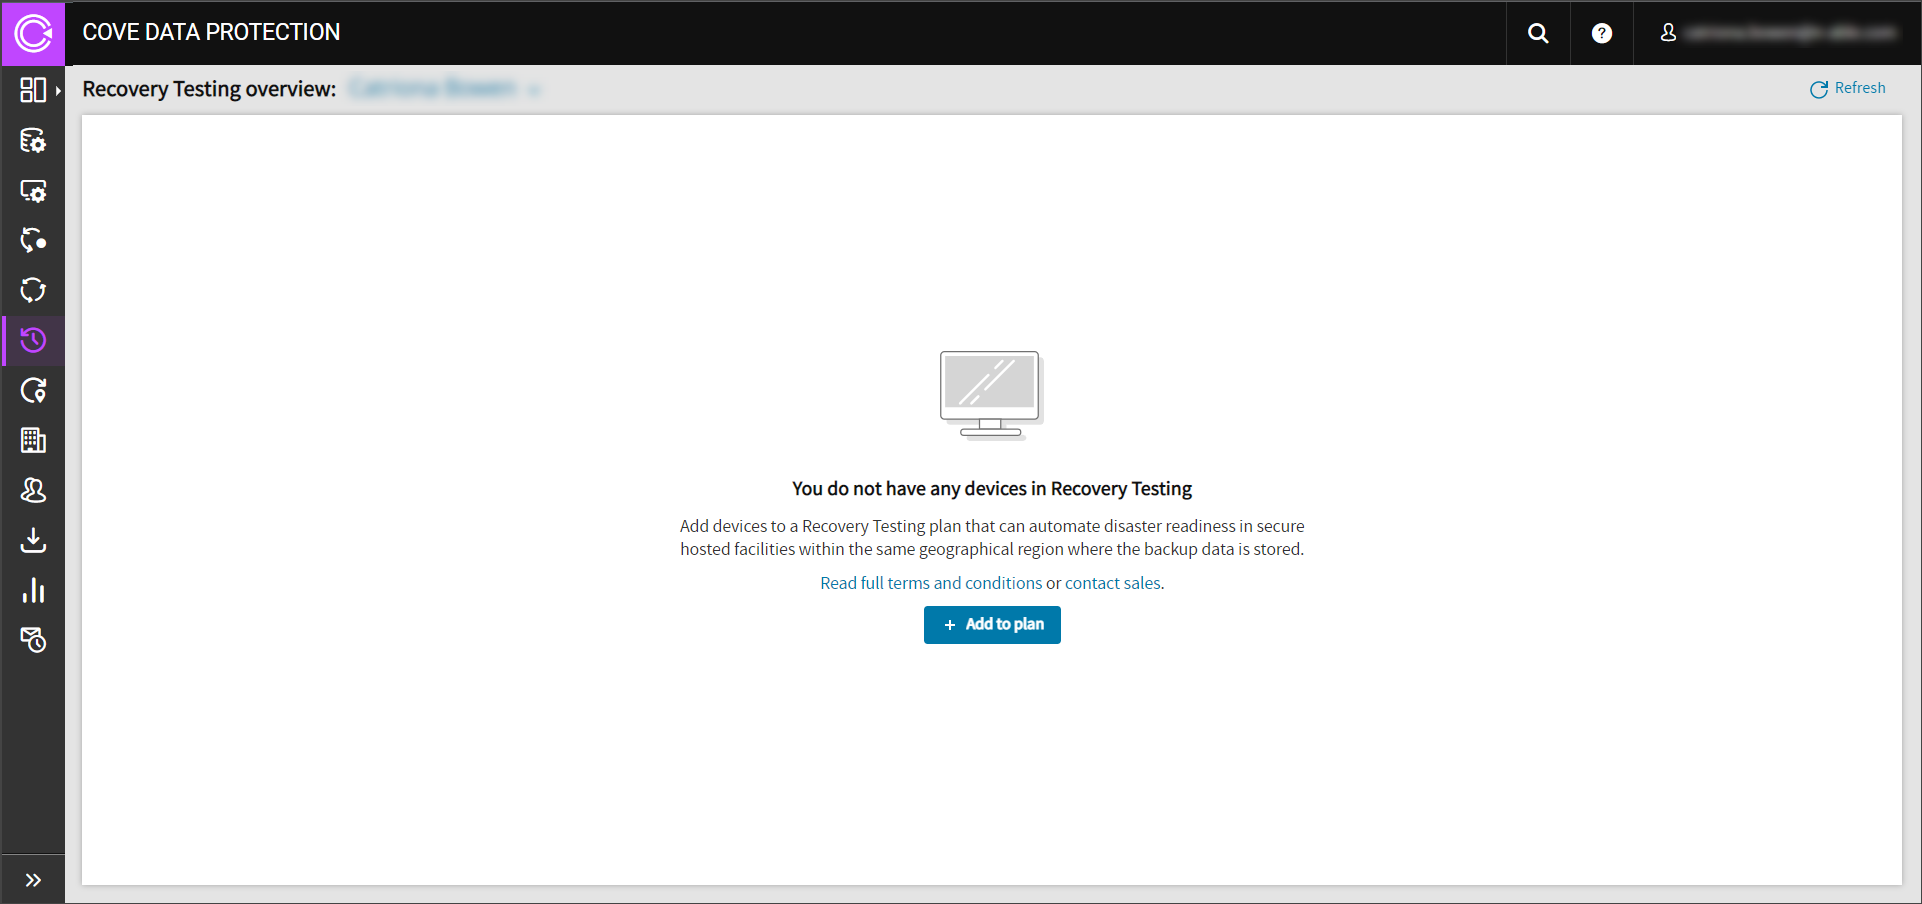
If no devices are assigned to the Recovery Testing, the overview will display a message to advise, along with a button to add devices to the plan.
From the Recovery Testing overview you can:
- Search the recovery testing devices
- Filter the recovery testing devices
- View Recovery Progress
- Force a restore
View Recovery Progress
From the Recovery Testing overview, the Recovery Progress column can be added, which will allow you to see the progress of the recovery as a percentage.

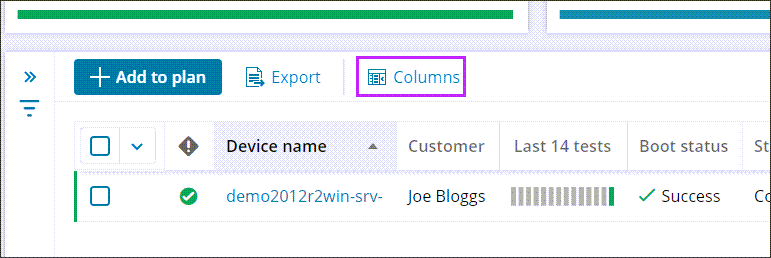
This column can be added by:
- Selecting Columns
- Search for and select Recovery Progress
- Click Save
Force restore
The Force Restore feature allows you to re-run the test if there is a failure in the boot test during recovery testing.

- Select the device for which you need to run the restore
- Click Force restore to initiate a restore using a new backup session if one is available after the failure or using the same backup.
The Force restore button disappears once a new restore is triggered
The Force restore button is activated after two consecutive restore failures.
Only one force restore attempt is allowed per failure cycle. If the force restore fails, you must wait until the next scheduled restore (every 2 weeks or 1 month, depending on the plan).
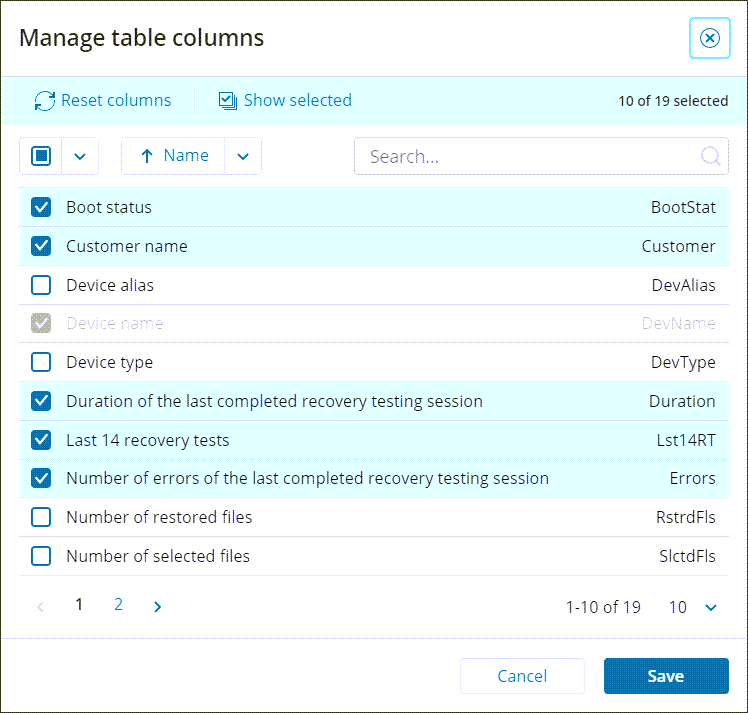
Manage Table Columns
Management Console allows you to add or remove columns to be seen within the Recovery Testing overview.
In the Manage table columns dialog, you can select and deselect columns based on the information you wish to view from the dashboard.
Exporting
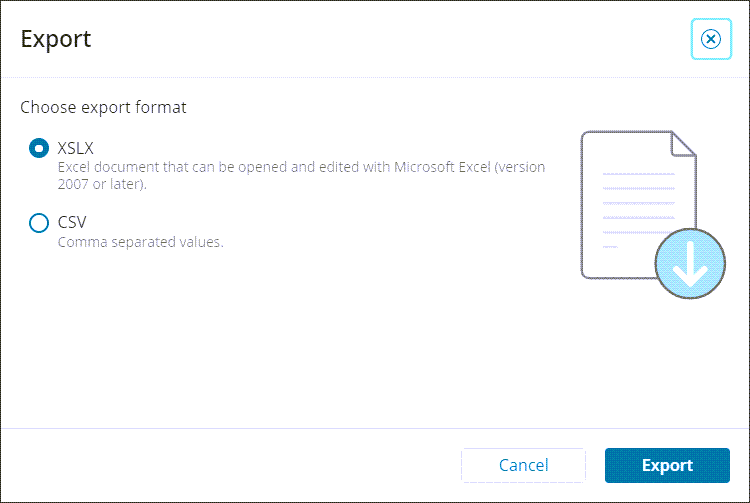
You may export a list of devices currently assigned a plan by clicking Export

This will then provide a separate dialog where you can choose to export in either XSLX or CSV.