
The Virtual Drive is a Windows utility only.
The Virtual Drive must be installed alongside the Backup Manager. It will create a drive letter on the Windows Explorer where you can browse through your backup sessions locally. Files can be dragged and dropped out of the Virtual Drive to restore backup data to the local filesystem.
If you backed up a Virtual Machine with a dynamic disk (also known as thin provisioning), you will not be able to expand this via the Virtual Drive feature.
Requirements
The Virtual Drive utility relies on the Backup Manager installation.
- Windows login credentials of a user in the Administrators' group, or a member of the automatically created N-able Backup Users group
Due to a File Explorer limitation, to open Virtual Drive via the Windows File Explorer, the user must be a member of the N-able Backup Users group. See Users and Groups Permissions
- The Backup Manager must be installed on the machine prior to the Virtual Drive installation
- The version of the Virtual Drive must be same as the Backup Manager
You will see a warning message in case of version incompatibility
- Download the Virtual Drive installation file prior to beginning
This can be found from the Downloads page in Management Console, or from the Backup Downloads page on our website.
Users and Groups Permissions
Virtual Drive can only be opened on the device by an Administrators' group user or a member of the automatically created N-able Backup Users group.
If the user is not a member of either of the above groups, you will see the following error when trying to open the drive letter:

To allow the user the appropriate permissions:
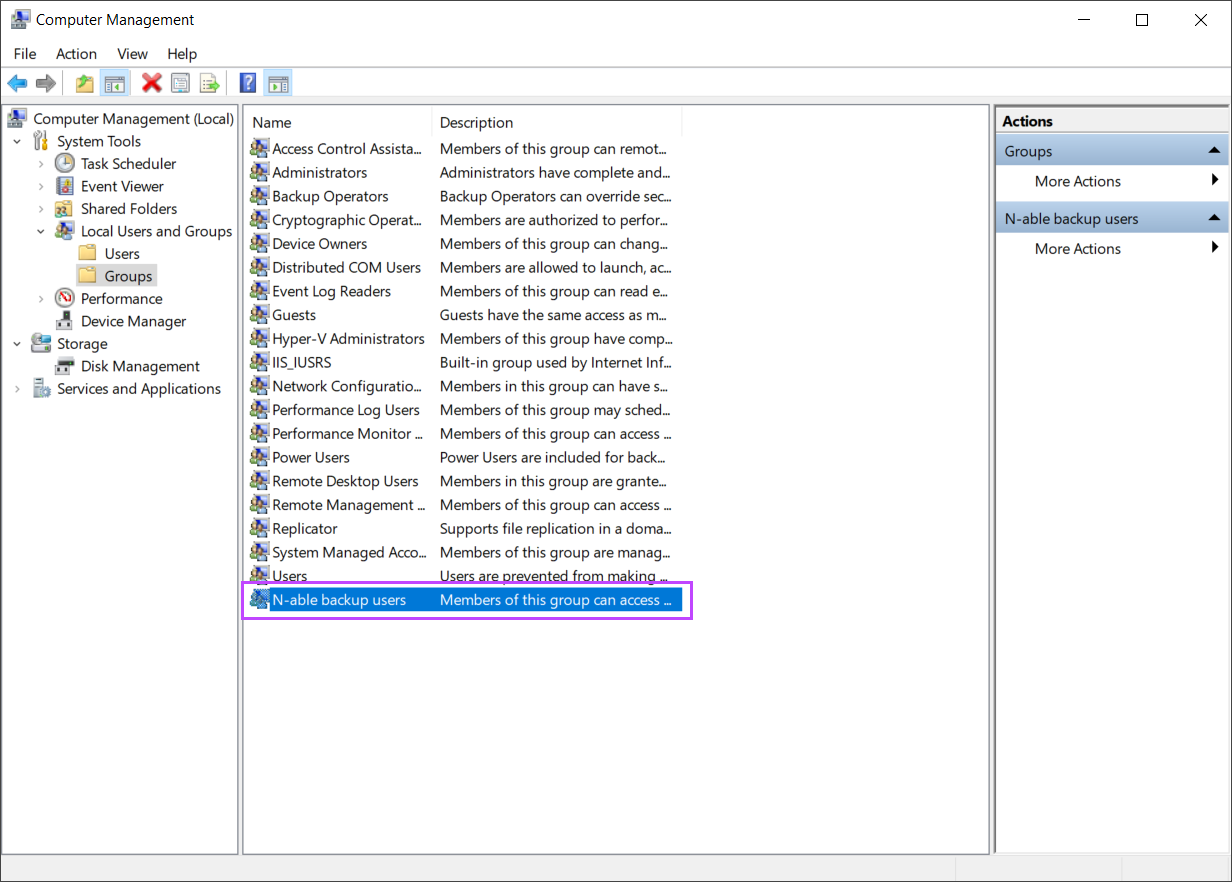
- Open the Start menu and open Computer Management
- Navigate to System Tools > Local Users and Groups
- Open Groups
- Open the N-able Backup Users group
- Click Add
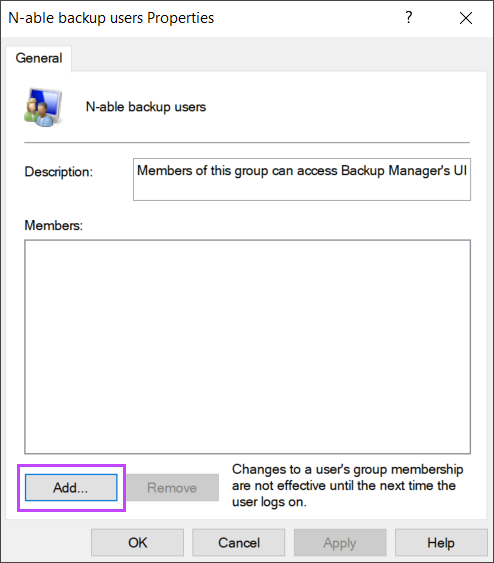
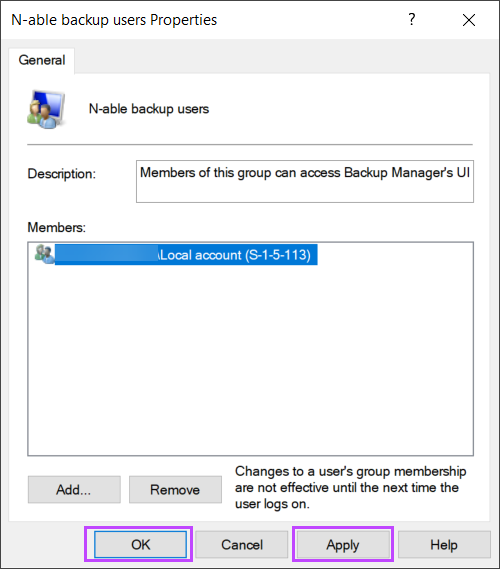
- Add the user or local account as a member of the group
- Apply the changes
- Click OK to close out of the properties window
- Reboot the device