Virtual Drive can be installed through either an install Wizard or via command-line installation.
Before beginning, ensure you have downloaded the appropriate version of the Virtual Drive for your machine. This can be found from the Downloads page in Management Console, or from the Backup Downloads page on our website.

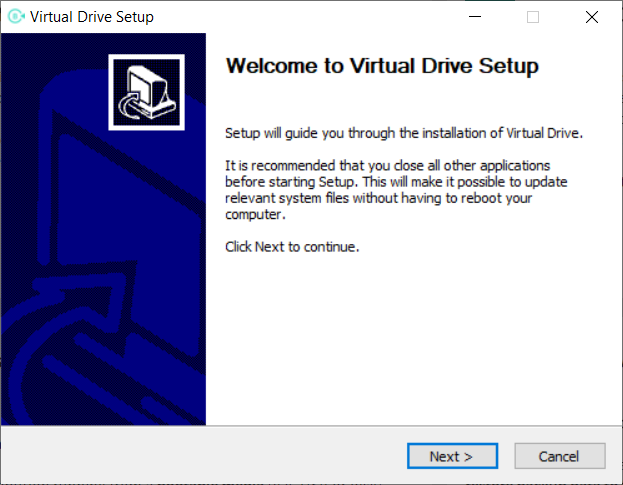
Installation Wizard
- Double click the downloaded file to run the install wizard
- Click Next to begin setup
- Use the Browse function to allocate an appropriate destination folder for the installation
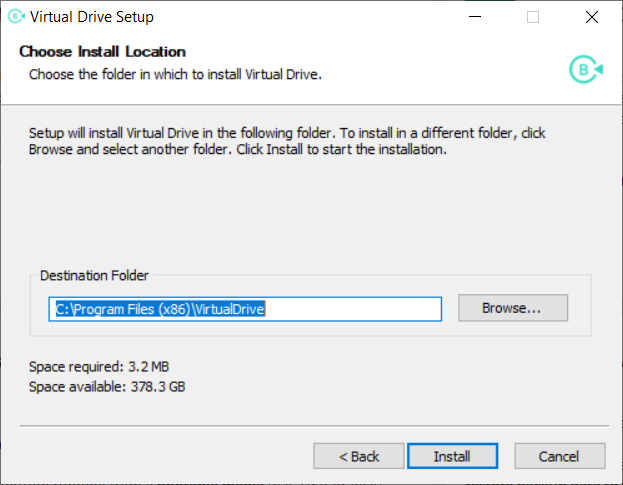
- Allow the installation to run
- Click Finish to complete the installation and close the wizard
Command-Line Installation
To use the silent installation mode:
- Start cmd.exe as an Administrator on the device
- Run the following command:
mxb-vd-windows-x64.exe /S /D=C:\Program Files\VD
Parameters
The command is broken down into the following parameters:
mxb-vd-windows-x64.exe/mxb-vd-windows-x86.exe- This is the name of the installation file downloaded prior, ensure you are using the correct filename/S- This stands for the silent installation mode/D- This is the indicator to a directoryThis must be immediately followed by the directory path where you want to install the Virtual Drive
This parameter must be the last parameter on the command line and must not contain quotes, even if the path contains spaces.
-InitialVirtualDriveLetter(optional) -This (if used) must be placed before the directory parameter and lets you customize the letter the Virtual Drive is mounted to during installation, for example:-InitialVirtualDriveLetter Q
If this parameter is used after the path, installation will not be completed.
Post Installation
When the installation is completed, a new local drive appears in the system, along with the regular "C:", "D:", and "E:" (DVD) drives.
The drive letter usually used by Virtual Drive is "B:" unless this letter is already taken.
You can specify any other letter using the InitialVirtualDriveLetter parameter in the configuration file as detailed in Virtual Drive Settings.
After the Virtual Drive has been installed, it will be automatically updated with each Backup Manager update.

If you make changes within the data on the Virtual Drive, these changes will not be reflected in the data kept on the cloud.
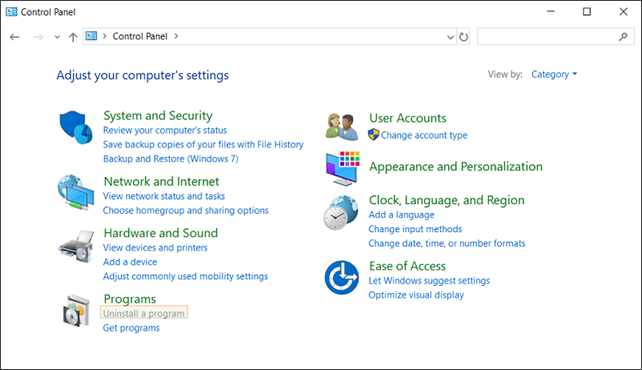
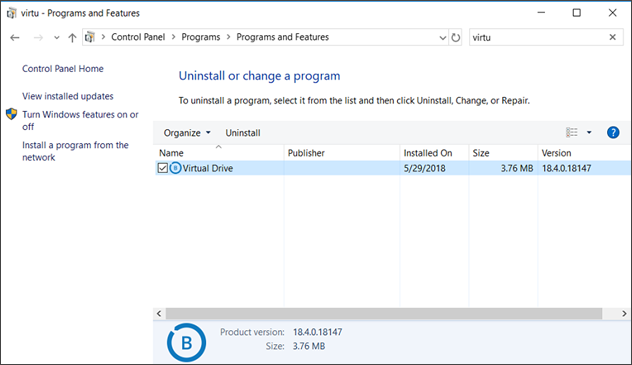
Uninstalling Virtual Drive
Use the Control Panel to uninstall the Virtual Drive.
- Go to Programs > Uninstall a program
- Select Virtual Drive and click Uninstall