
In Documents Backup, operations for device creation, installation and setup are automated.
Step 1: Add device
Here are steps to follow to add Documents Backup devices to Cove Data Protection (Cove)'s Management Console:
- Log in to the Management Console under a SuperUser account belonging to a Reseller or End Customer
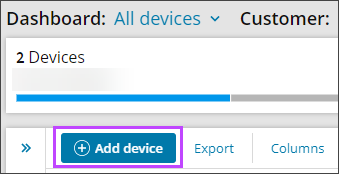
- Click Add device, select Servers and Workstations

- Using the toggle in the upper right-hand corner of the wizard, switch to Documents Installation
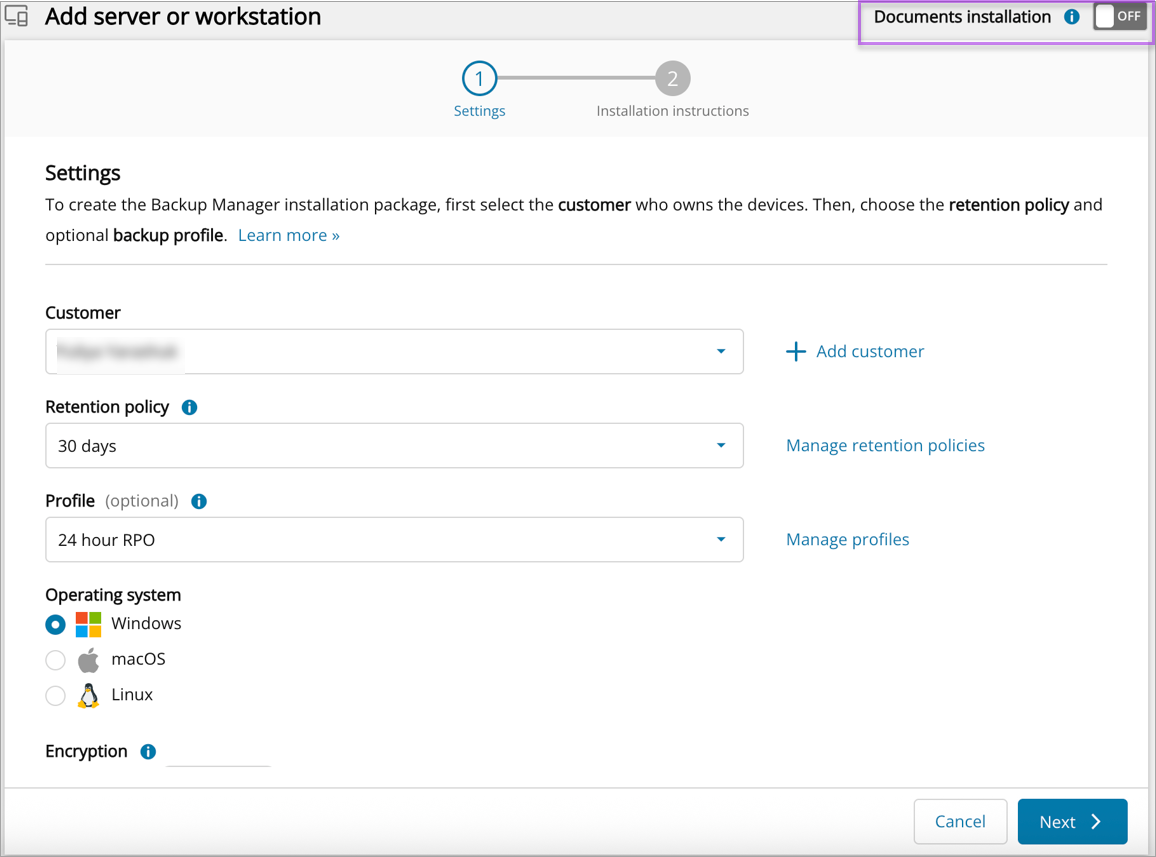
- Select the Customer to install the device for from the dropdown
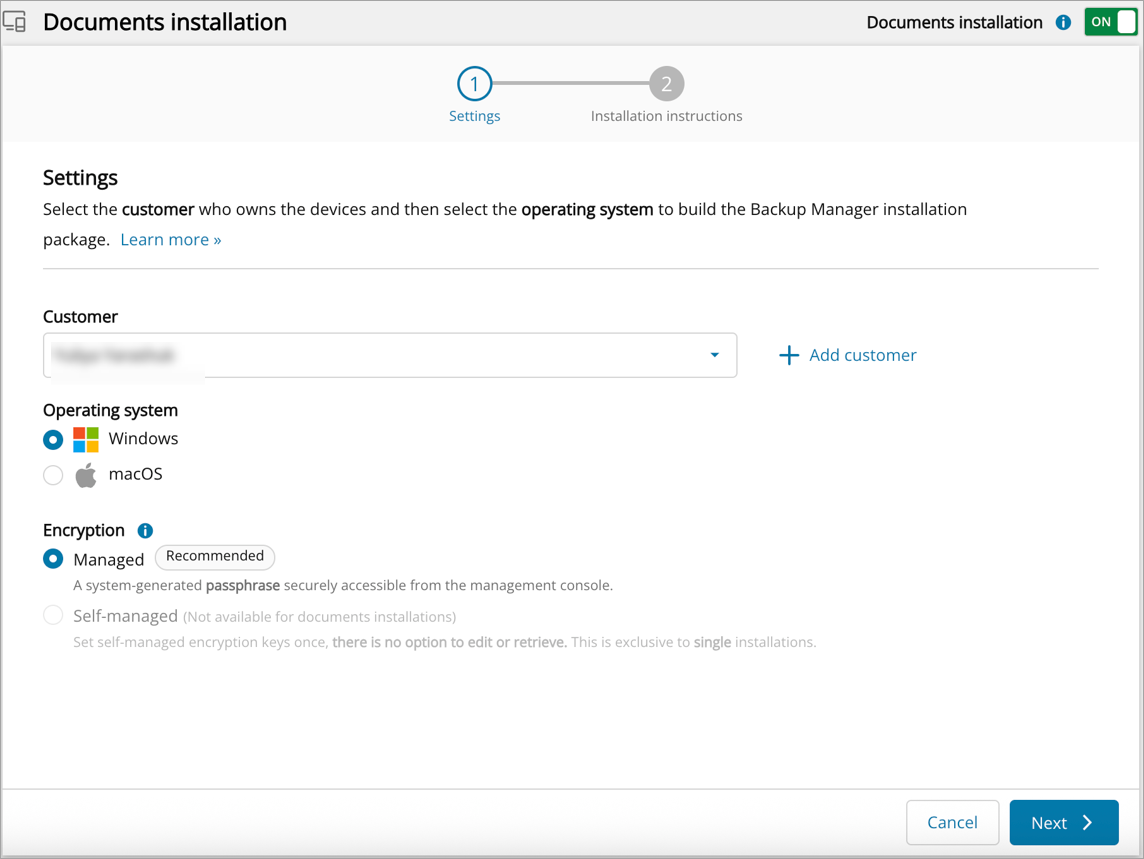
- Select the Operating System for your device:
- Windows
- macOS
- Select the Encryption method:
- Managed - this encryption method will provide a system-generated passphrase to be used for all recovery from this device
- Self-managed - this encryption method allows you to create a custom Encryption Key/Security Code to be used for all recovery from this device
This encryption method is not available for Documents backup installation
- Click Next
- Confirm the device settings are correct
- Download the installation package from the download link and take a note of the installation package name
Do not change the installation package name from the one provided on your dialog. This is because the package name is a unique identifier for the specific customer and device and doing so will stop the installation from functioning appropriately.
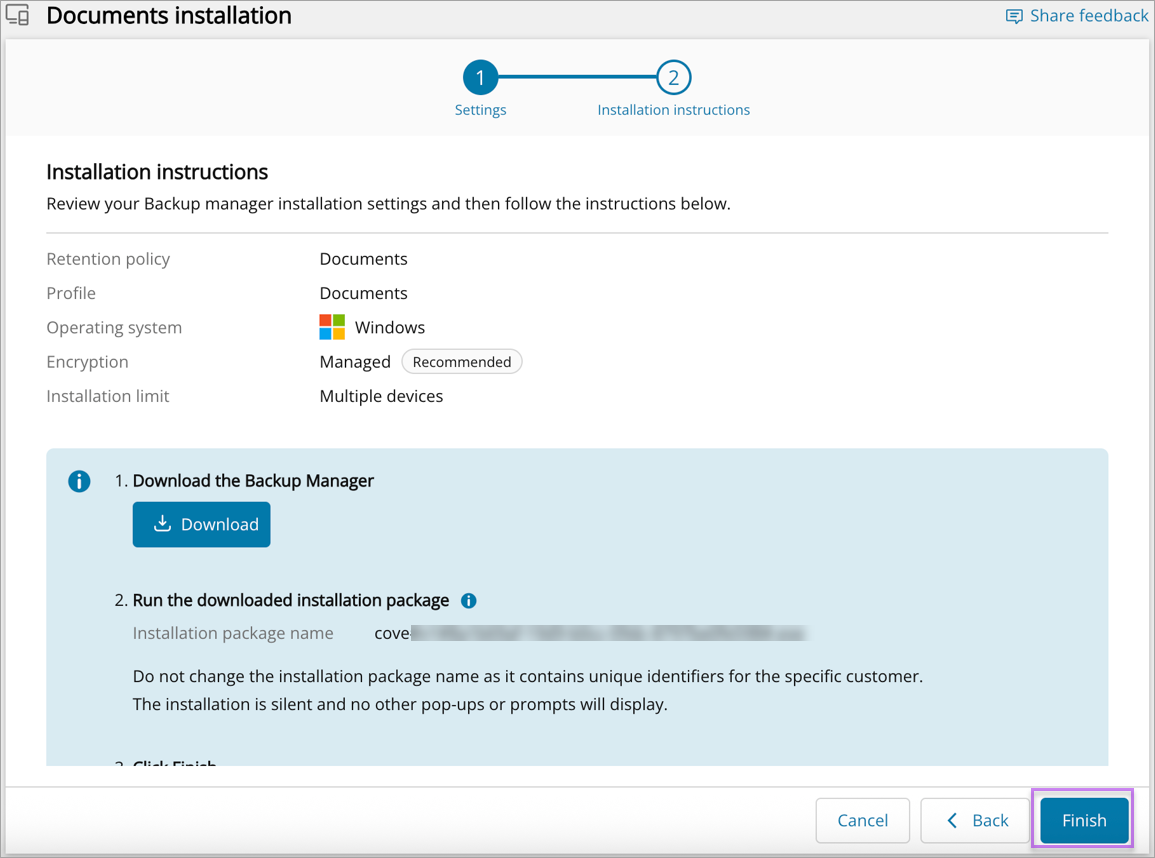
- Click Finish
A single executable file supports multiple installations for the specified customer.
Step 2: Run the installer
To run the installation package, do one of the following:
- Double-click the installer executable.
- Enter the name of the installer in a command line, terminal emulator or a software distribution system. For example:
cove#24.10.102#ab1234c5-67d8-9ef0-g1h2-i34j56k789lm#.exeorcove#24.10.102#ab1234c5-67d8-9ef0-g1h2-i34j56k789lm#.run
The installation runs silently, so no additional pop-ups or prompts appear on the device.
Do not change the name of the installation package. It contains unique information relating to the installation.
If you ever need to re-install a Documents device, follow the instructions to re-install.