To enable a new Exchange, OneDrive, SharePoint or Teams device or to add a new service to an existing domain for Microsoft 365 backups, add the domain to the Management Console using the steps below. Before you begin, make sure you meet the necessary requirements.
To back up a Microsoft 365 domain, you must connect to the domain, define the backup scope, and confirm and complete your selection.
Requirements
The following account types are required:
- A user account for the Management Console at the following user level:
- SuperUser
- Administrator
- Manager
- Operator
- The Security Officer role assigned to the above user account
- A Global administrator account for Microsoft 365
Set Up Microsoft 365 Data Protection
To set up data protection for a domain:
- Sign in to the Management Console using a SuperUser account.
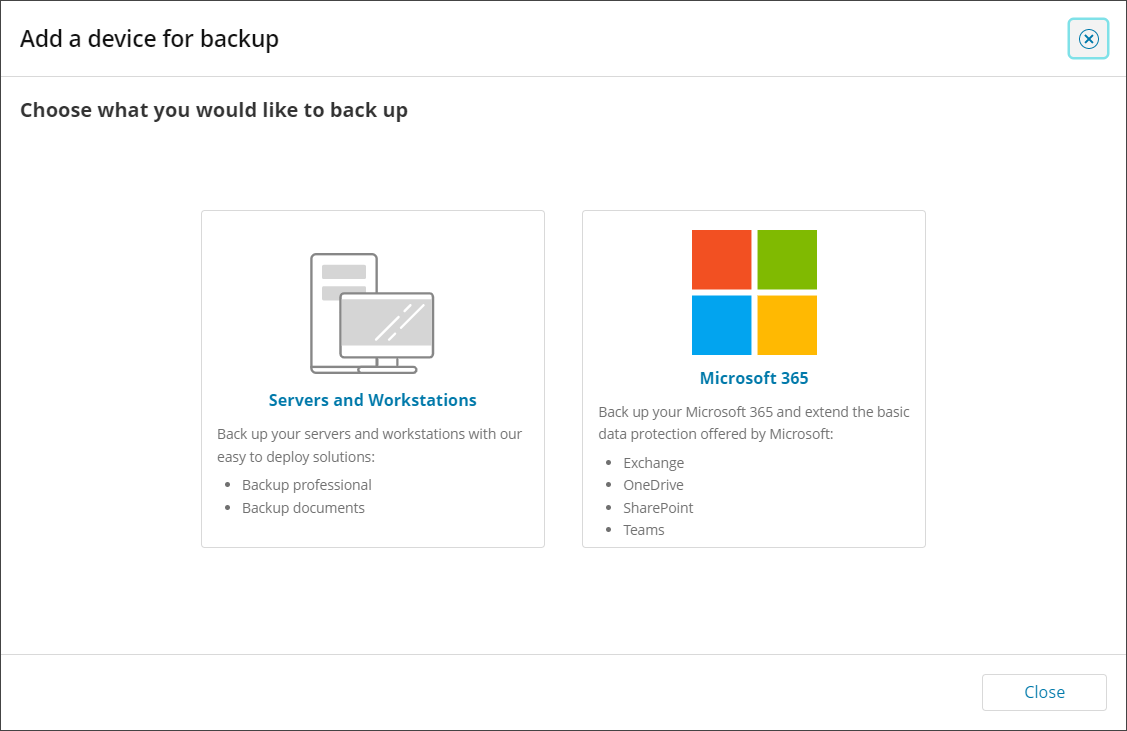
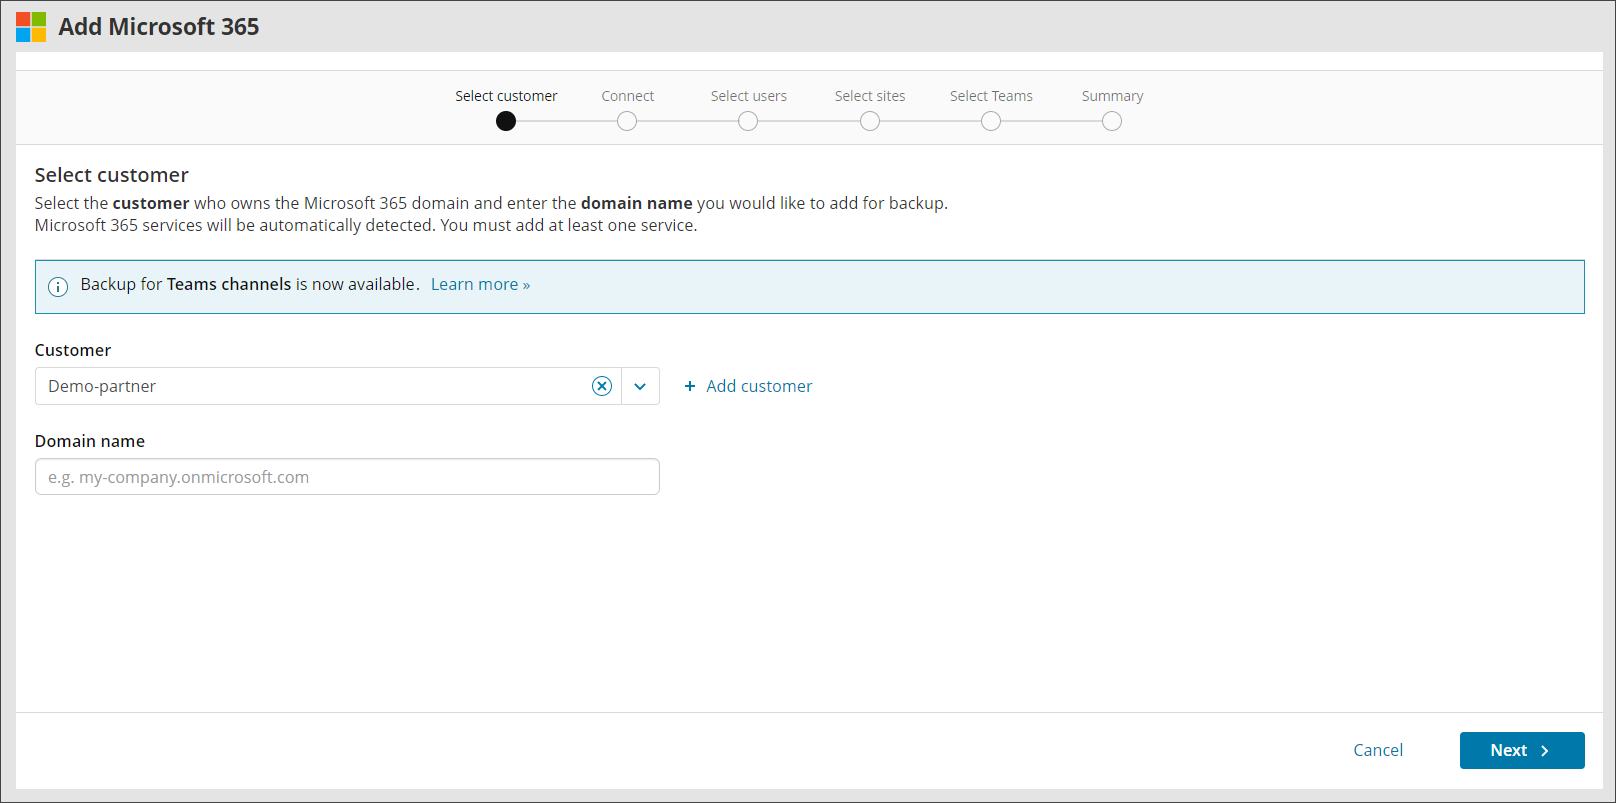
- Select Add Device > Microsoft 365.
- Select an existing Customer from the Customer dropdown or choose + Add customer.
- Enter the Domain name, acknowledge that Microsoft 365 data will be backed up and restored according to regional data principles, then click Next.
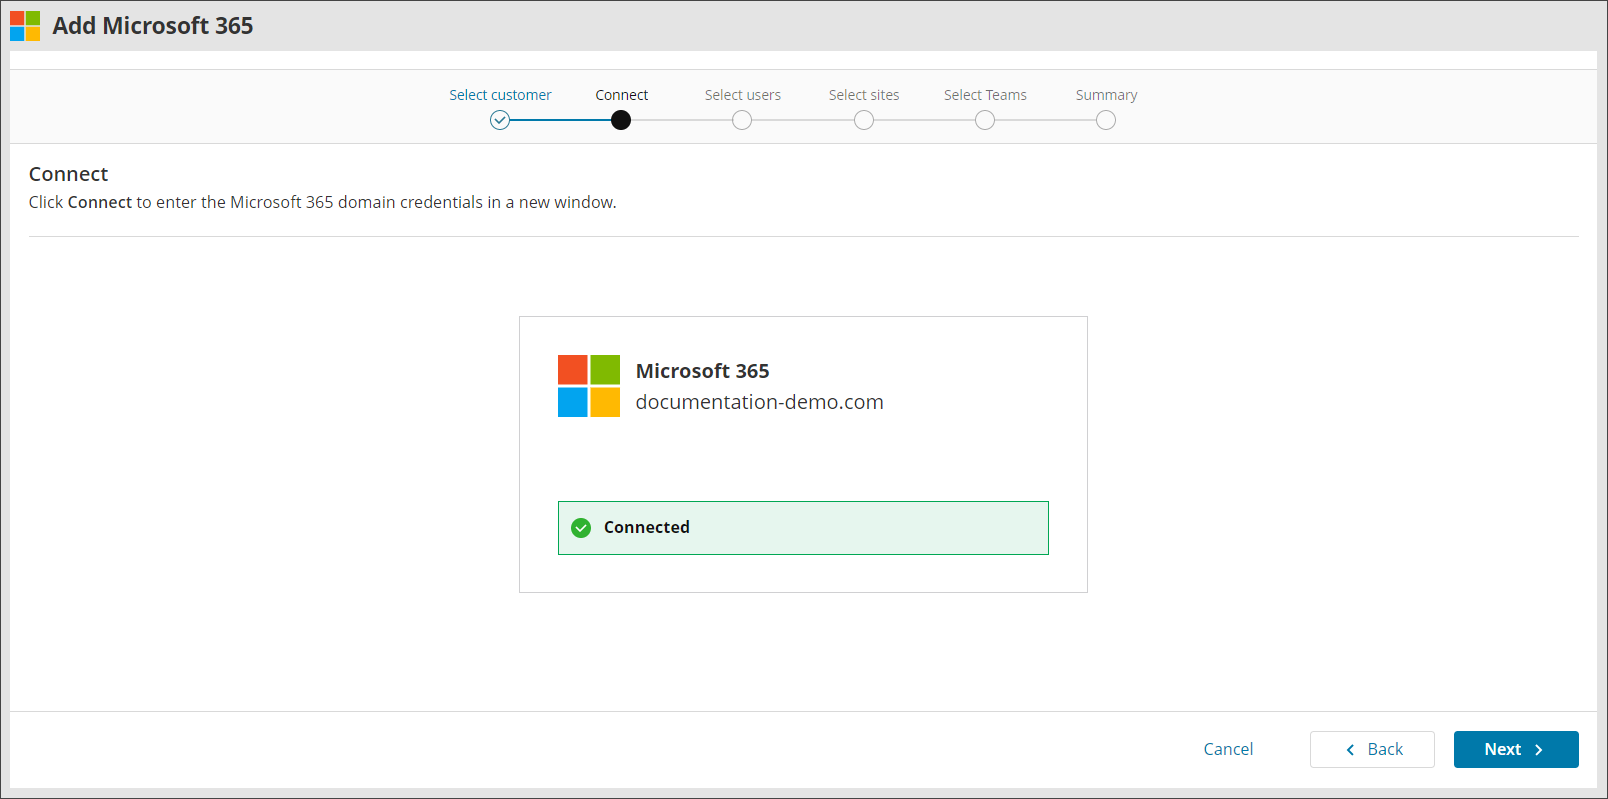
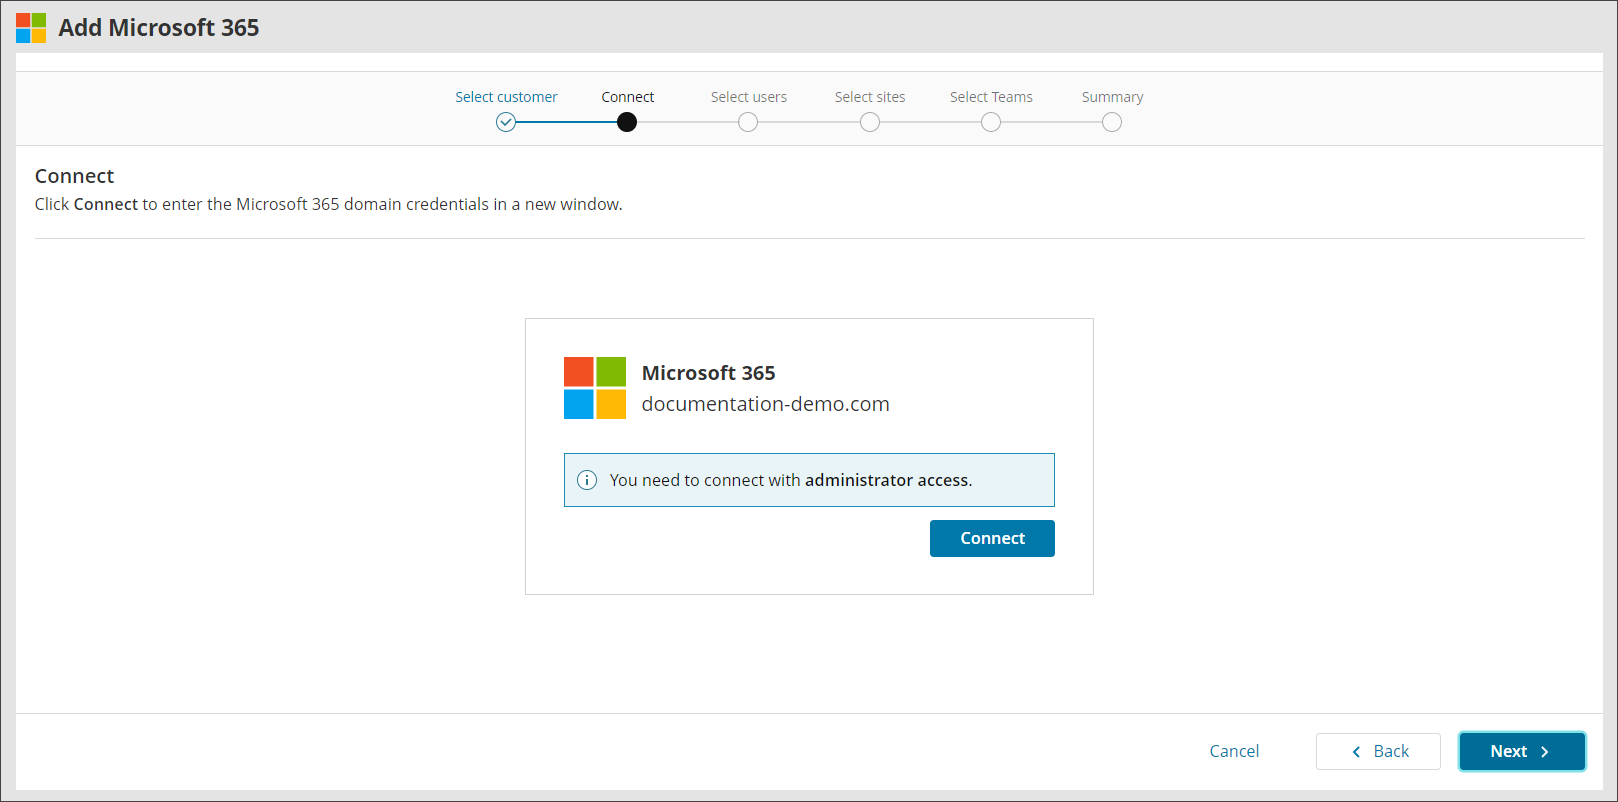
- Connect to the domain using a global administrator account for Microsoft 365 tenant.
- Accept the required permissions.
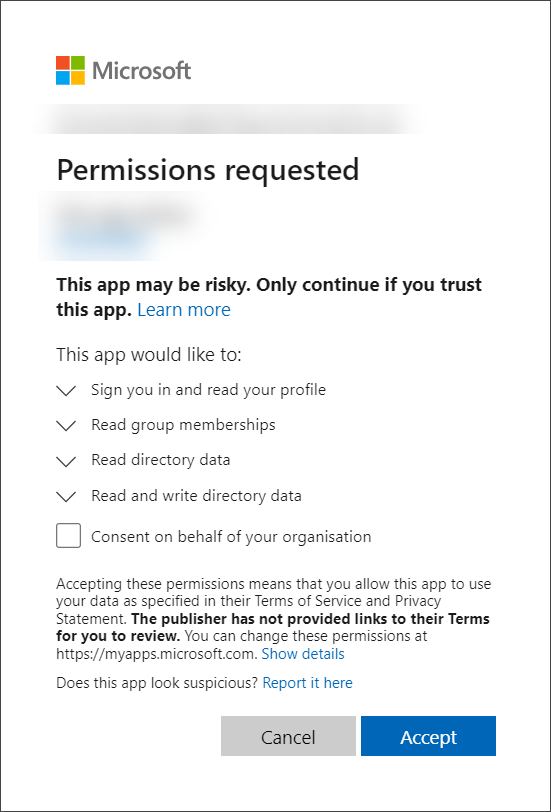
Select Consent on behalf of your organisation to allow this app to access the specified resources for all users in your organisation. Other users won’t be prompted to review these permissions.
- When the connection is established, and the Connected message is displayed, select Next.
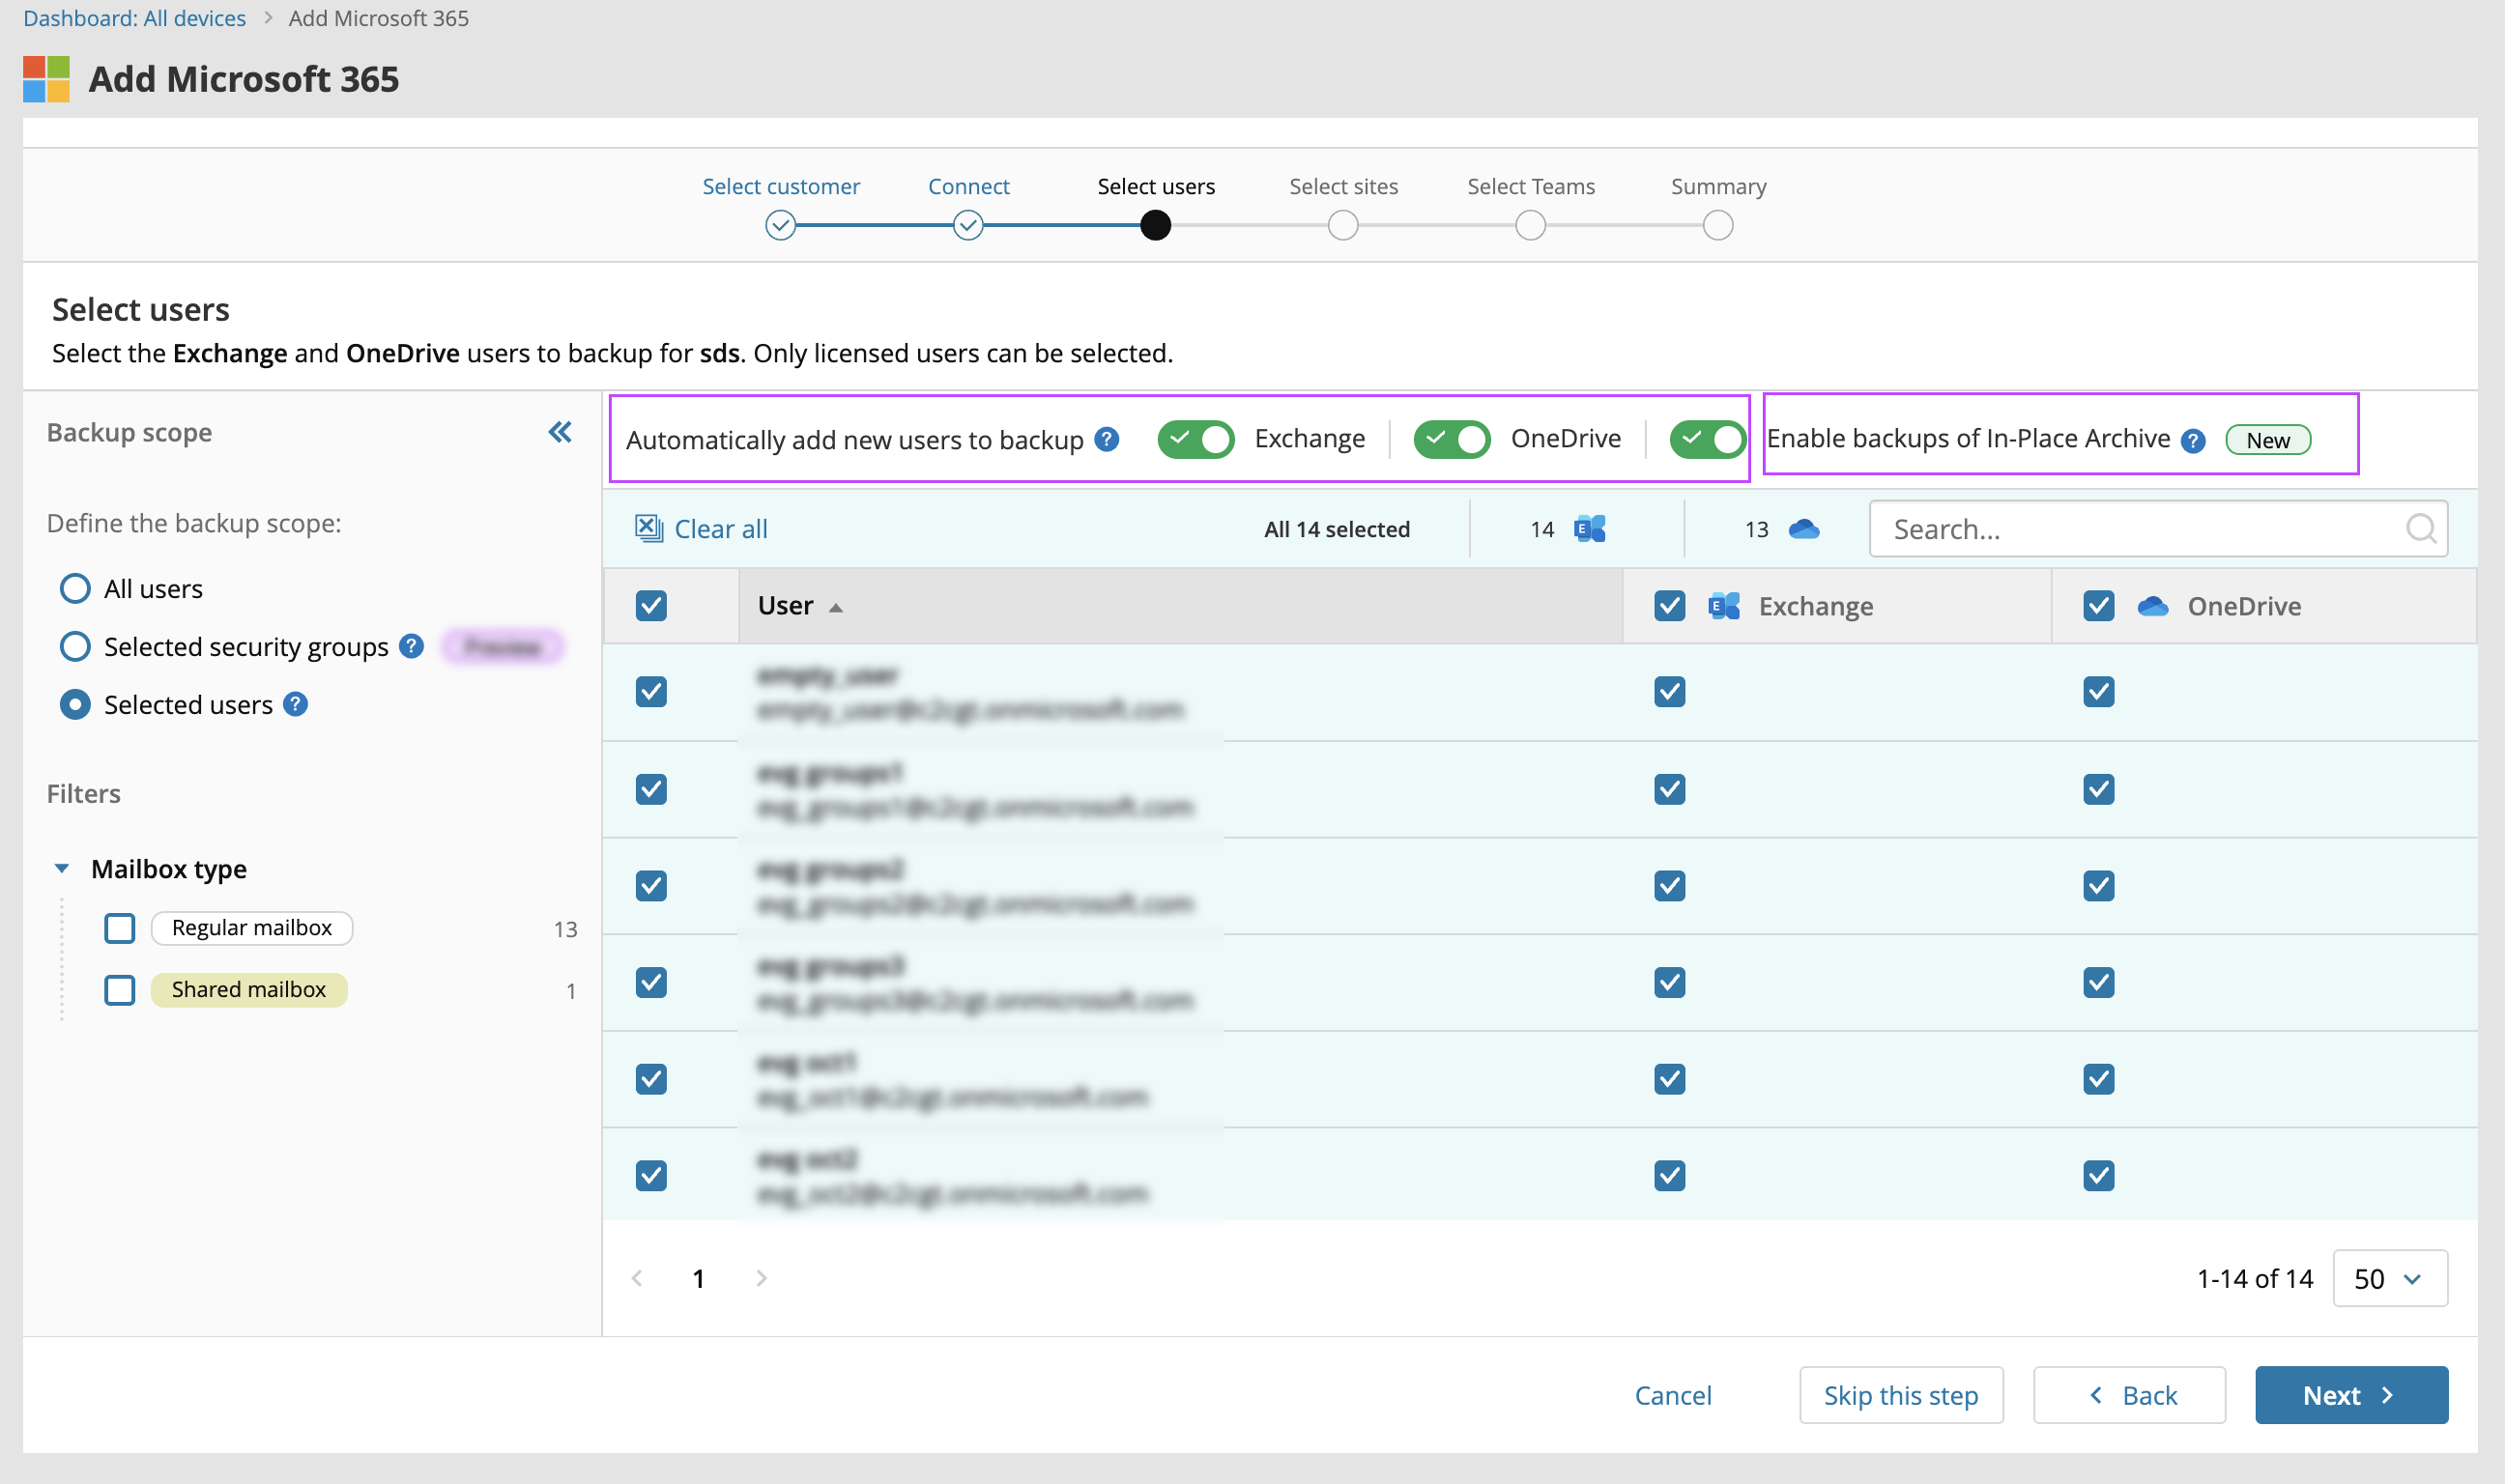
- Select the backup scope for Exchange and OneDrive users from the Backup selection panel:
- All users: Back up all current and future licensed Exchange and/or OneDrive users and shared mailboxes in the tenant.
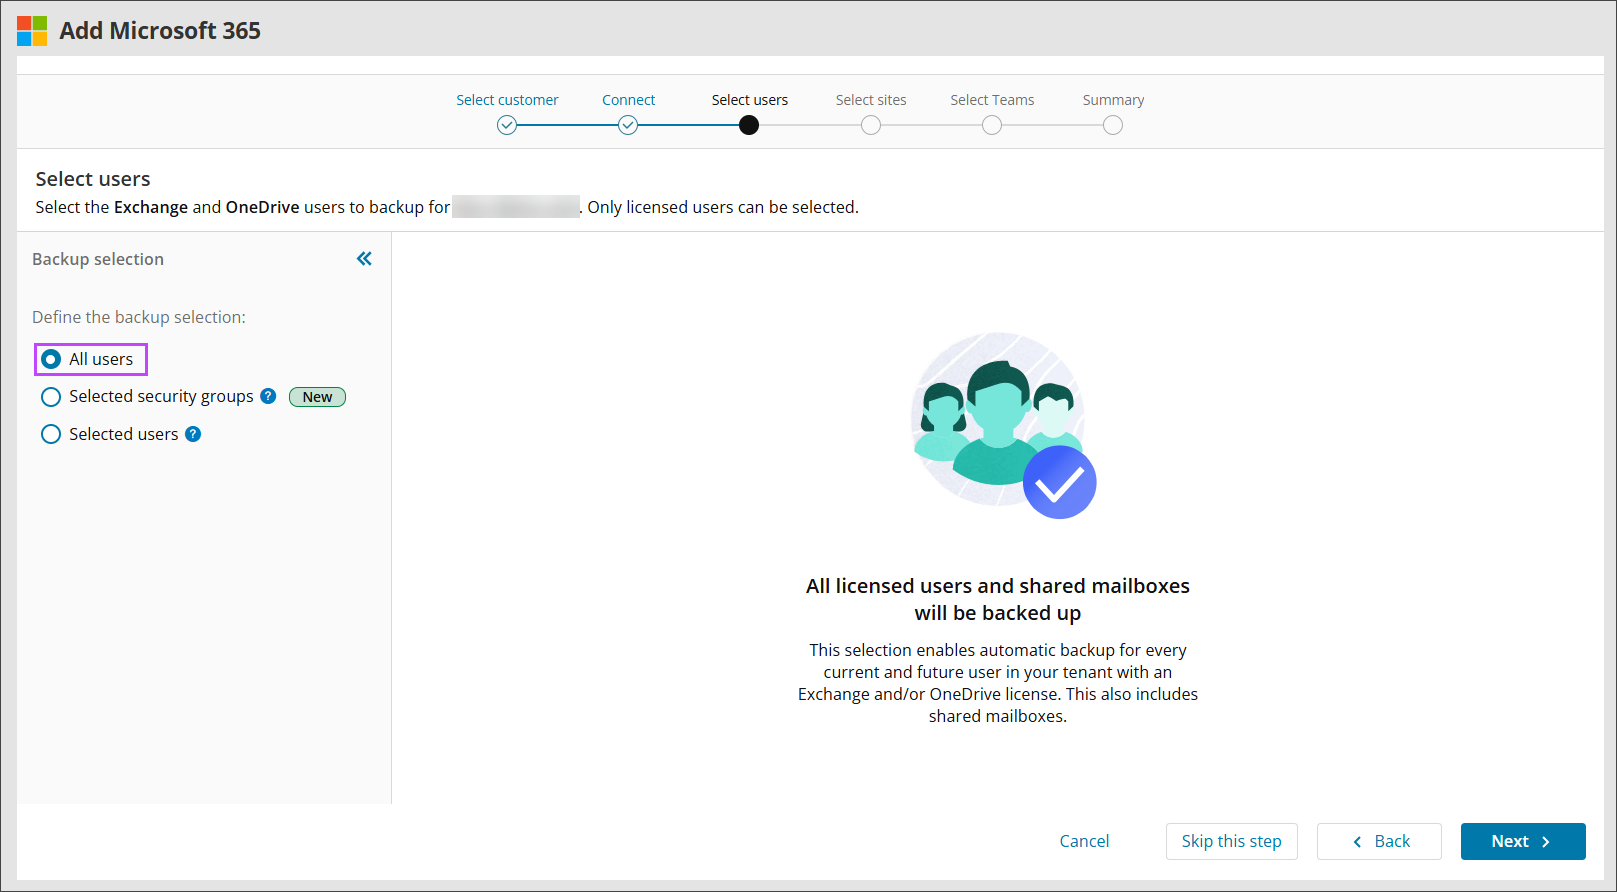
- Selected Security Groups: Apply backup policies to current and future members of the selected security groups. For details, see Group-based data protection.
- Selected users: Back up individual users in the tenant.
- All users: Back up all current and future licensed Exchange and/or OneDrive users and shared mailboxes in the tenant.
- If using the Selected Users backup scope, turn on Automatically add new users to backup to include new Exchange and OneDrive users discovered during a backup in the selection.
- If using the Selected Users backup scope, turn on Enable backups of In-Place Archive to include archived mail or secondary mailboxes in the selection.
In-Place Archives (also known as Online Archives) are secondary mailboxes in Microsoft 365 Exchange Online that provide users with additional storage space for older emails.
- Select Next.
- Select the backup scope for SharePoint sites from the Backup selection panel:
- All SharePoint Sites: Back up all current and future SharePoint sites in the tenant.
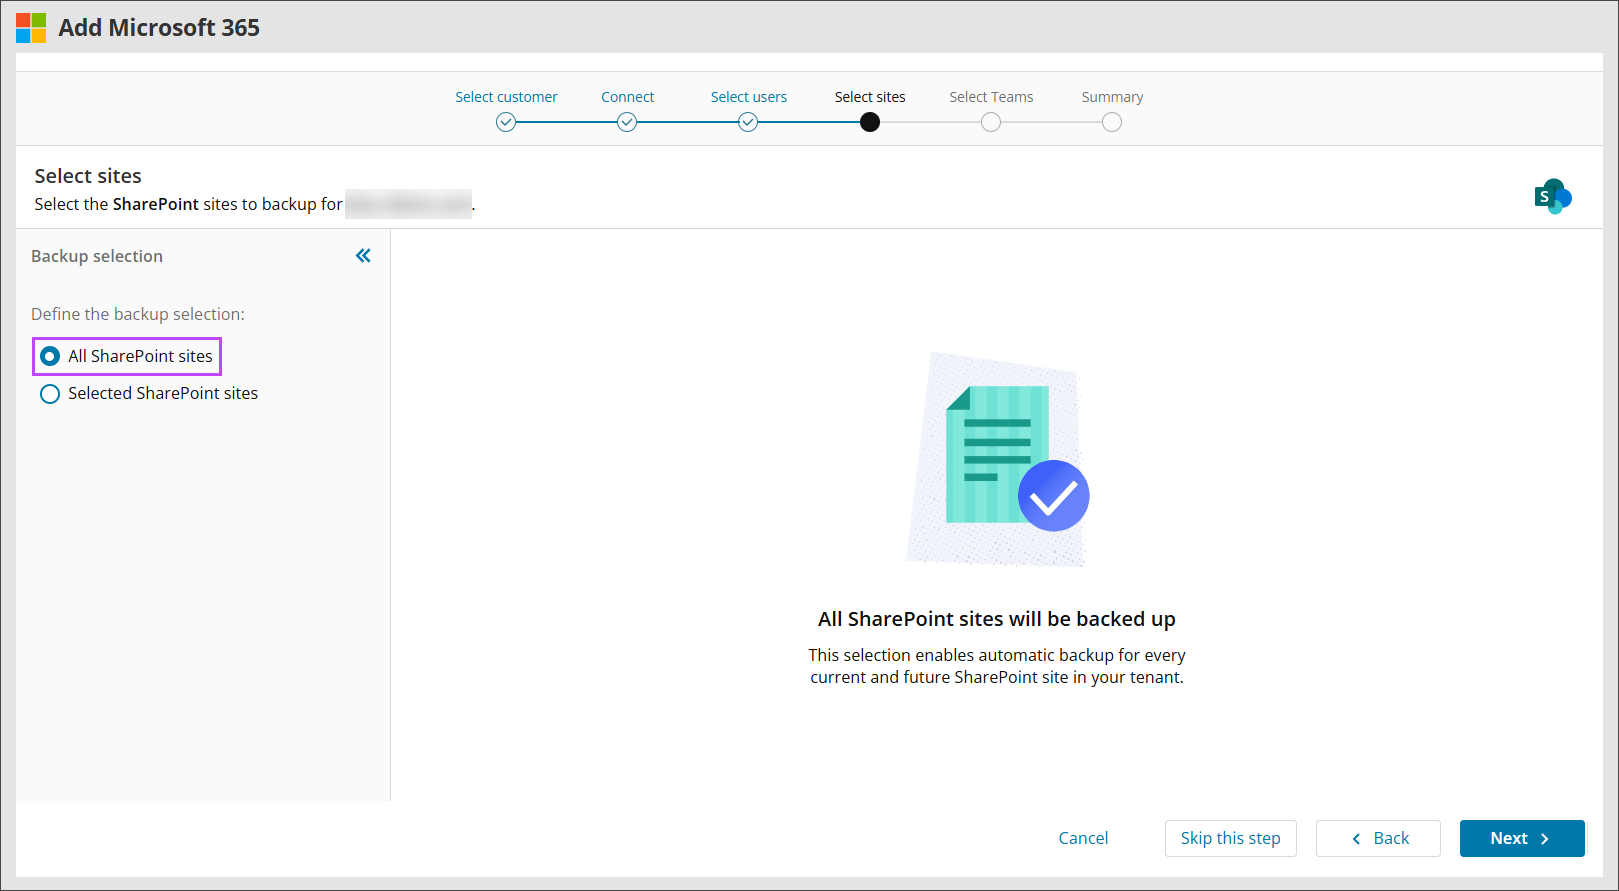
- Selected SharePoint Sites: Back up individual sites in the tenant.
- All SharePoint Sites: Back up all current and future SharePoint sites in the tenant.
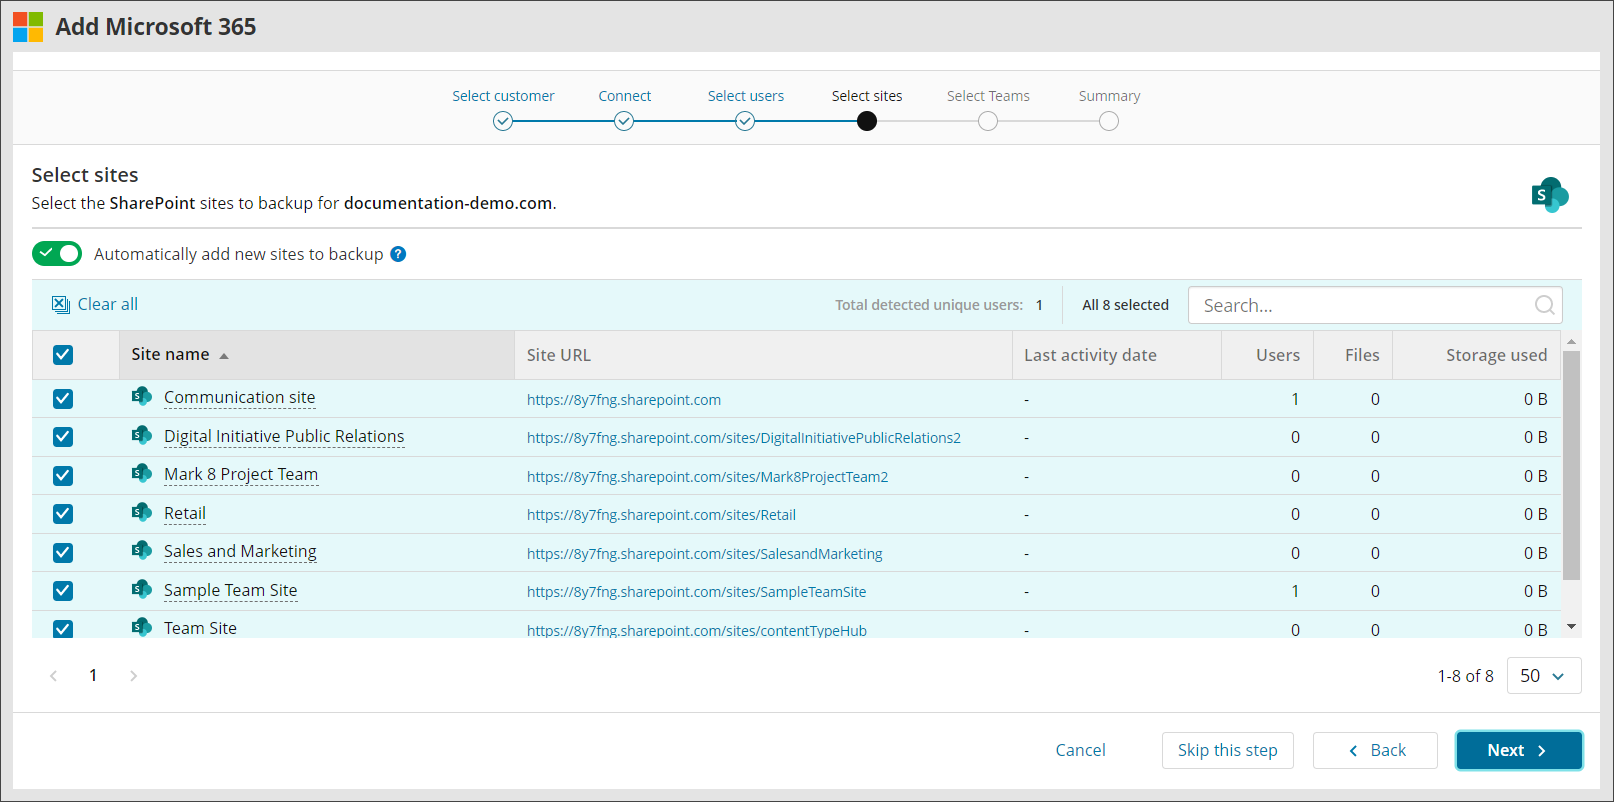
- If using the Selected SharePoint Sites backup scope, turn on Automatically add new sites to backup to add all new sites discovered during a backup to the selection.
- Select Next.
- Select the backup scope for Teams from the Backup selection panel:
- All Teams: Back up all current and future Teams in the tenant.
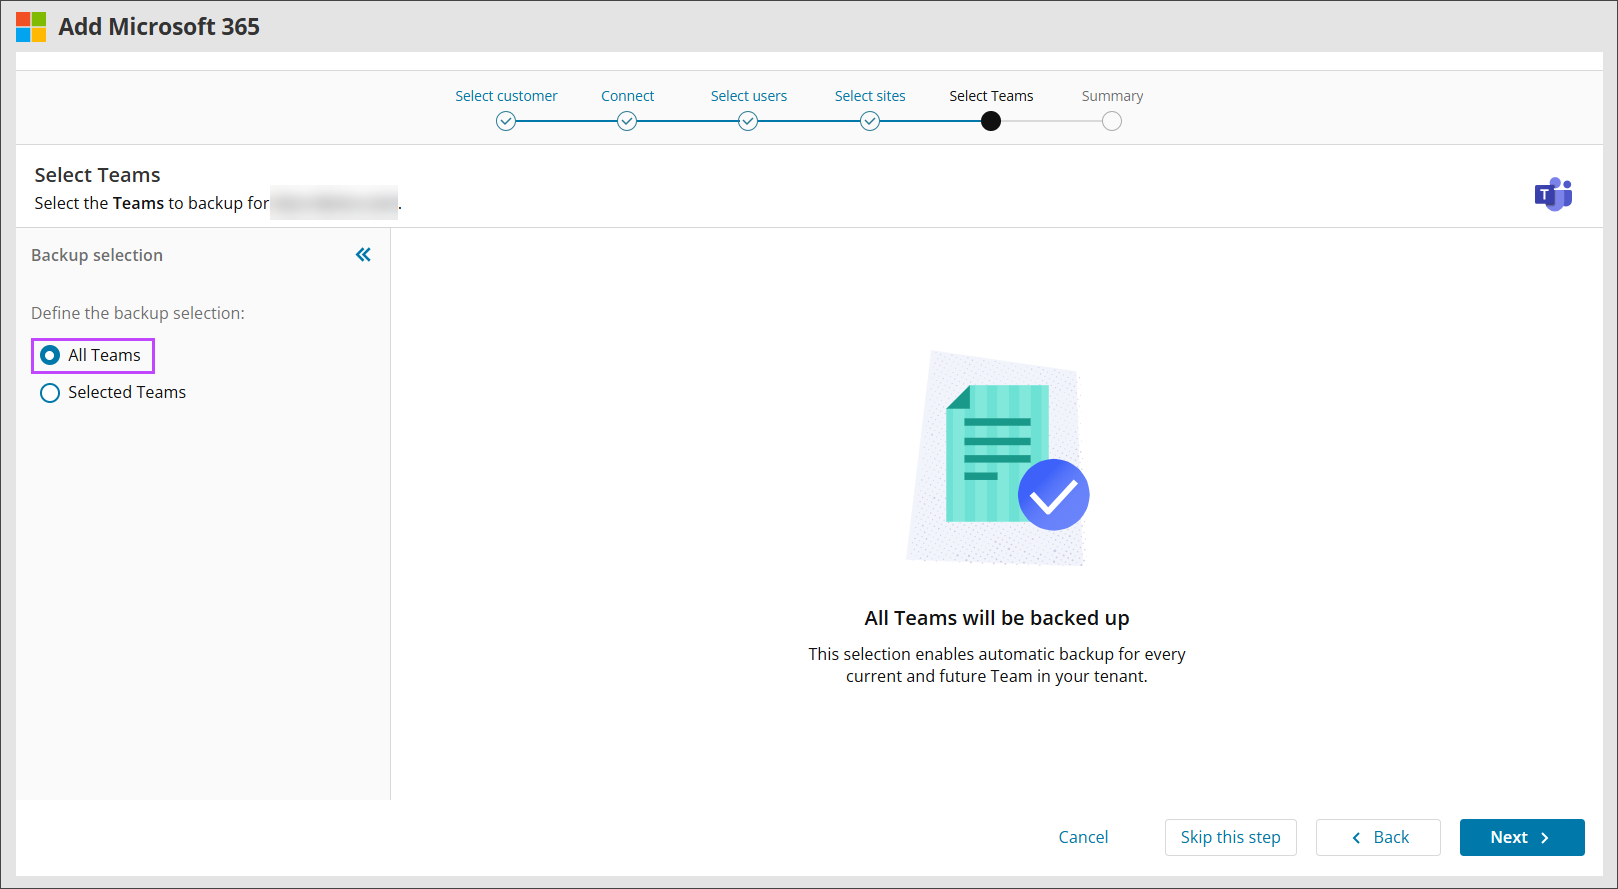
- Selected Teams: Back up individual teams in the tenant.
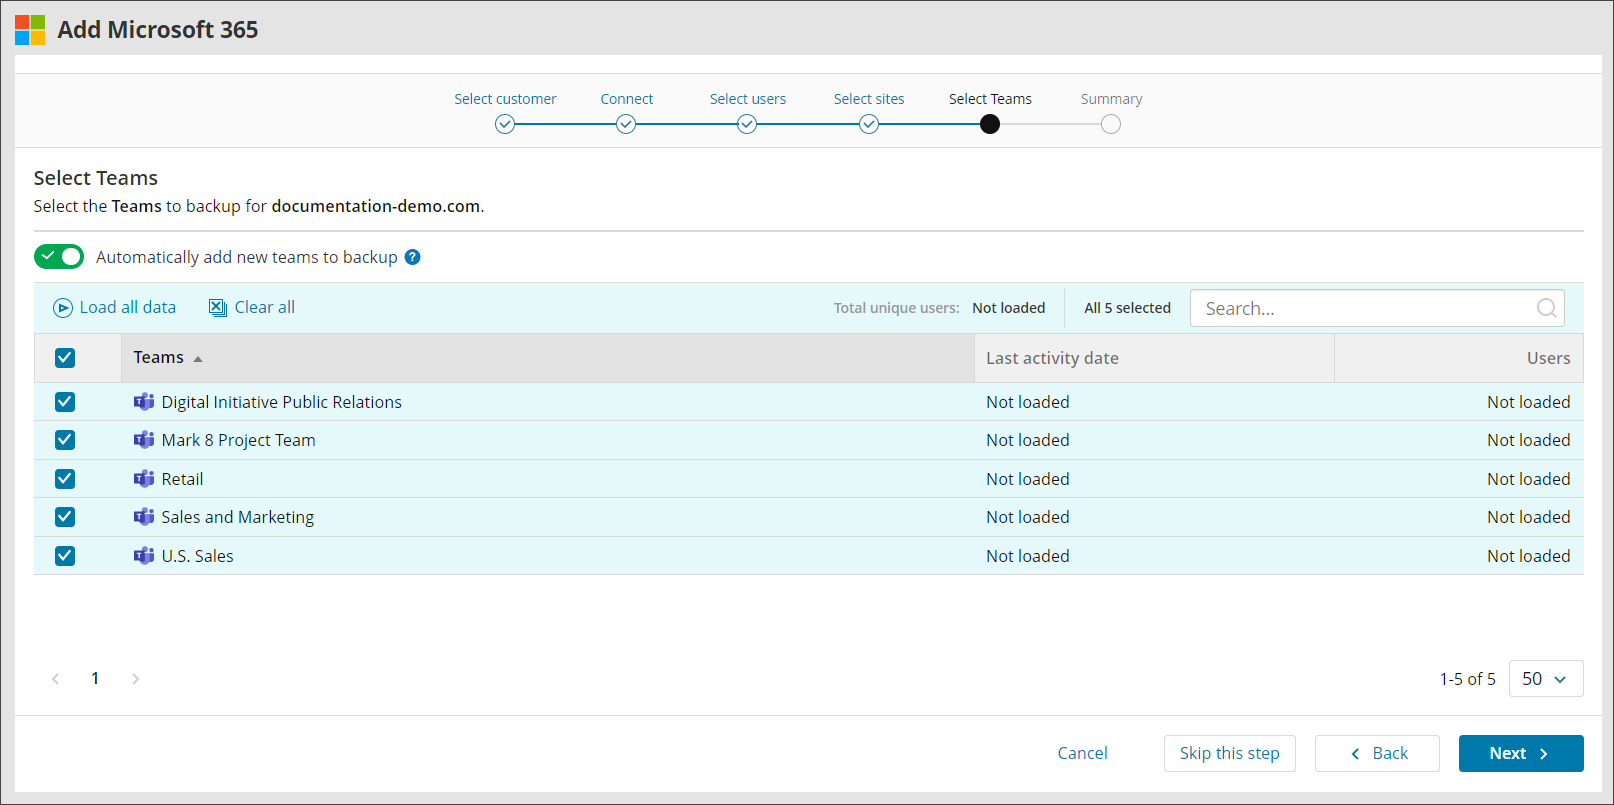
- All Teams: Back up all current and future Teams in the tenant.
- If using the Selected Teams backup scope, turn on Automatically add new teams to backup to include new teams discovered during a backup to the selection.
- Click Next
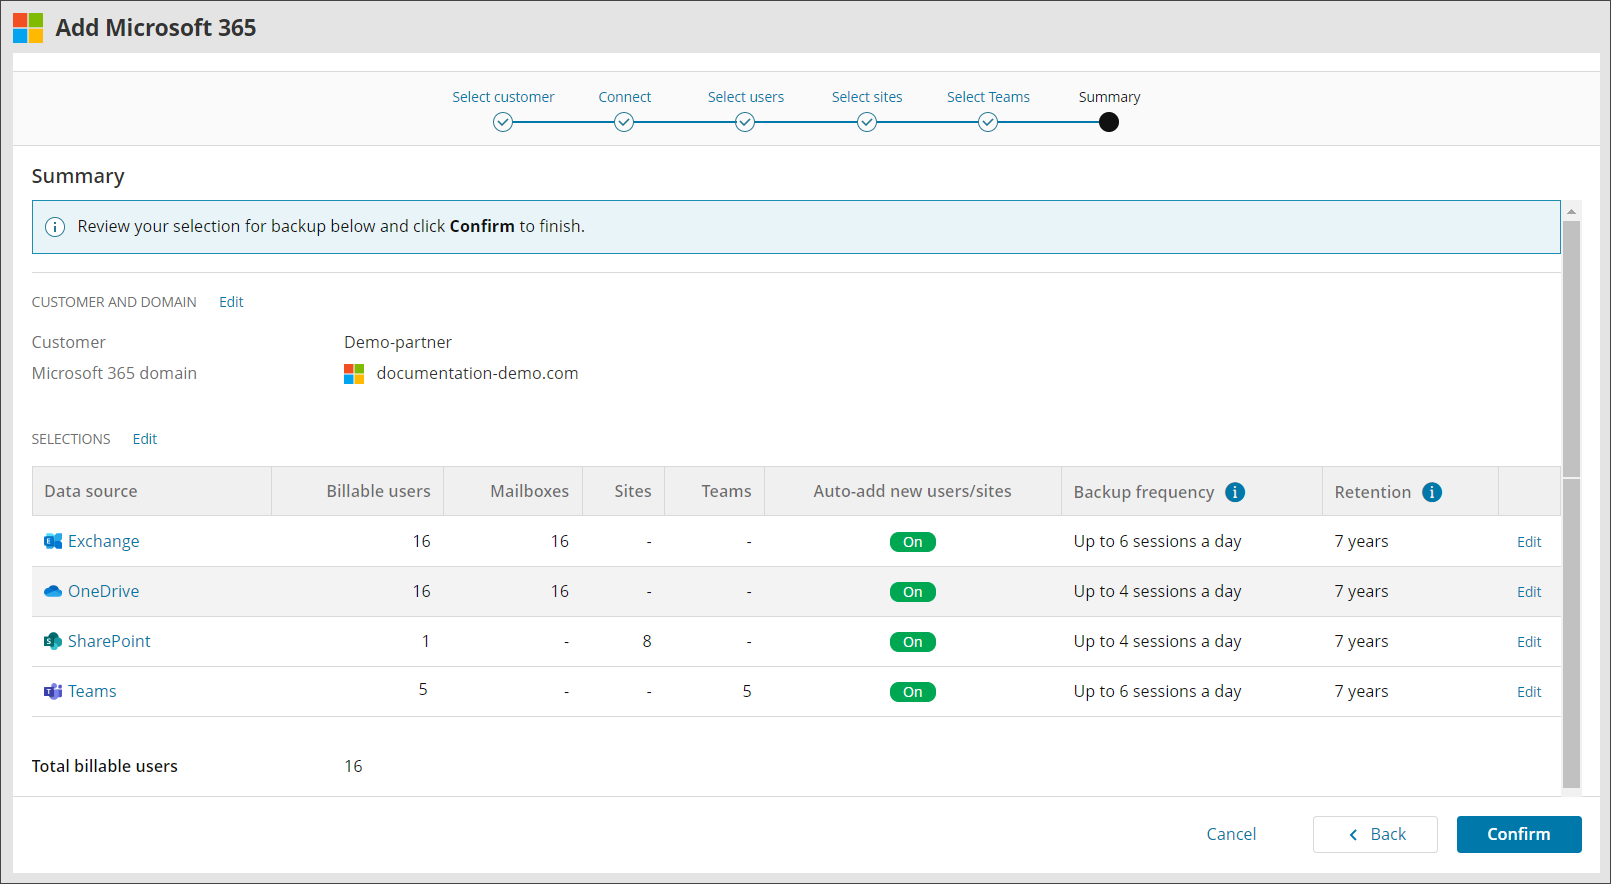
- Review the selections made and either, Edit to amend the selection, or Confirm to approve the backup selection.
- After you confirm, the domain with the selected service(s) is successfully added. Select Finish to complete. The device will appear in your list of devices.
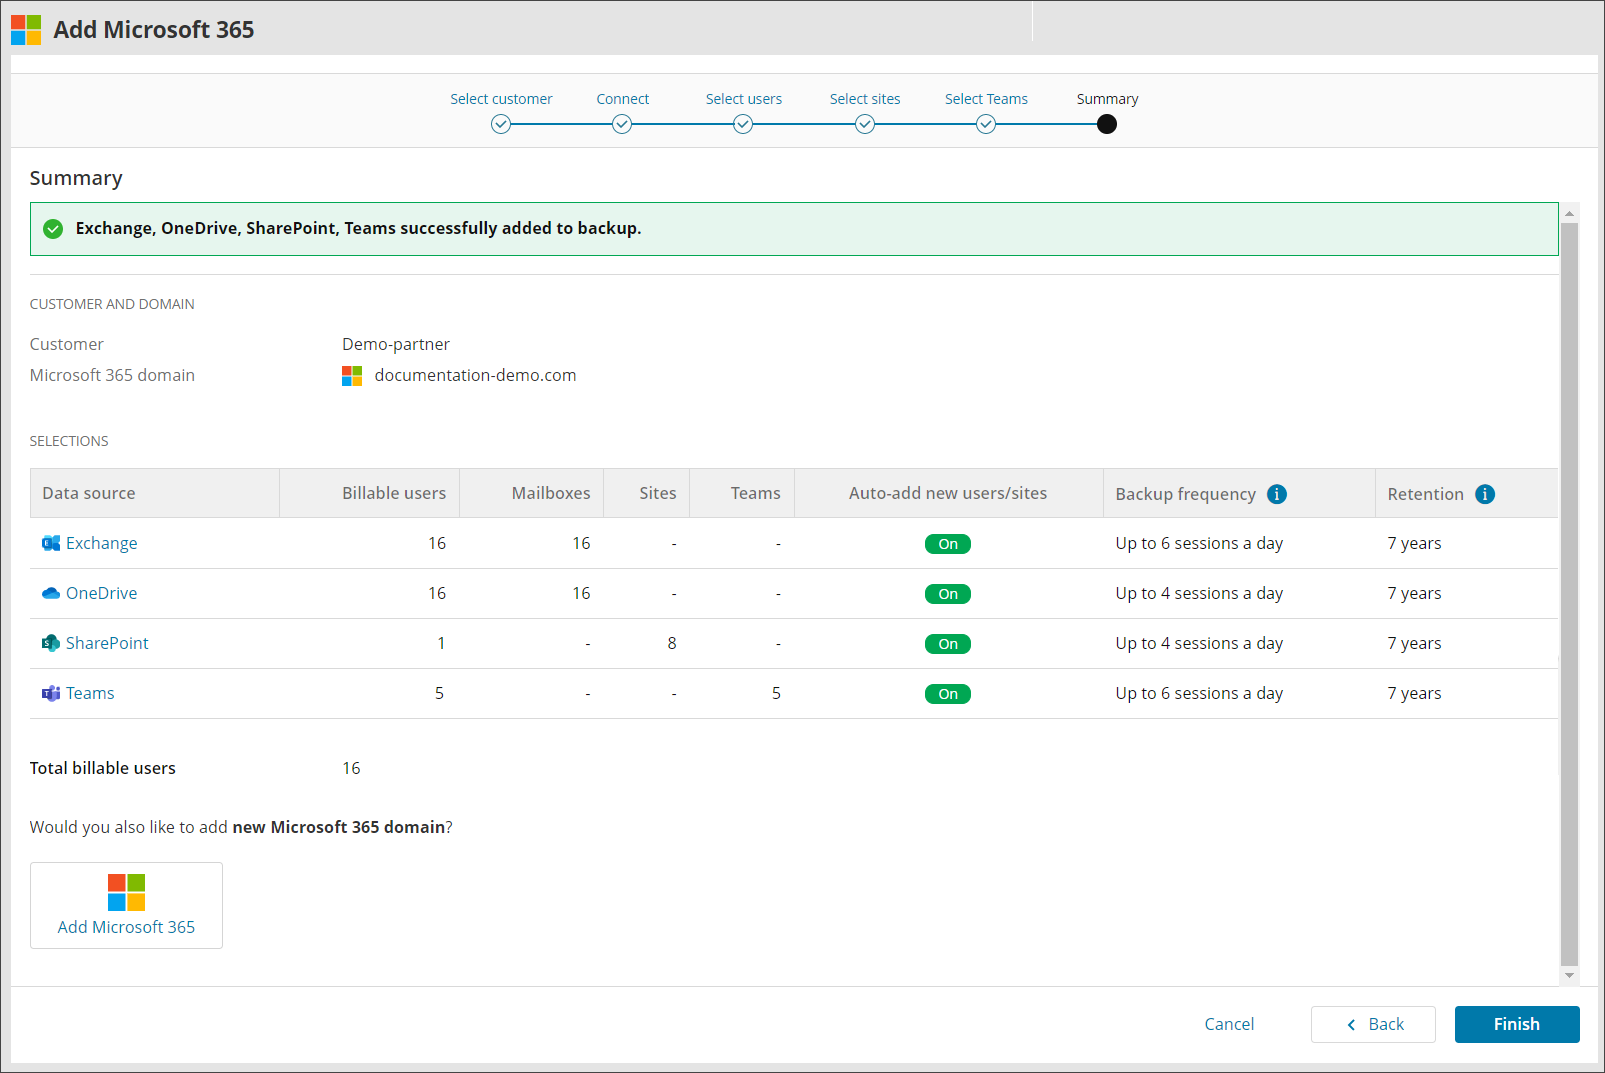
- To add more domains or services to existing domains, select Add Microsoft 365 in the Summary dialog.
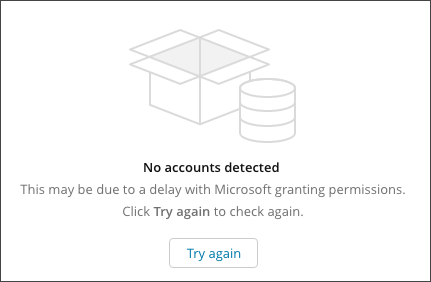
If the authentication page doesn’t appear, make sure your browser allows pop-up windows.