
Cove Data Protection (Cove) has two default Backup Profiles (1 hour RPO and 24 hour RPO), which can be used by any Cove customer. However, it is also possible to create custom Profiles, which allow for custom configuration.
Custom profiles must be created, configured and assigned to devices in the following order:
- Step 1: Create Custom Profile
- Step 2: Configure Profile Settings
- Step 3: Assign the Profile to Device(s)
Step 1: Create Custom Profile
Custom Backup Profiles can be created in one of two ways:
From New
- Log in to the Management Console under a SuperUser or Administrator account
- Select Profiles from the vertical menu
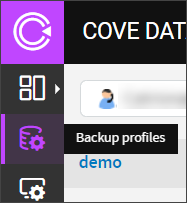
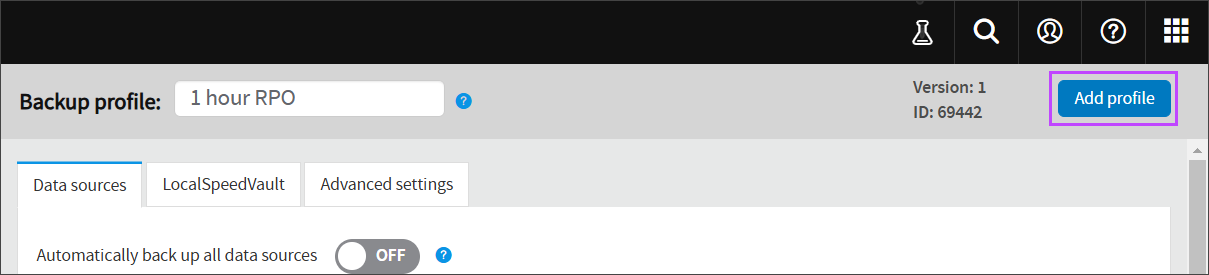
- Click Add profile
- Specify the customer the profile will be available to using the dropdown
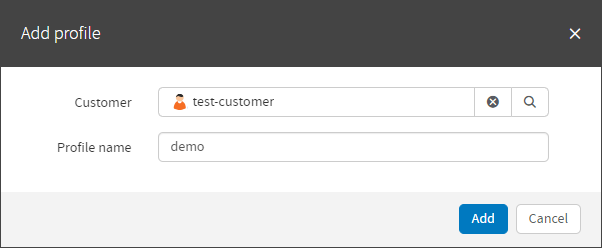
- Give the profile a recognizable name
- Click Add
Once the Profile has been created, move on to Step 2: Configure Profile Settings
Creating a separate backup profile for each operating system allows you to specify correct file paths depending on the operating system's file structure, and configure settings for data sources that are only available on certain operating systems
From A Copy
If you have an existing profile which you need to duplicate, this can be done by:
- Log in to the Management Console under a SuperUser or Administrator account
- Select Profiles from the vertical menu on the left-hand side of the page
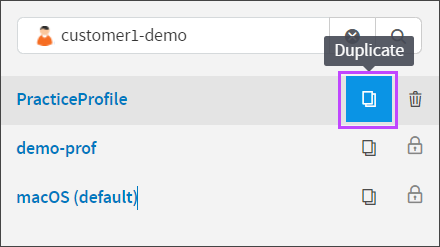
- Choose the Customer the Profile belongs to from the dropdown

- Find the Profile you need to copy and click the duplicate icon to the right of the profile name
- Once the profile has been successfully copied, a banner will be displayed to advise as such and it will appear in the Profiles list with the profile name in the format of 'ExistingProfileName - clone'

- Update the profile name of the copied profile
- Click Save at the bottom of the page
Once the Profile has been created, move on to Step 2: Configure Profile Settings
Creating a separate backup profile for each operating system allows you to specify correct file paths depending on the operating system's file structure, and configure settings for data sources that are only available on certain operating systems
Step 2: Configure Profile Settings
Once the profile has been created, either from new or by copying an existing one, you can configure all settings required:
These steps must be followed for each data source you wish to configure under the profile
- Click into the Profile by selecting the profile name from the list

- Select each data source and configure the below settings for these one at a time:
- Files & Folders (Workstations)
- Files & Folders (Servers)
- System State
- Network Shares
- MS SQL
- Exchange
- VMWare
- SharePoint
- Hyper-V
- MySQL
- Select the Backup Policy to use for this data source from:
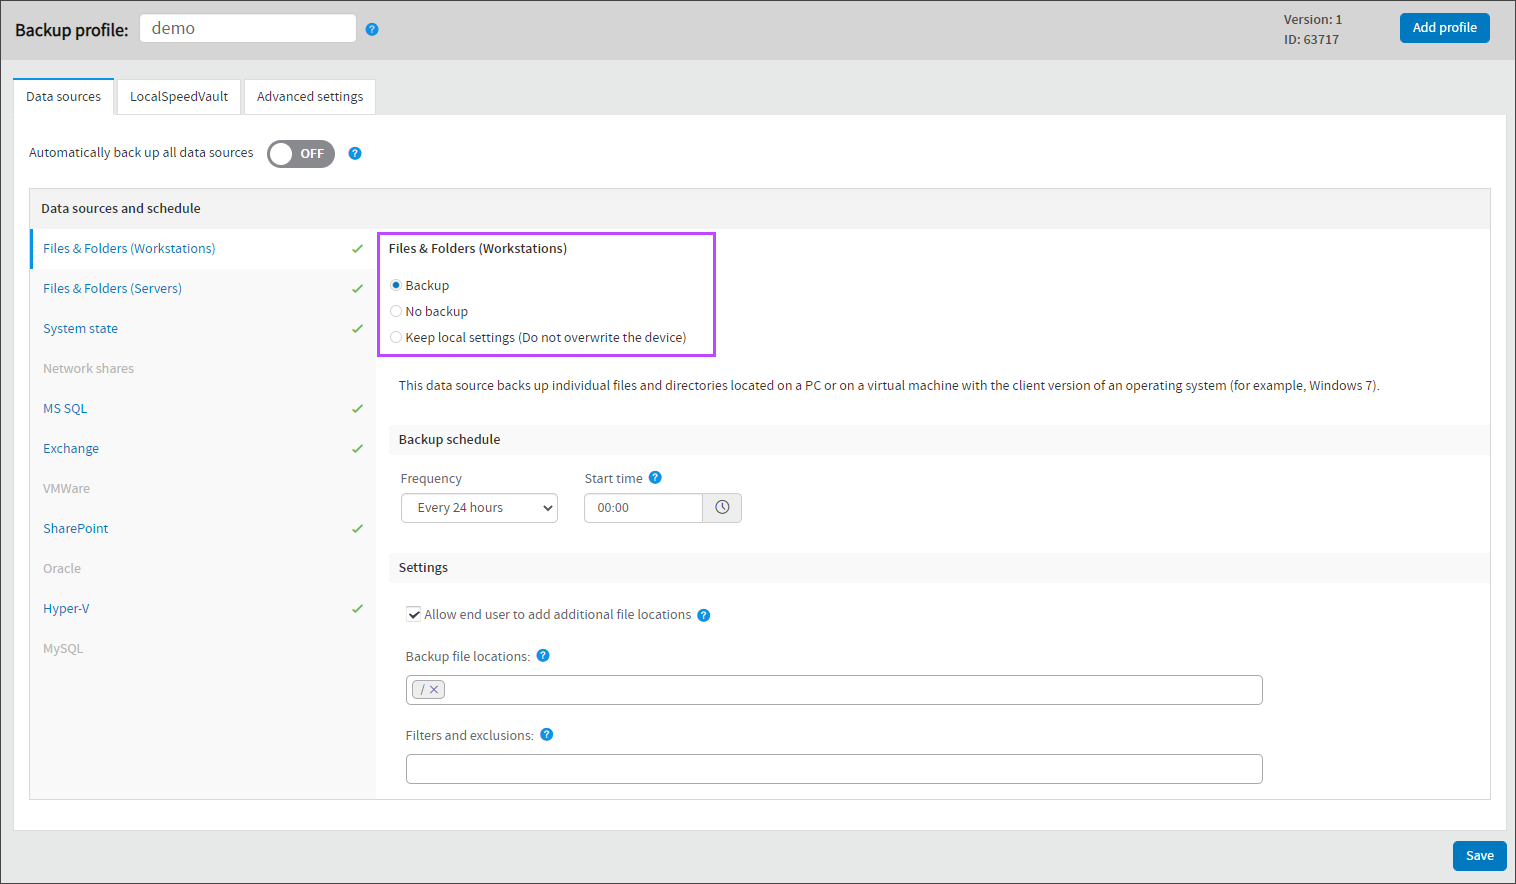
- Backup - covering both the backup schedule and the backup selection, this includes the data source in the backup
This is unavailable for data sources that require additional access credentials (such as Network Shares or VMWare)
This selection overwrites local configuration
- No backup - this excludes the data source from backup
This selection overwrites local configuration
- Keep local settings - this mixed option allows you to retain the locally configured backup selection, but automate the backup schedule
This selection overwrites local schedule configuration only
- Backup - covering both the backup schedule and the backup selection, this includes the data source in the backup
- Configure the Backup Schedule

- Select the Frequency from one of the following:
- Every 24 hours
- Every 12 hours
- Every 6 hours
- Every 4 hours
- Every 2 hours
- Every 1 hour
- Every 30 minutes
- Every 15 minutes
- Choose a start time for the schedule
Start Times can only be provided for the 24 hour, 12 hour and 6 hour frequencies
Backups will start within 60 minutes of this start time to avoid backups starting for multiple devices at the same time
- If required, select the Do not start backup during working hours option
This option is not available if using a 24 hour frequency
When selected you will be required to set the working hours further down the page
- Select the Frequency from one of the following:
- Allow end user to add additional file locations - If selected, users are permitted to add new paths to the existing data source locations for backup
- Auto select locations (Legacy) - Selecting this allows the profile to auto-populate the backup selection with documents, images and videos that have been detected on the machine
This option will only be available for profiles where the setting was previously enabled.
- Backup file locations - This option is only available if Auto Select Locations is not selected and allows you to select the specific locations to be backed up
- Fail backup if data source not present - When enabled, this setting will cause the backup to fail if the data source is not present on the device where this profile is assigned
This setting is only available on the following data sources: MS SQL, Exchange, SharePoint and Hyper-V
- Filters or exclusions - Enter any file types or locations to be excluded from the backup
For a list of predefined filters, examples of file type exclusions and suggested additional filters, see Backup Filters and Exclusions
- Set the working hours for any device assigned this profile
- Start Time
- End Time
- Work Week
- Click Save
Step 3: Assign the Profile to Device(s)
When the profile is ready, you can assign it to devices:
- In the Management Console, switch to the Domain Dashboard
- Select the device(s) to assign the profile to
- Click Assign Profile on the toolbar

- Select the profile from the list
- Click Save
- (optional) Add the Profile column to the view (to see the profiles assigned to each device)
See Manage Backup Profiles for information on how to edit, remove and delete existing profiles.