
Before beginning an export of Microsoft 365 SharePoint Online data, ensure you have confirmed access permissions.
- Log in to the Management Console user a SuperUser or Manager account with Security Officer permissions.
- Open the Microsoft 365 Backups Dashboard.
- Select the Customer to view the associated Microsoft 365 tenants.
- The Export SharePoint to .zip option is available from multiple locations:
- Right-click the device name, and select Export SharePoint to .zip.
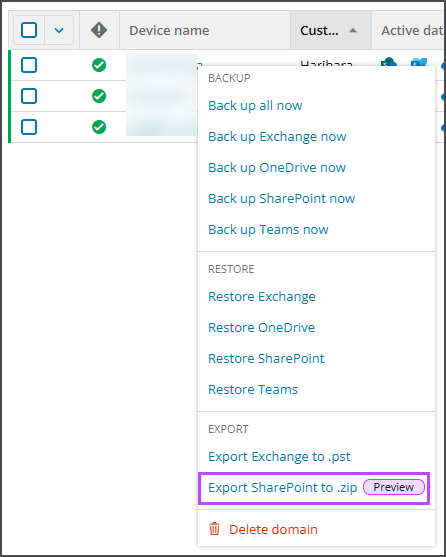
- From the Action menu, select Export SharePoint to .zip.
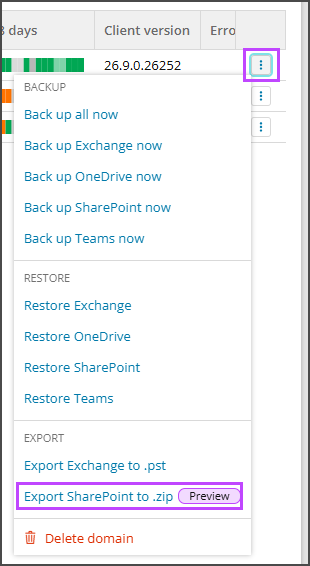
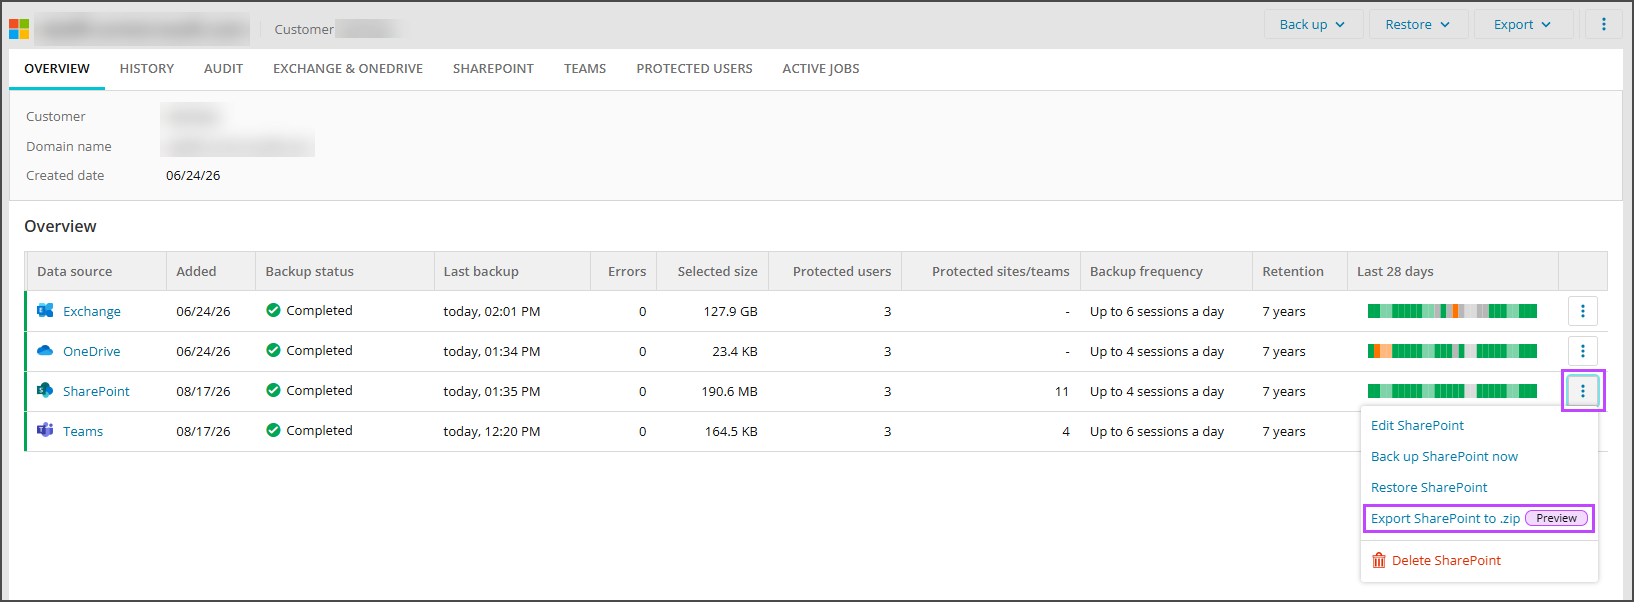
- Open the device properties by selecting the device from the list. From here, you can find the Export SharePoint to .zip option in one of the following locations:
- Using the Export dropdown in the upper-right corner.

- The Action menu in the Overview tab.
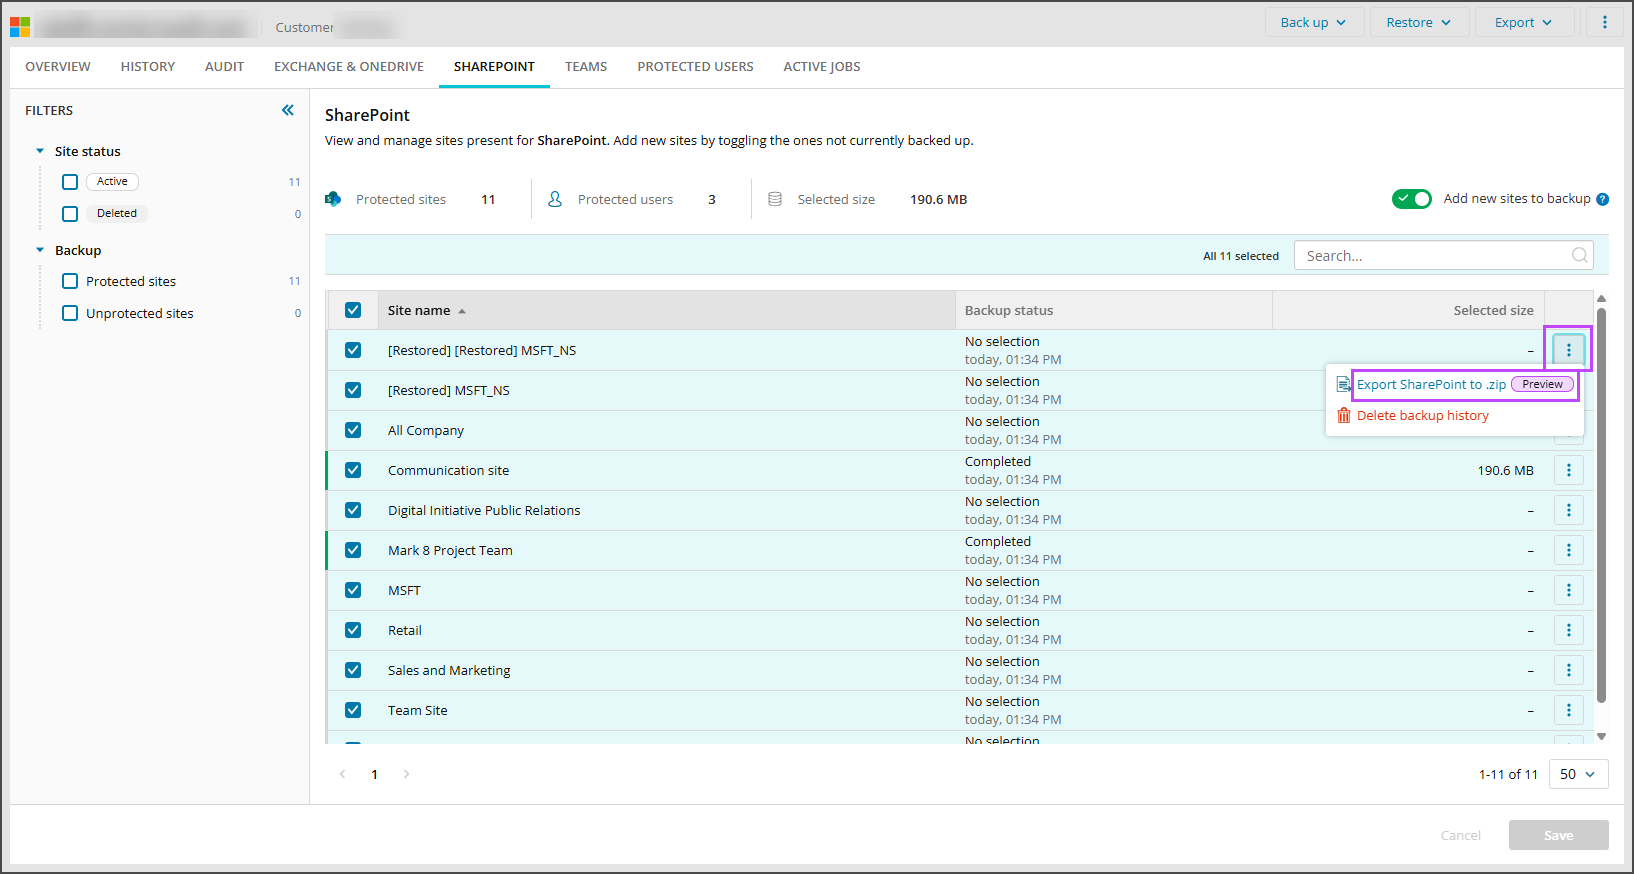
- The Action menu for a site in the SharePoint tab. In this view, the site is already selected.
- Right-click the device name, and select Export SharePoint to .zip.
- Select the SharePoint site to export, and then select Next.
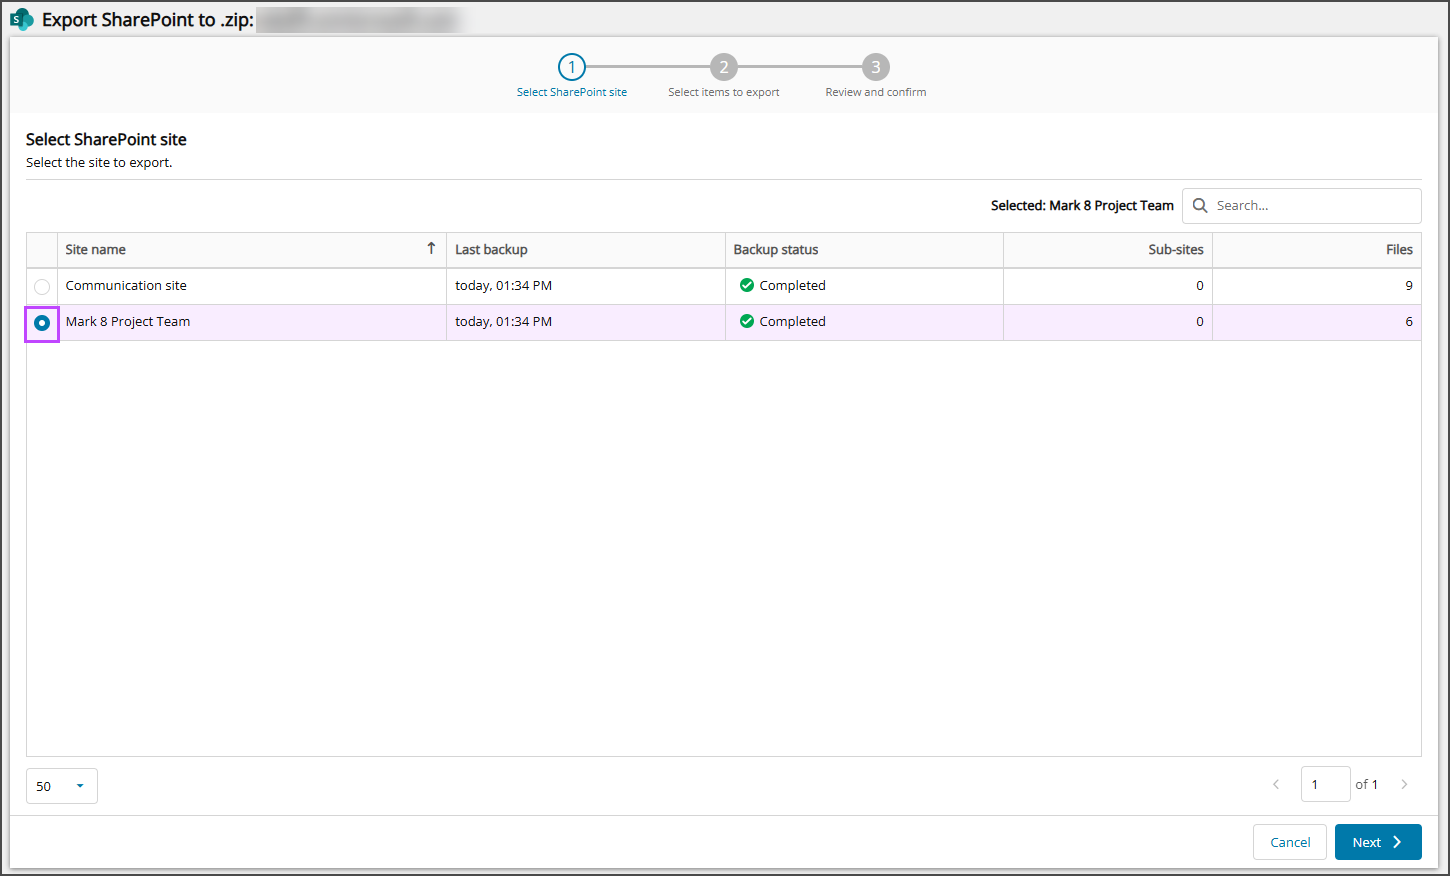
This step will be skipped if you have entered the export via the SharePoint tab
- Choose the date and time of the backup session to restore from and the SharePoint items to include in the export, and then select Next.
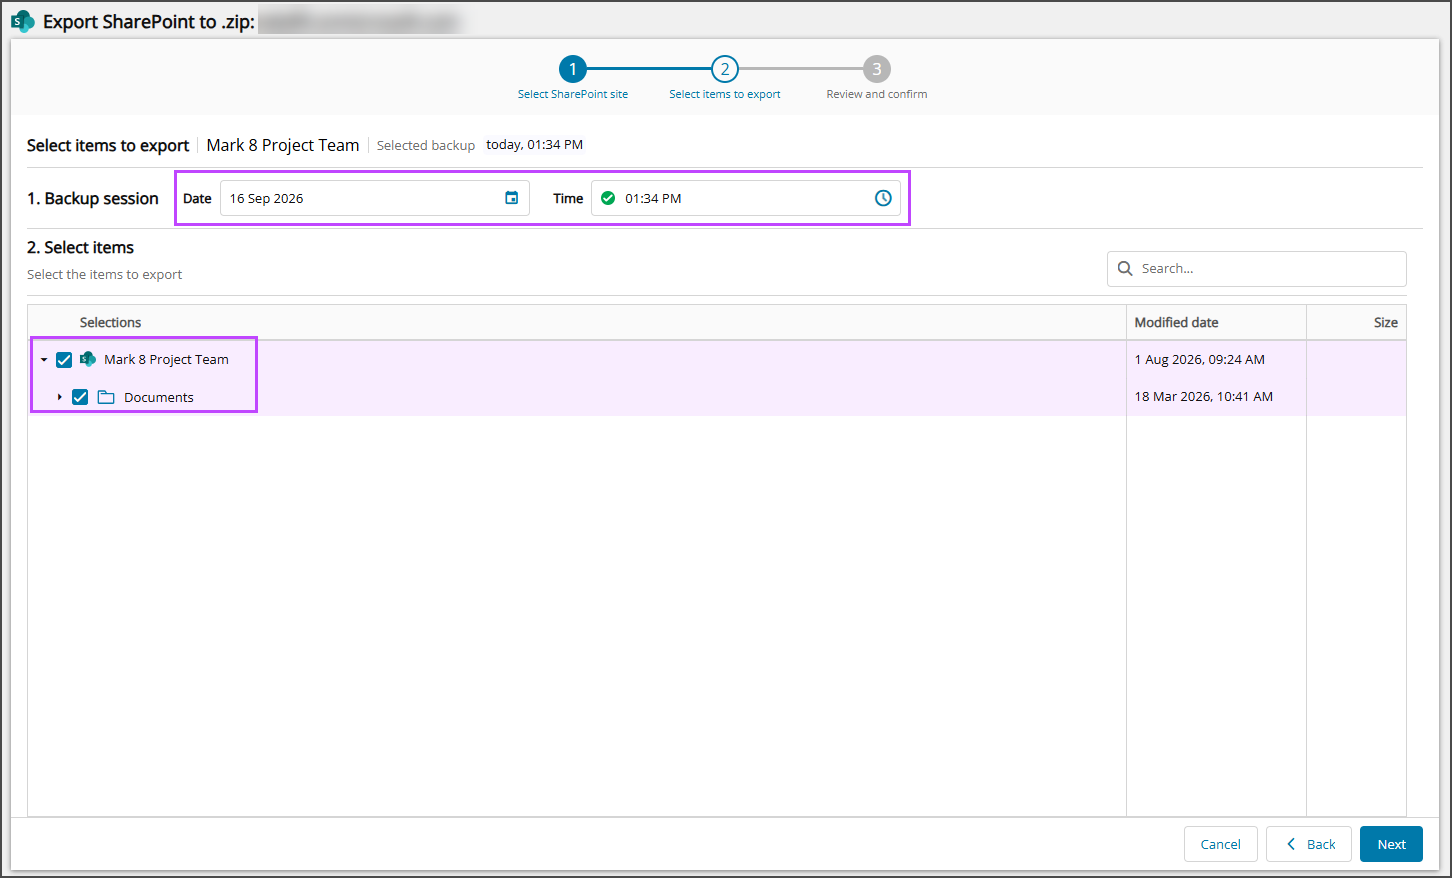
- Click Next to review data selection and begin exporting the selected data.
From this window, you may return to the Microsoft 365 SharePoint site selection or the data to export selection by clicking Edit beside either of these in the confirmation window.
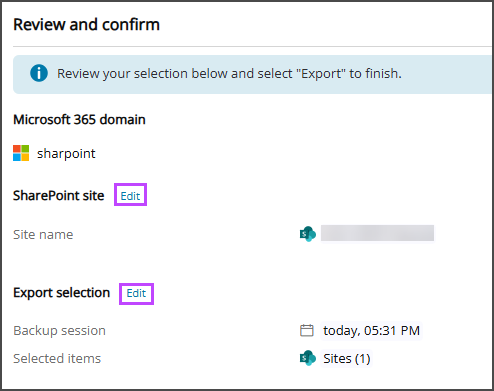
- Click Export to begin the creation of the .zip file.
The .zip file creation will begin immediately
- Select Finish to close the Export wizard and navigate to the Device Properties > Active Jobs tab
The .zip file will not automatically download to your device once complete. You must download this manually once file creation is complete.