
A device must already be in Disaster Recovery As A Service (DRaaS) failover mode to stop failover.
You can only stop failover for the devices displaying either Test failover successful or Test failover failed as Failover state.
Stopping failover deactivates the DRaaS machines. You must manually re-enable continuous restore for this device in the DRaaS dashboard so we can continue keeping the DR machine up to date.
Test failover
- Sign in to the Management Console using a SuperUser or Manager account.
- Navigate to Continuity > DRaaS > Overview
- Select the device to stop the failover and then click Stop failover
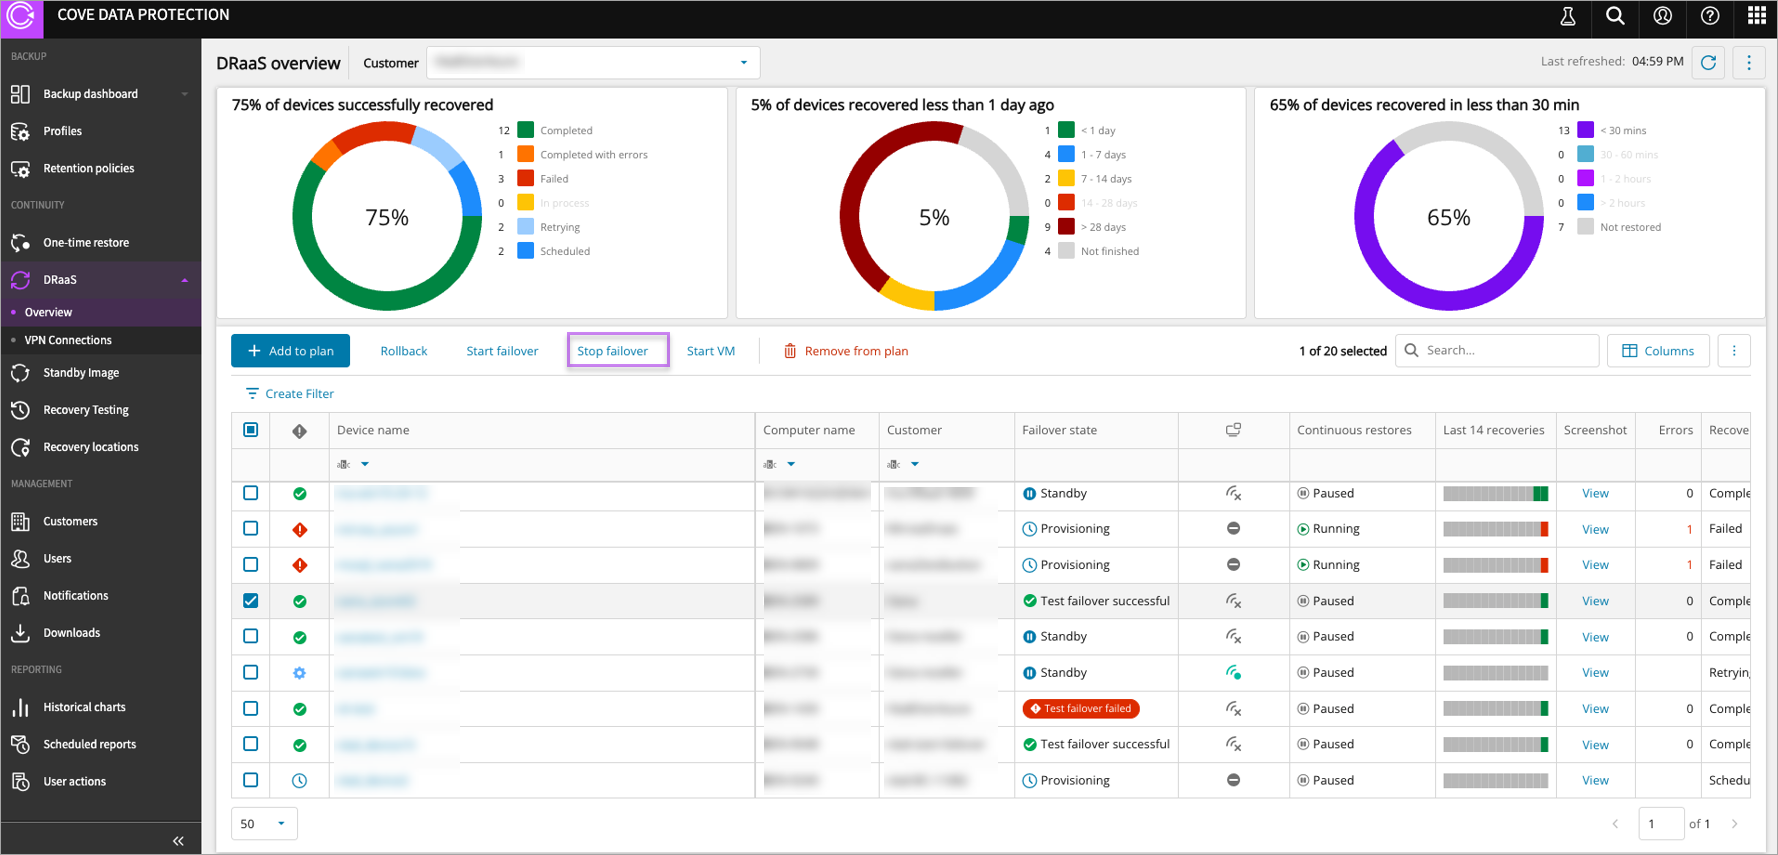
This will power off the machine(s) and roll back to the snapshot taken when failover started.
Manually re-enable continuous restores.
Production failover and failback
During a production failover, your workloads are running in the N-able cloud while your on-premises servers are down. Clicking Stop failover powers off the cloud-hosted VMs. No snapshot rollback occurs, since production failover does not create snapshots.
Before stopping the failover, complete the following steps to fail back to your on-premises environment:
- Confirm that the backups of the DRaaS production failover VMs are enabled
- Verify that the Recovery Status of the latest backup session shows it completed successfully
- Restore your on-premises servers using either a One-Time Restore or a Standy Image Restore, which automates the process and ensures the shortest possible RPO
Once the on-premises environment is confirmed operational:
- Initiate Stop Failover to power off the cloud-hosted VMs by:
- Sign in to the Management Console using a SuperUser or Manager account.
- Navigate to Continuity > DRaaS > Overview
- Select the device to stop the failover and then click Stop failover
- Enable Continuous Restores to keep the DR standby VM up to date going forward.
- Re-enable backups on the on-premises devices.
External Access During Failover For Production failover (full or partial), when your DR site becomes your primary site (for up to 30 days), customers outside of your DR network would need to access services running on your DR servers. When DRaaS goes to General Availability, in this senario, you can set up public IPs and configure inbound/outbound rules with the help of the service team.