
Configure Google Workspace for SSO
Managing user identities and ensuring secure access to applications is crucial for organizations. Google Workspace, a suite of productivity tools, offers robust identity management capabilities, allowing it to function as an Identity Provider (IdP). By using Google Workspace as an IdP, organizations can streamline user authentication, enhance security, and provide seamless access to various applications through single sign-on (SSO).
The following topics cover how to:
N-able recommends that you thoroughly review the Google Workspace developer documentation before configuring SSO.
You will need to configure Google Workspace for SSO before you configure N-able N-central.
- Create service account for importing users into N-able N-central.
- Open a browser and navigate to https://console.developers.google.com.
- In the upper left of the console page click IAM & admin and create a project.
- Click Service accounts.
- Click Create service account.
- In the Service account details screen, enter a Service account name, a Service account ID, and Service account description in the appropriate fields, then click Create.
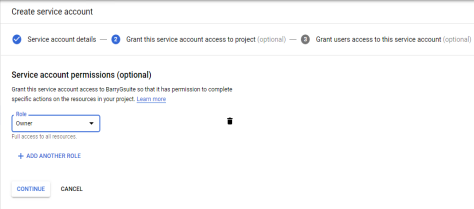
- In the Service account permissions (optional) screen, select Owner from the Role drop-down list, then click Continue.
- In the Grant users access to this service account screen (optional), near the bottom, click Create Key.
Select the JSON Key type.
Click Create to immediately begin downloading the key locally.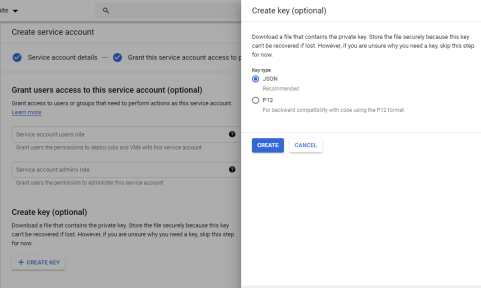
- Once the JSON file has downloaded , close the dialog box and click Done in the Create Service Account screen.
- From the main Service accounts listing, locate your service account, click the three dots near the end of the row to open the actions menu, and select Edit.
- In the Service account details screen, click Show Domain-Wide Delegation to expand the section, and select the Enable Google Domain-wide Delegation checkbox.
Click Save.
- Impersonate service account.
- Continuing from above, click IAM in the top left of the IAM & admin menu.
- Click Add (near the top of the page).
- Enter New members from any existing Google Workspace account.
- From the Role drop-down menu, select the appropriate Role to associate with the new member.
You can add more than one Role for the new member.
- Click Save.
- Create a login ClientID and the N-able N-central allow list.
- Browse to https://console.developers.google.com.
- In the top left APIs & Services menu, click Credentials.
- In the Create credentials drop-down menu, select Oauth client ID.
- Select Web application.
- In the Authorized Javascript origins, enter the FQDN of the N-able N-central server, including either the http:// or https:// protocol.
The simple IP address is not enough. You will not be able to connect to a N-able N-central server unless http:// or https:// is included in the FQDN.
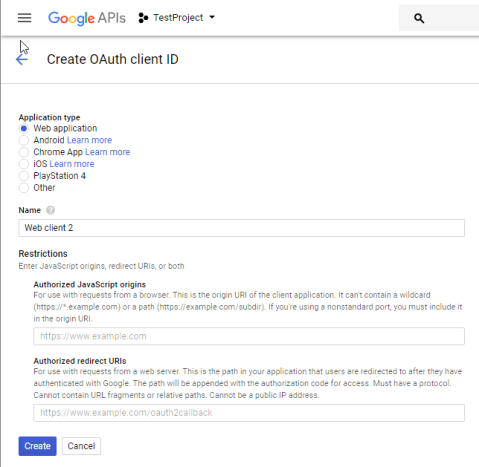
- Click Create. You will see a confirmation pop-up message about the client ID created.
- Enable the Admin SDK API.
- Browse to https://console.developers.google.com.
- In the top left APIs & Services menu, click Library
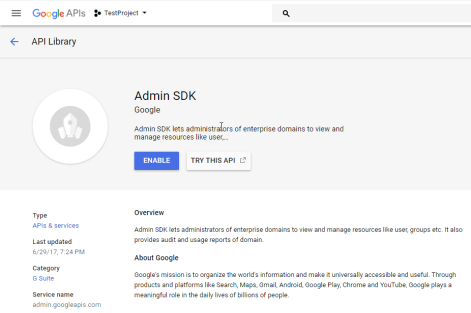
- Search for "Admin SDK", and click on the result. The Admin SDK page displays.
- Click ENABLE.
- API client authorization
Authorizing an API client allows the service account access to specific API services.
- Browse to admin.google.com.
- Navigate to Security in top left menu and click Settings.
- Scroll to the bottom of the page and click API access control.
- In the Domain wide delegation area, click Manage domain wide delegation.
- In the page that appears, click Add New in the API Client area.
- In the Client Name field enter the Service account Client ID.
You can find the Service account Client ID either in JSON with the private key, or by going to console.developers.google.com, and navigating to APIs & Services > Credentials. The Client ID is listed under OAuth 2.0 client IDs.
- In the One or More API Scopes field, enter the following:
https://www.googleapis.com/auth/admin.directory.group.readonly, https://www.googleapis.com/auth/admin.directory.group.member.readonly, https://www.googleapis.com/auth/admin.directory.user.readonly
Shown here as three separate lines but should be entered as a single, continuous, comma-delimited string.
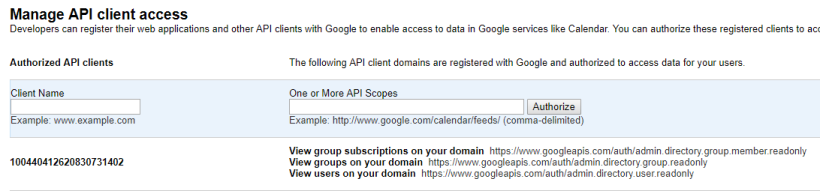
- Click Authorize.